Category: Blog

  • VulkanDemos

    简要

    Vulkan Samples

    码云

    码云地址

    说明

    按照序号的顺序开始看,例如从2_Triangle3_DemoBase一直到最后一个。Demo一步一步的展示了如何对Vulkan进行简单的封装以使得更加易用,如果从较高的序号开始阅读可能出现由于封装过度从而导致阅读理解困难。每一个Demo都会尽量配一个粗浅的文档,文档里面会大致说明该Demo的意图。

    环境要求

    Windows

    MacOS

    • CMake 3.13.0:下载安装最新版本即可。
    • XCode 10:比它高应该也没什么问题。
    • macOS 10.11 or iOS 9:因为Vulkan在苹果那边没有得到官方支持,是通过对Metal进行的封装,因此需要10.11系统以上。

    Linux

    • CMake 3.13.0:下载安装最新版本即可。
    • Ubuntu 18.04:目前我使用的是Ubuntu 18.04系统,其它版本的没有尝试。
    • VSCode:Ubuntu下我使用了VSCode作为开发环境,VSCode下Configure(Task),Build(Task),Debug我都配置好了,但是需要安装VSCode C++插件,插件名称:C/C++。

    Window环境搭建

    Ubuntu环境搭建

    MacOS环境搭建

    Android环境搭建

    Introduction

    Vulkan Examples

    Requirements

    Windows

    MacOS

    • XCode 10
    • CMake 3.13.0
    • macOS 10.11 or iOS 9

    Linux

    • CMake 3.13.0

    Android

    • Android Studio 3.2
    • NDK r16b

    Usage

    Command line

    CMake-GUI

    • git clone https://github.com/BobLChen/VulkanDemos.git
    • Open CMake-GUI
    • Where is the source code : VulkanDemos
    • Where to build the binaries : VulkanDemos/build
    • Click Configure button
    • Choose your generator
    • Click Generate button

    Example

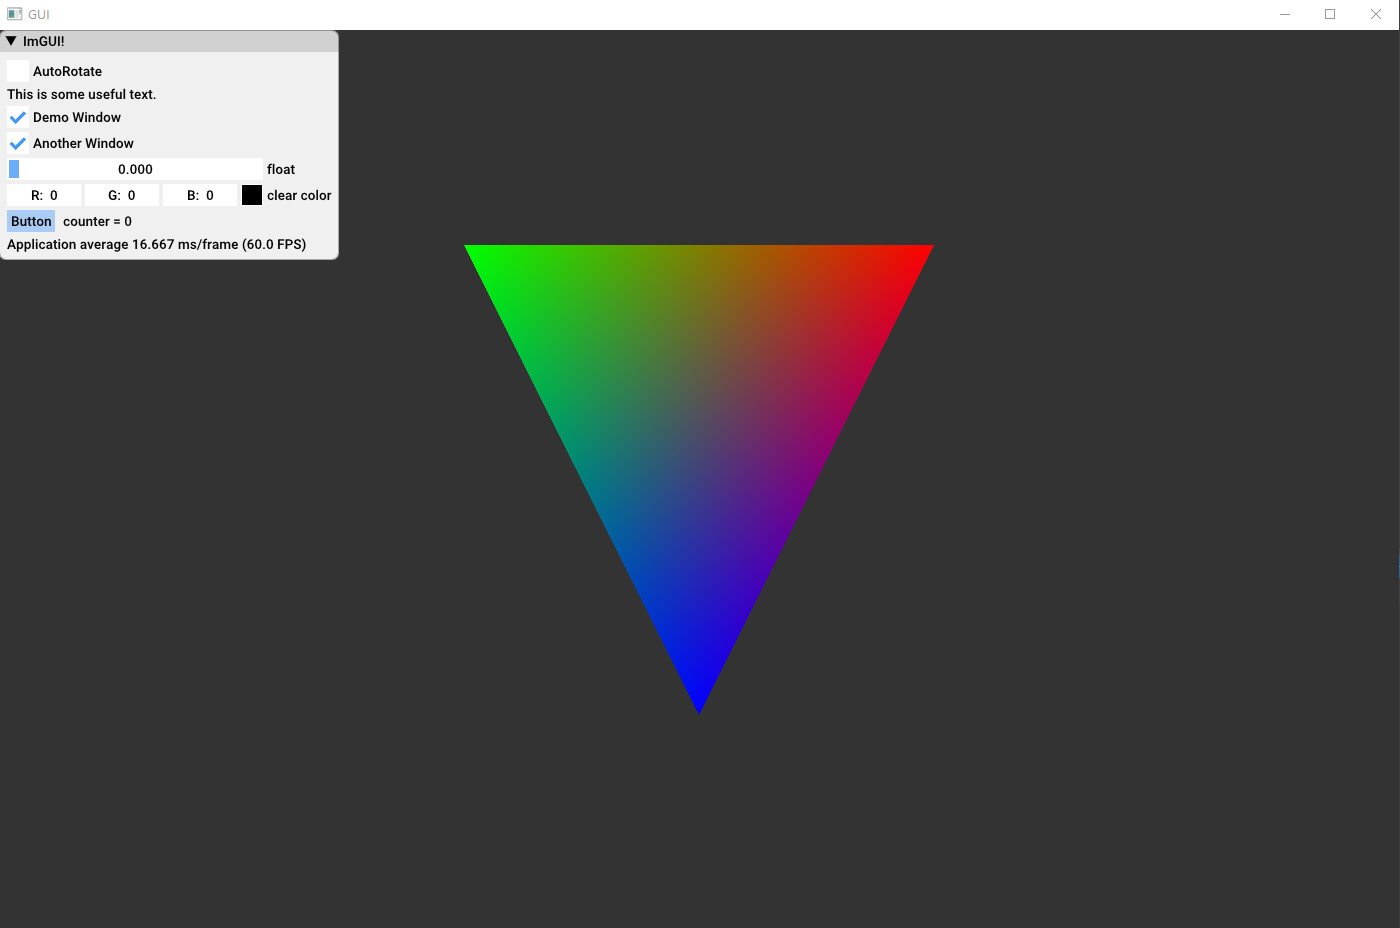
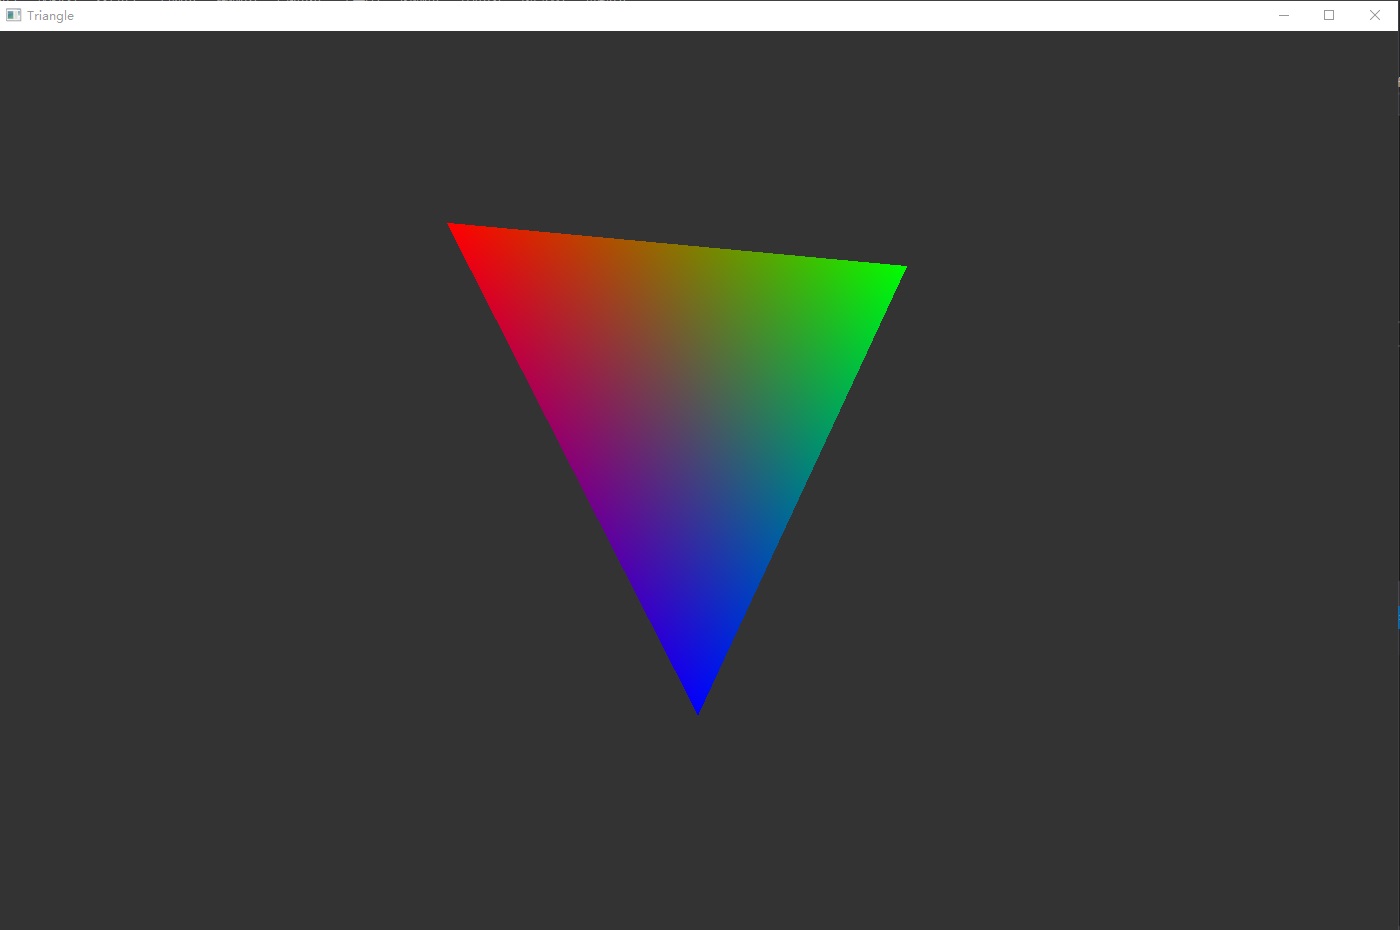
    博客地址 2_Triangle

    博客地址

    博客地址

    博客地址

    博客地址 6_ImageGUI

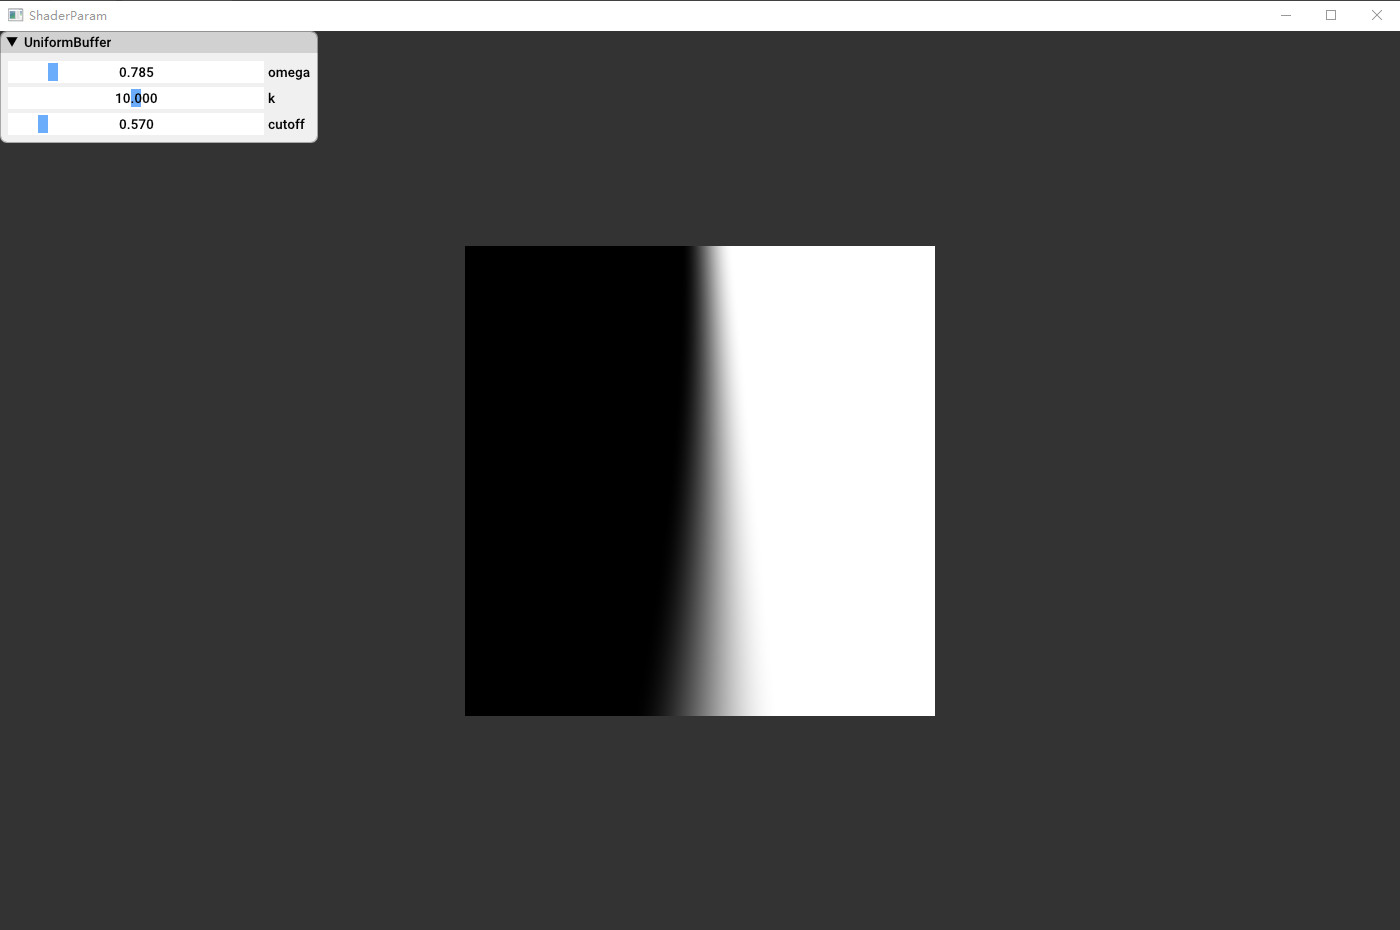
    博客地址 7_UniformBuffer

    博客地址

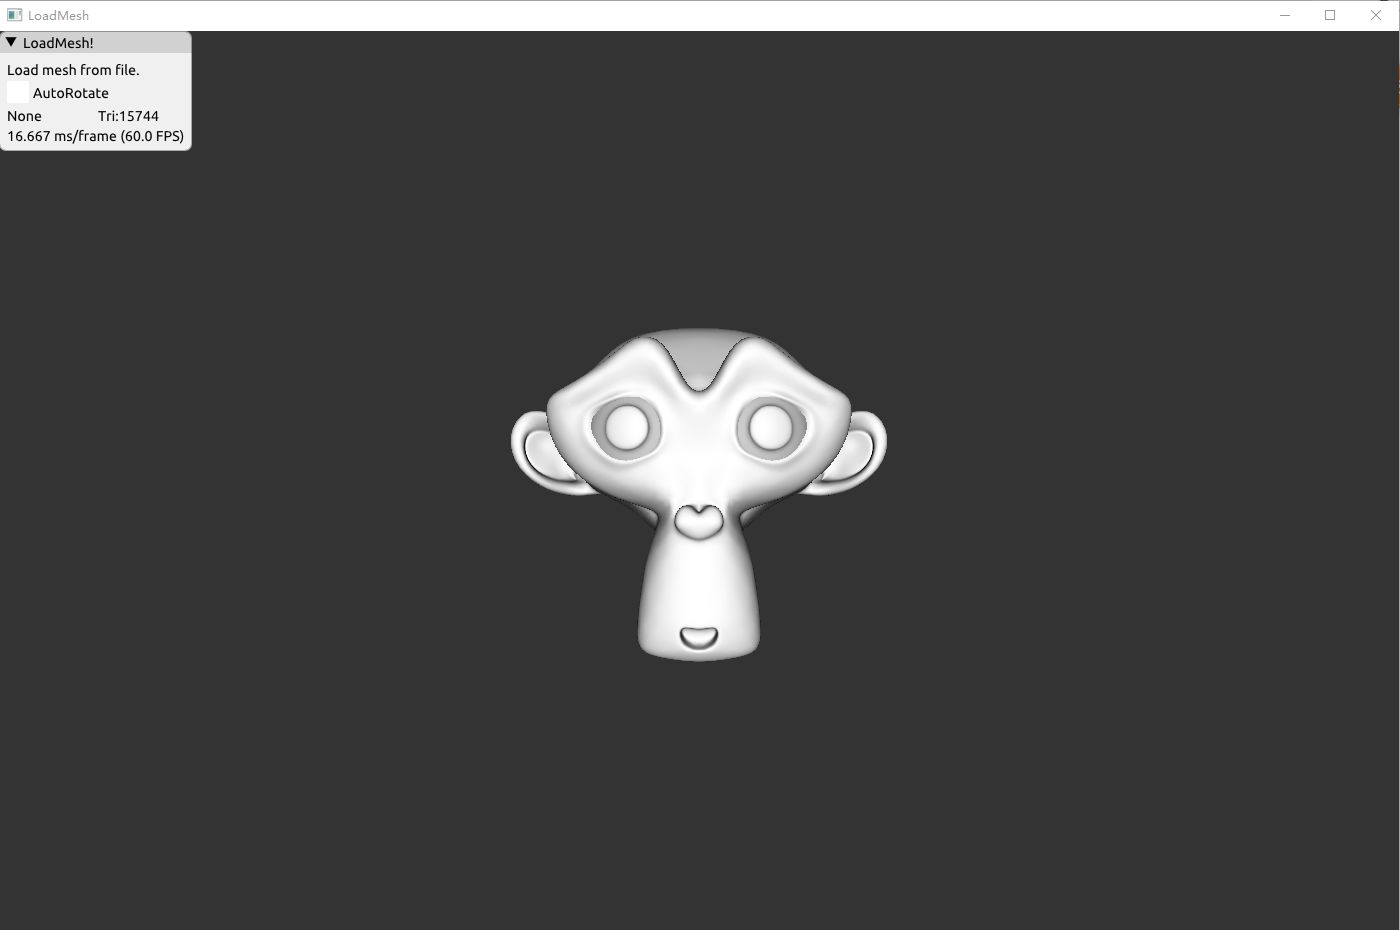
    博客地址 9_LoadMesh

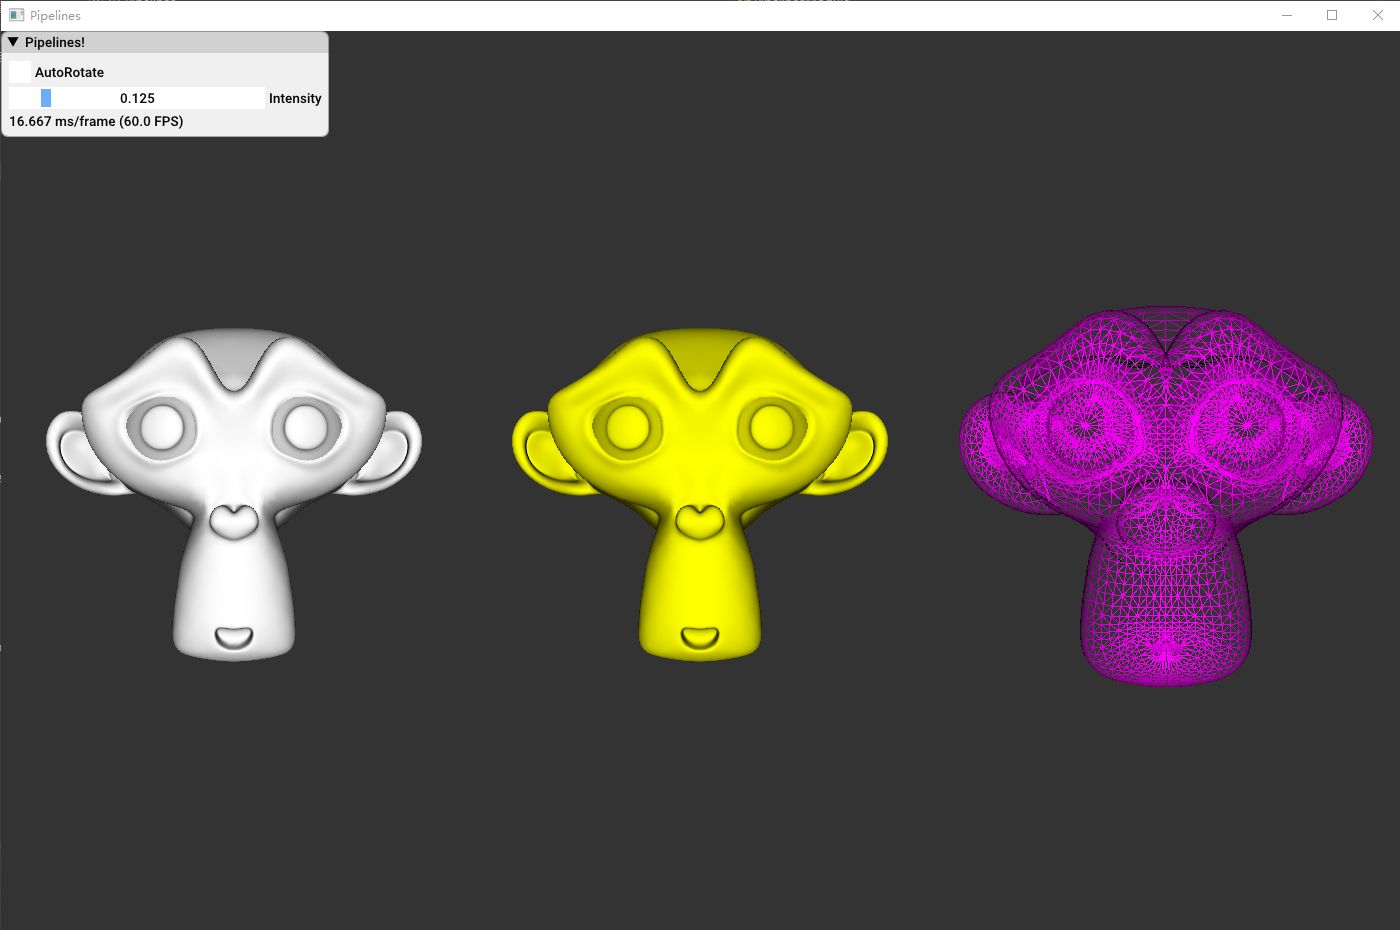
    博客地址 10_Pipelines

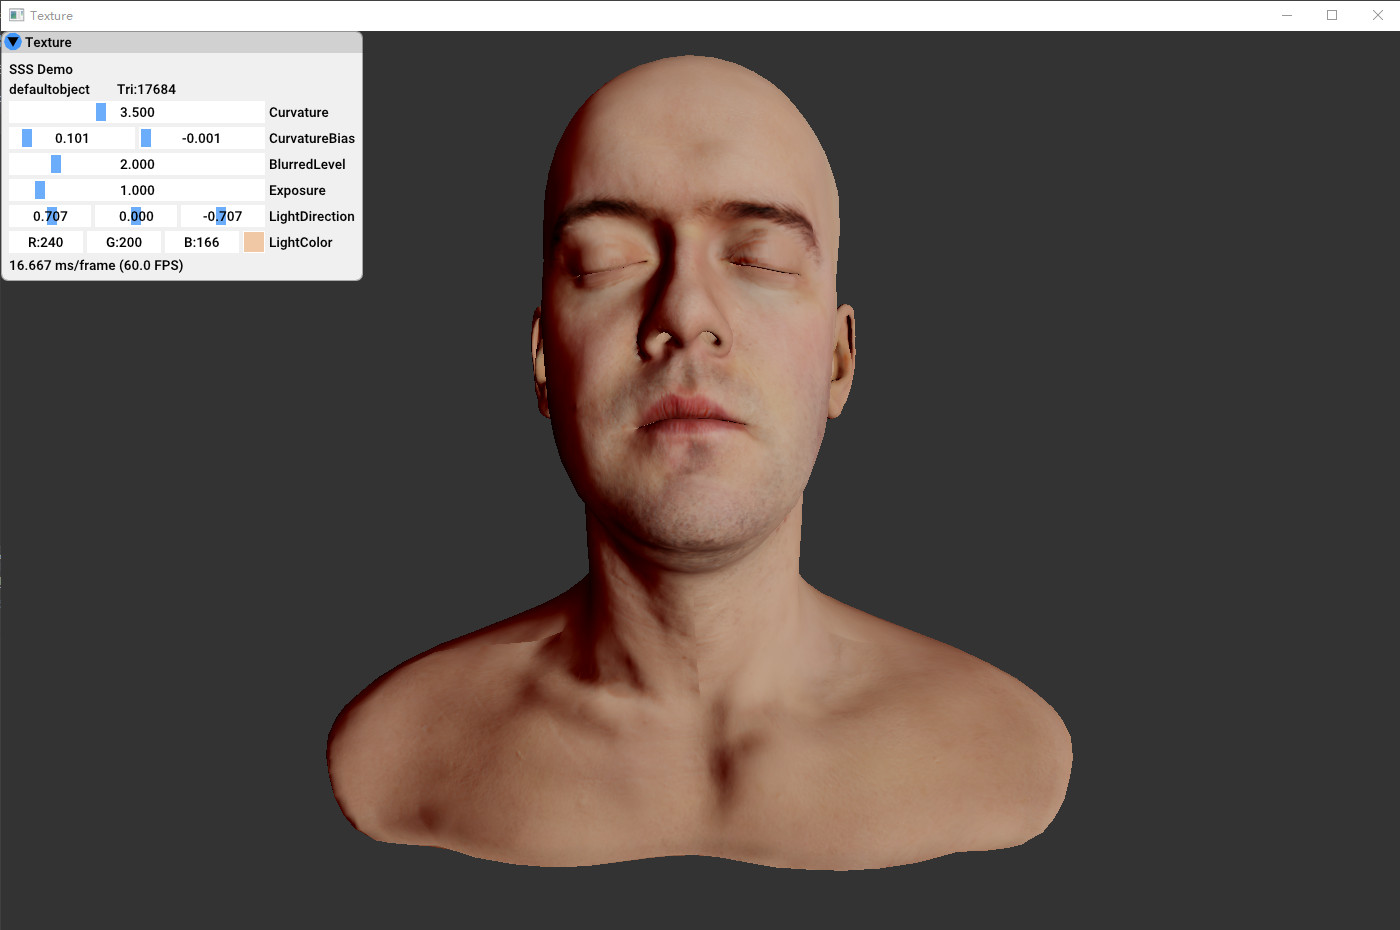
    博客地址 11_Texture

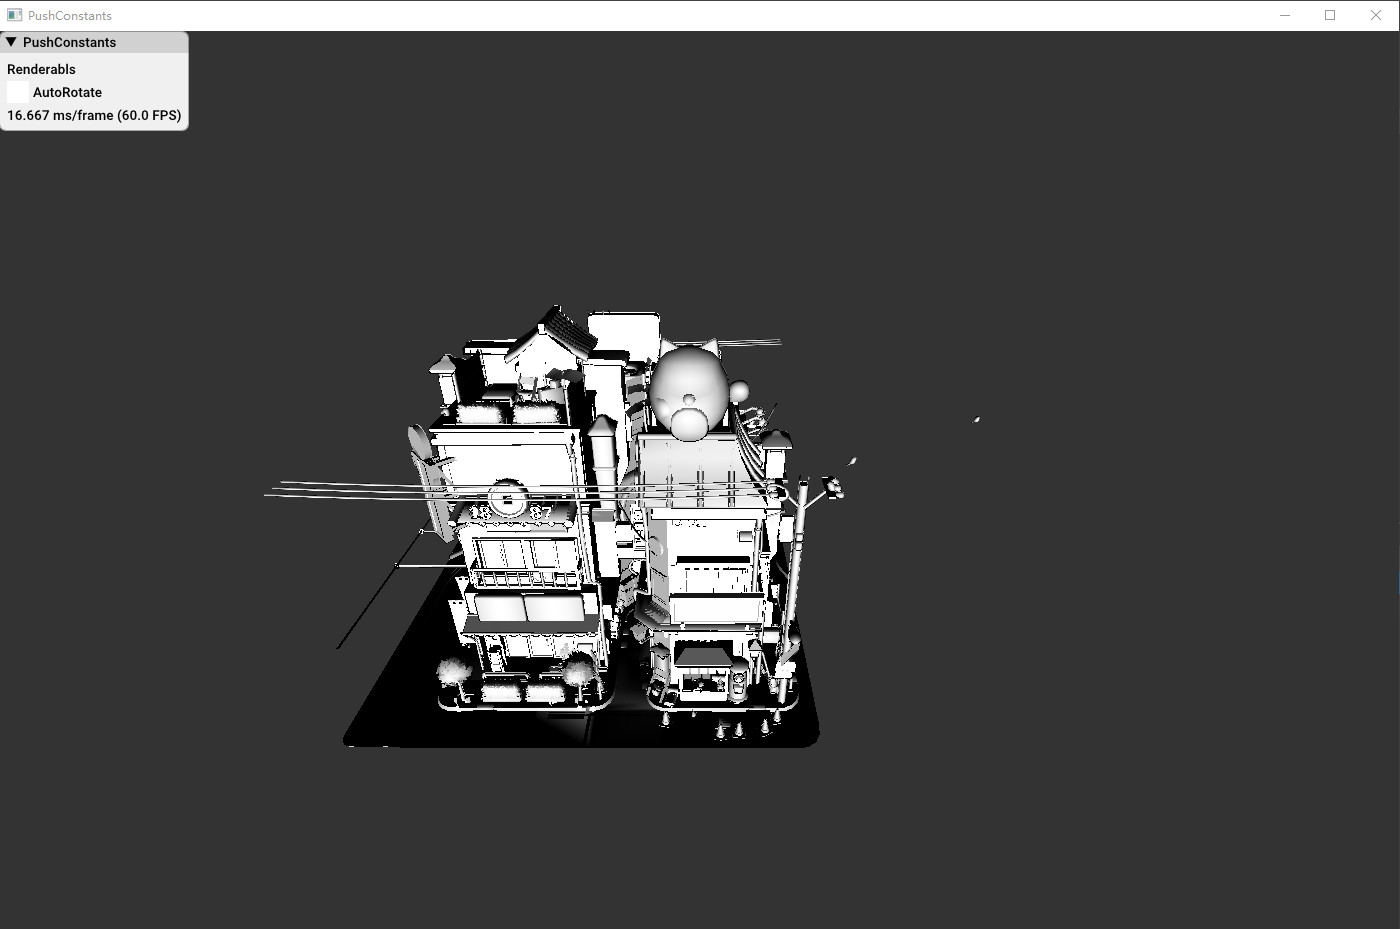
    博客地址 12_PushConstants

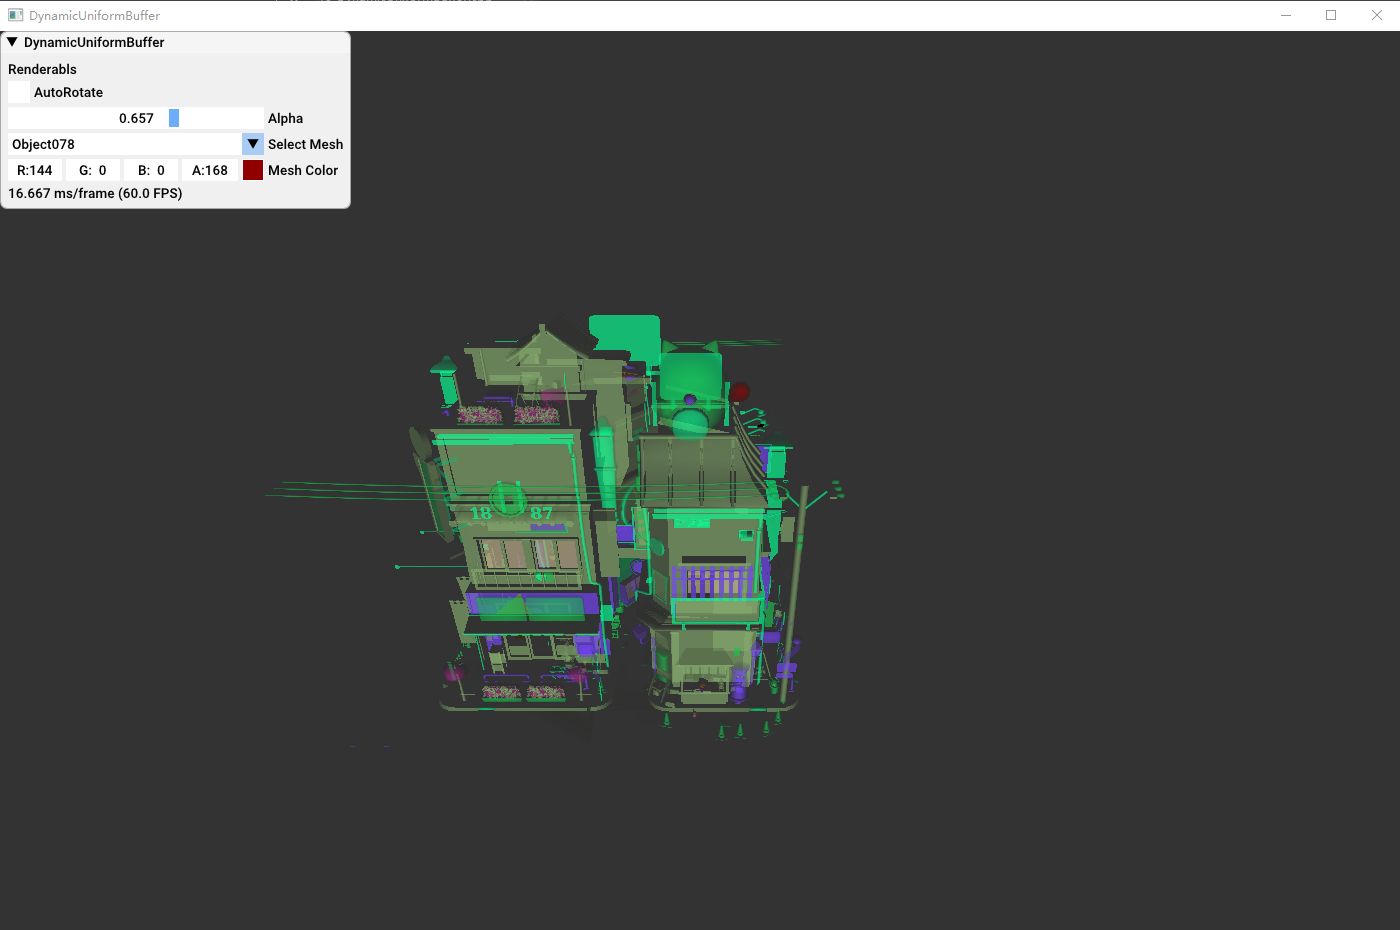
    博客地址 13_DynamicUniformBuffer

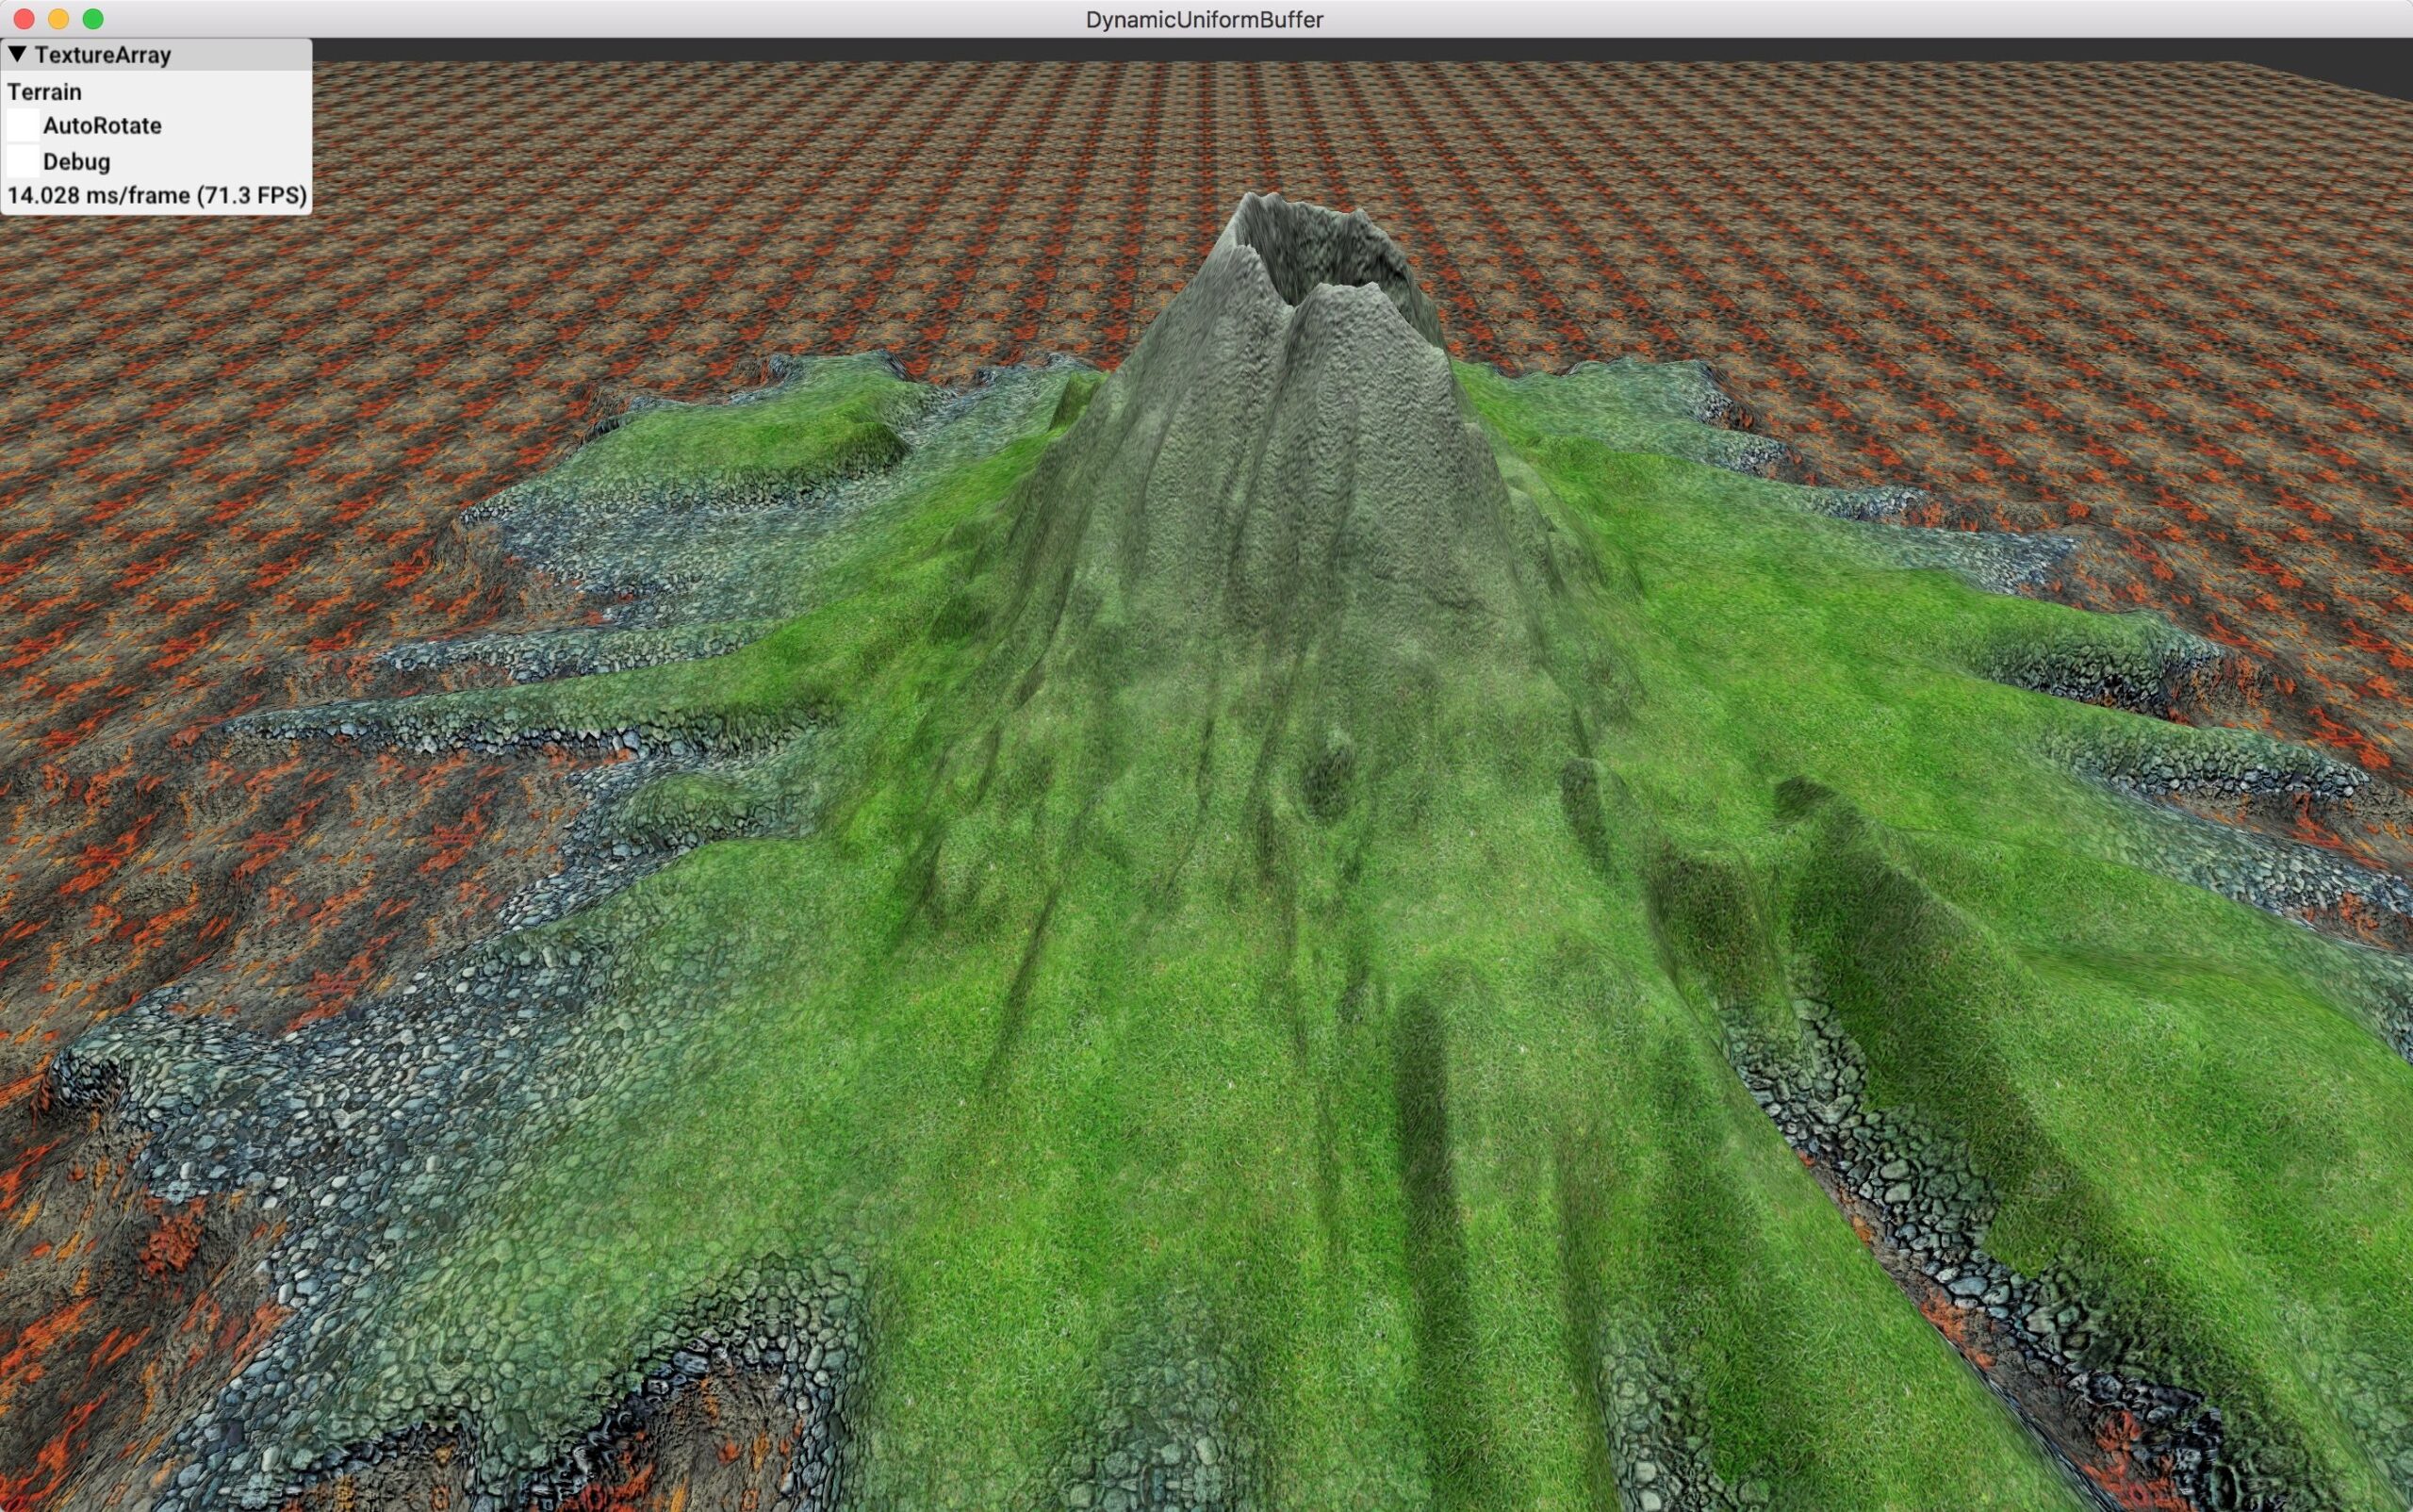
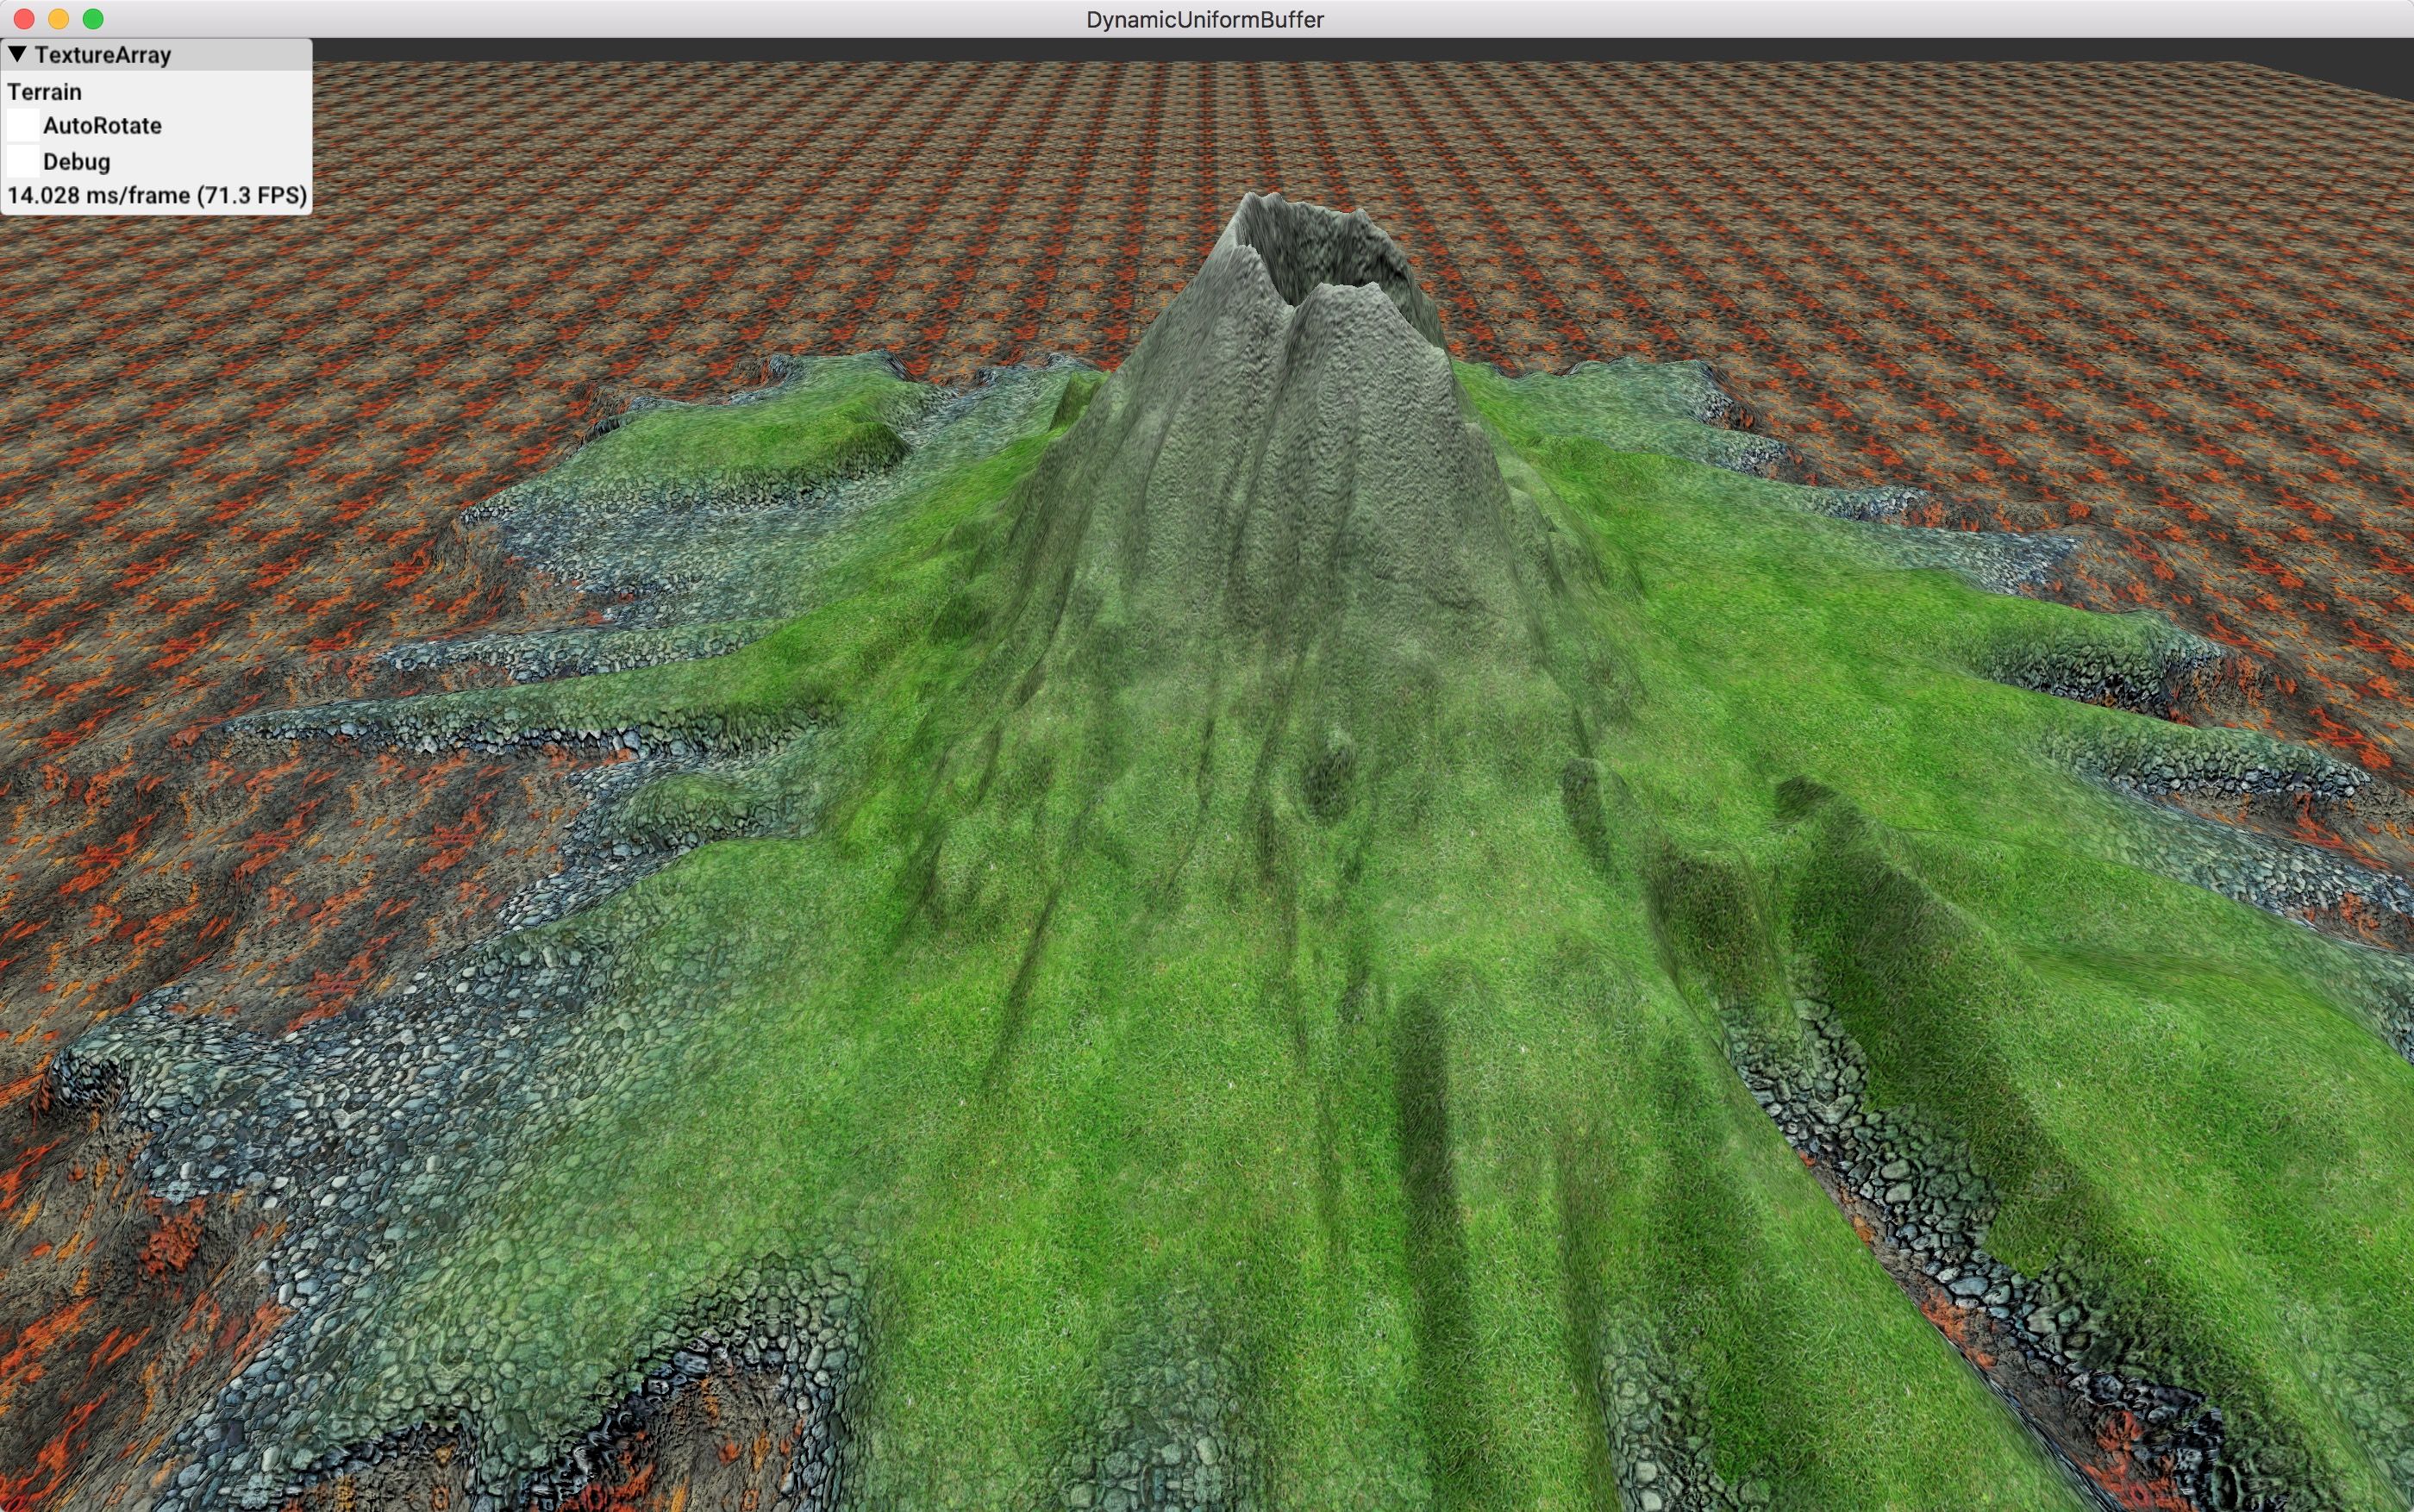
    博客地址 14_TextureArray

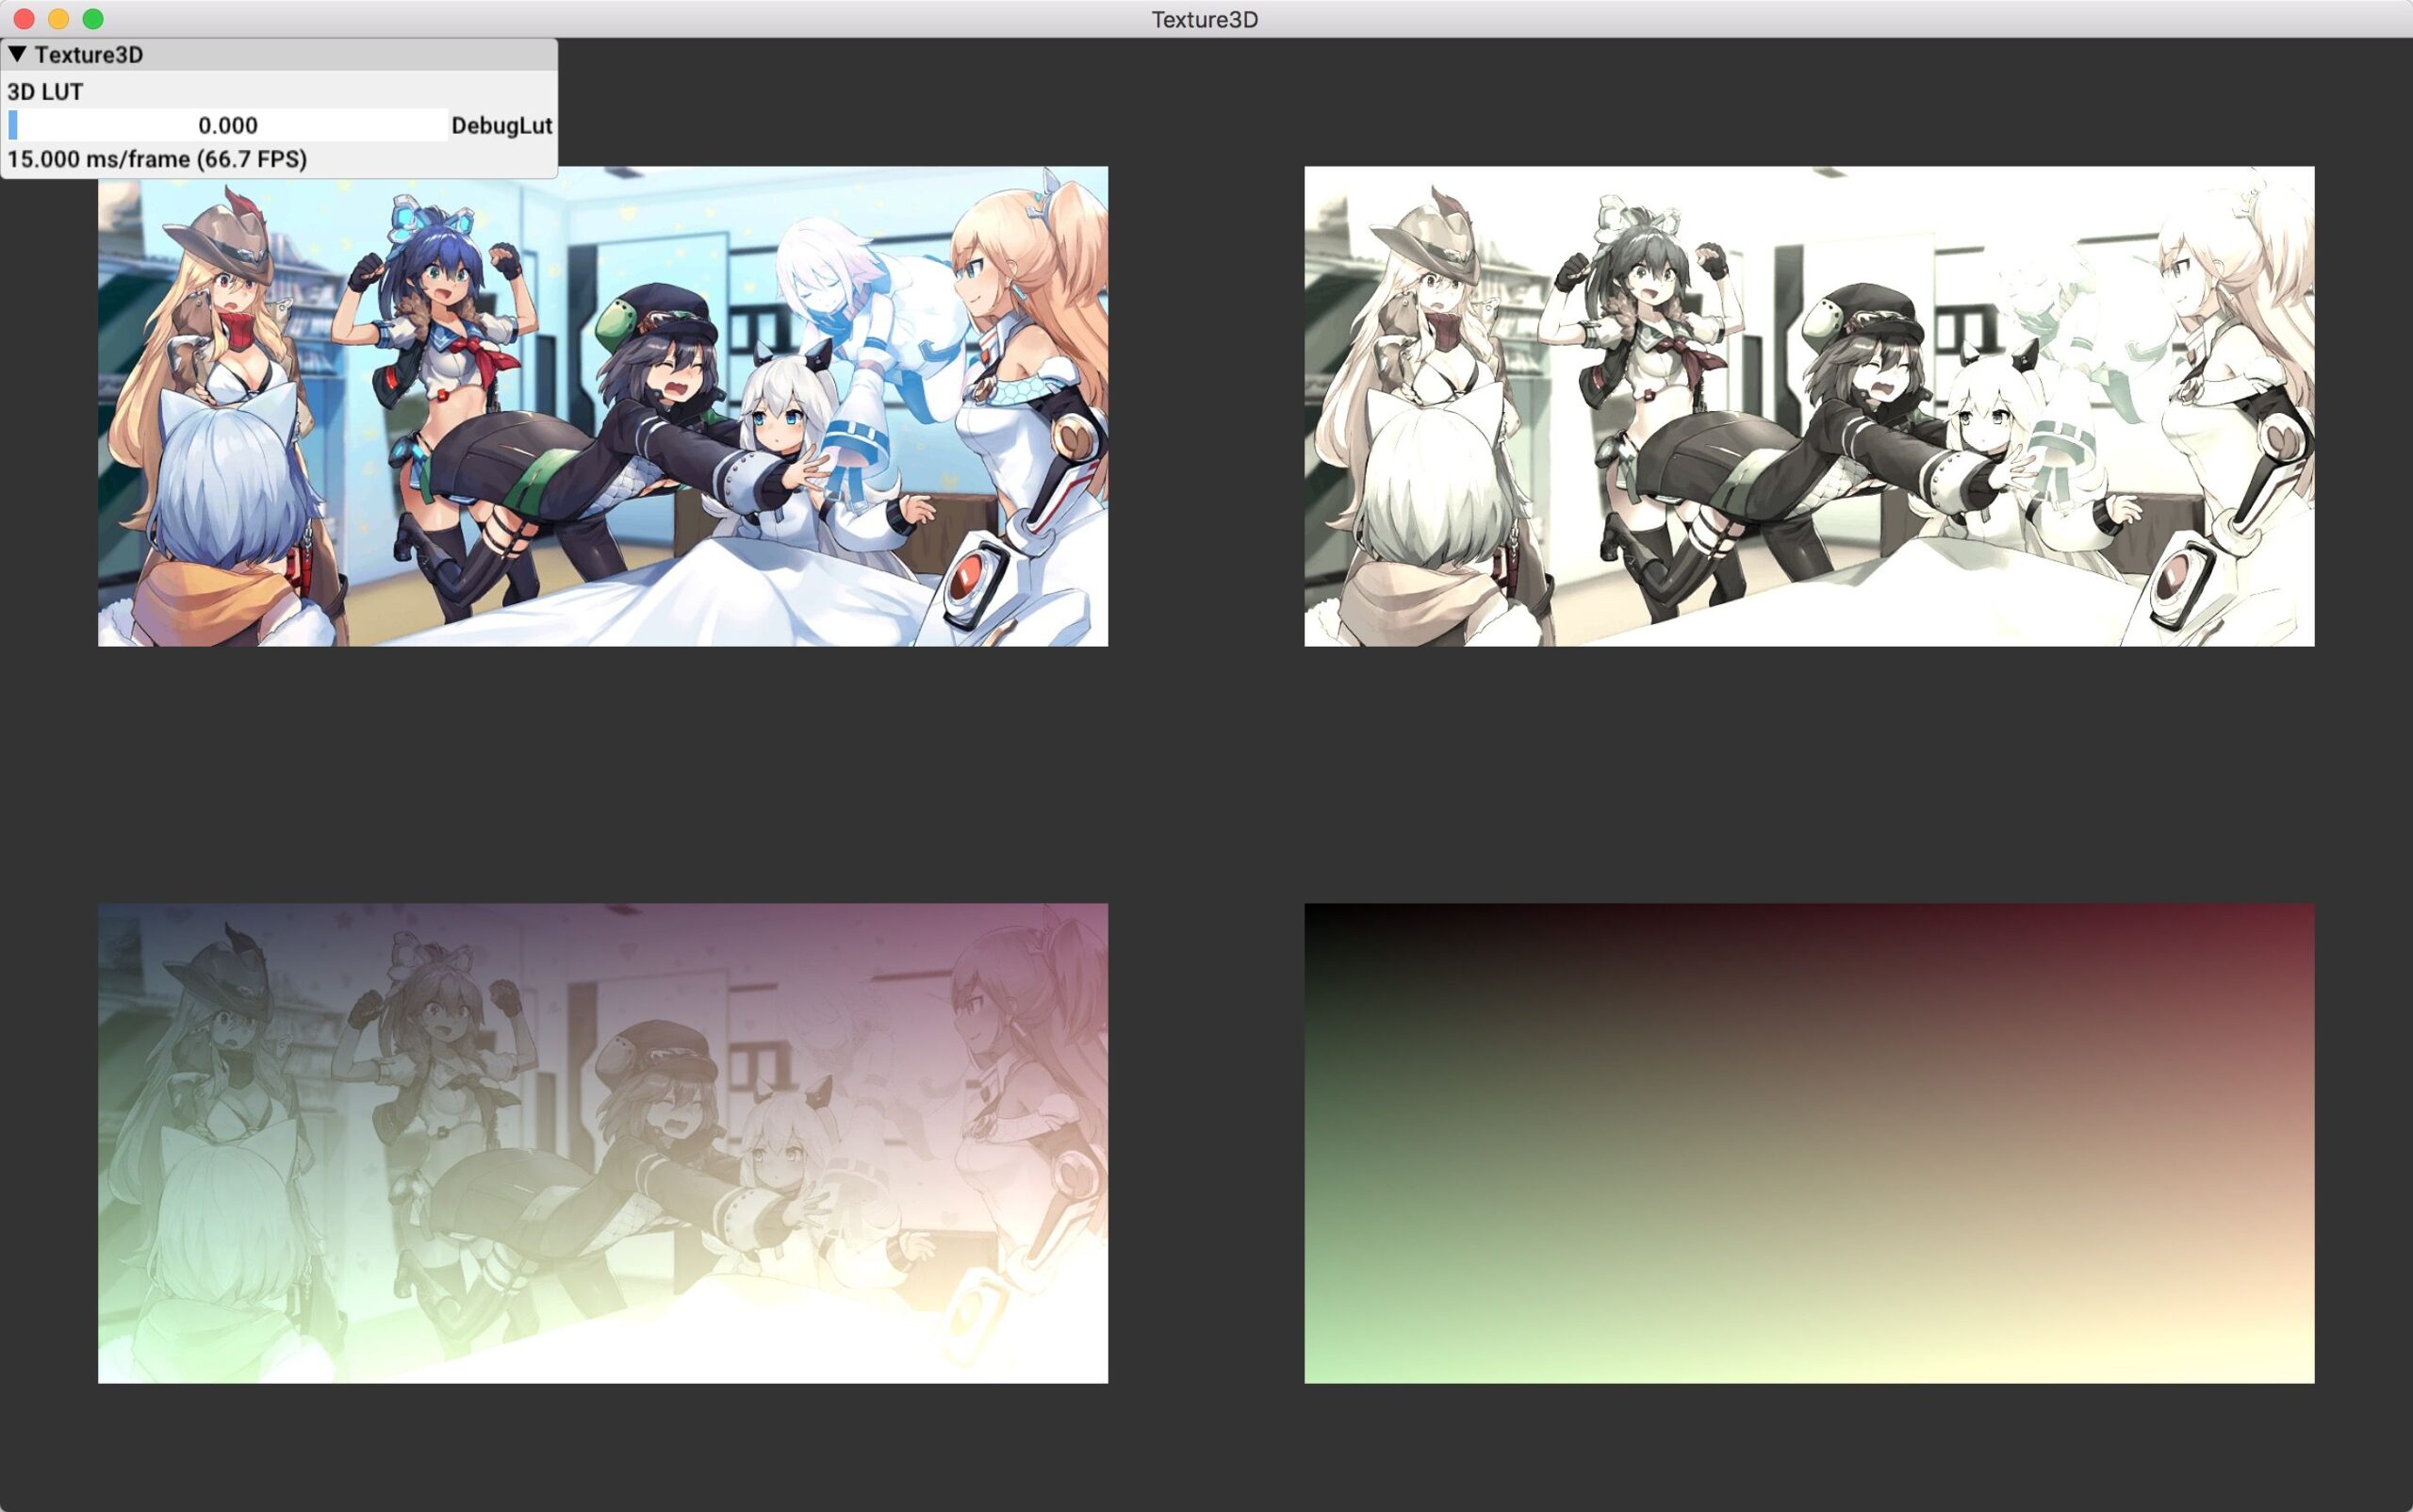
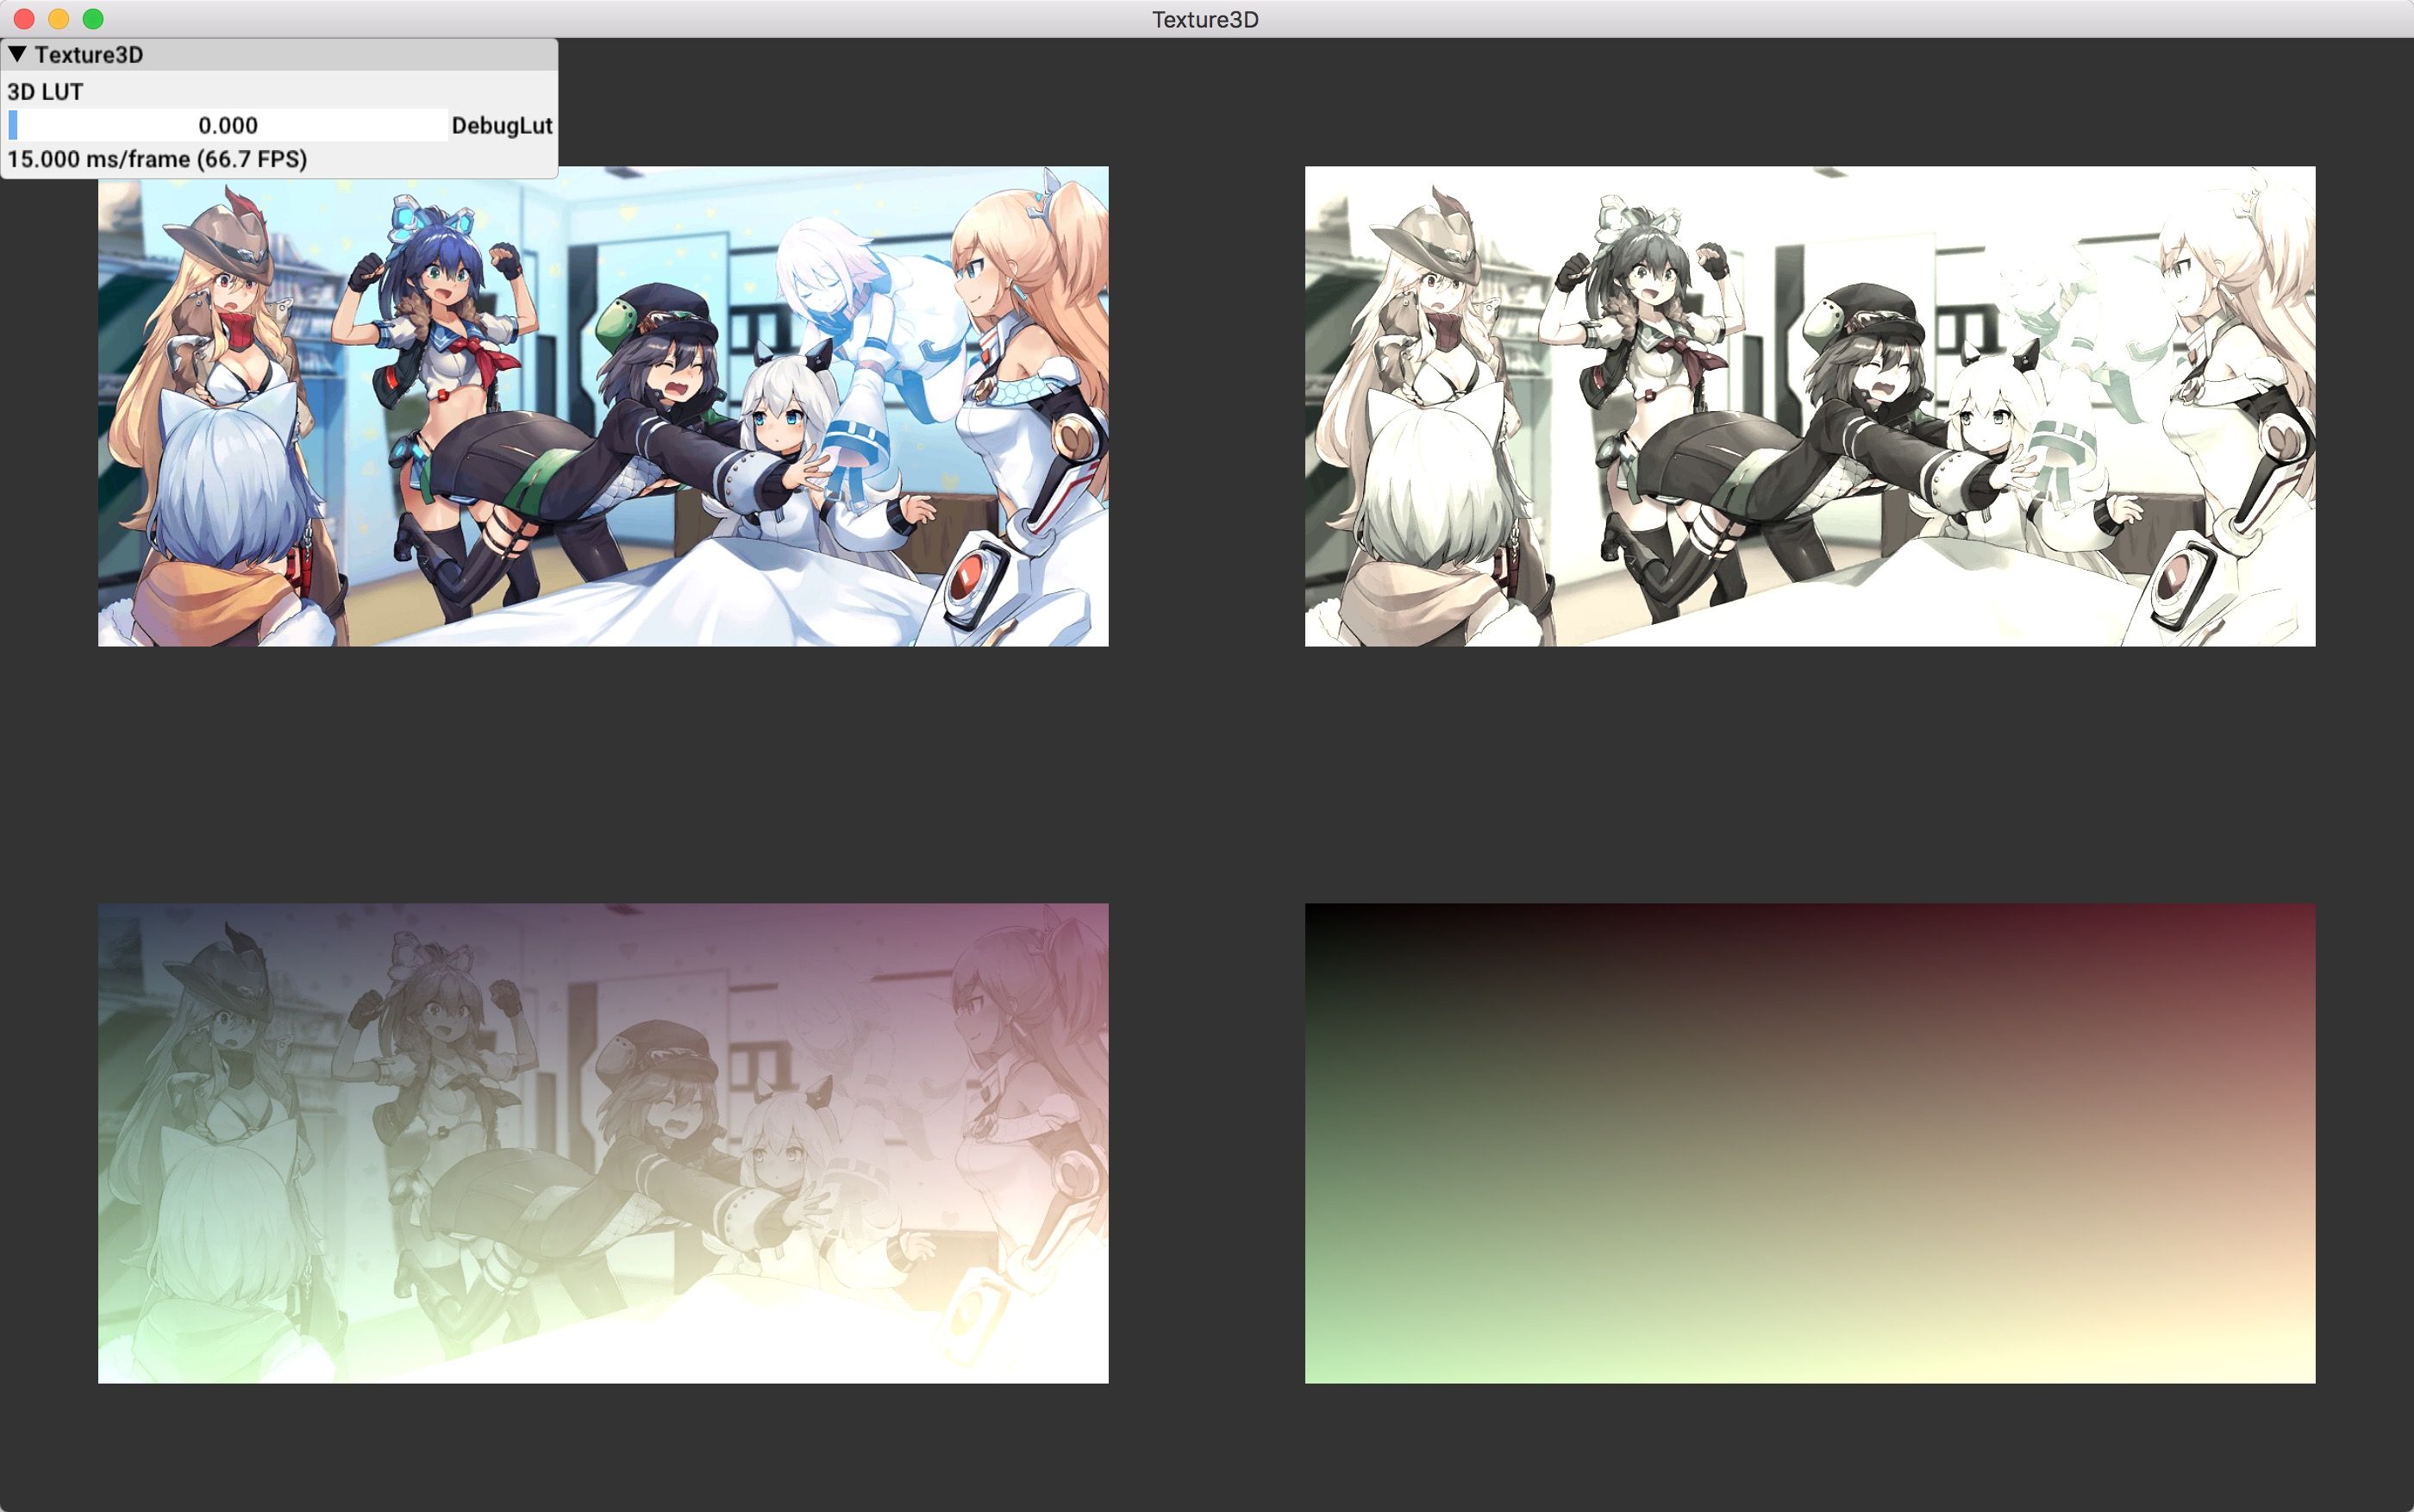
    博客地址 15_Texture3D

    博客地址

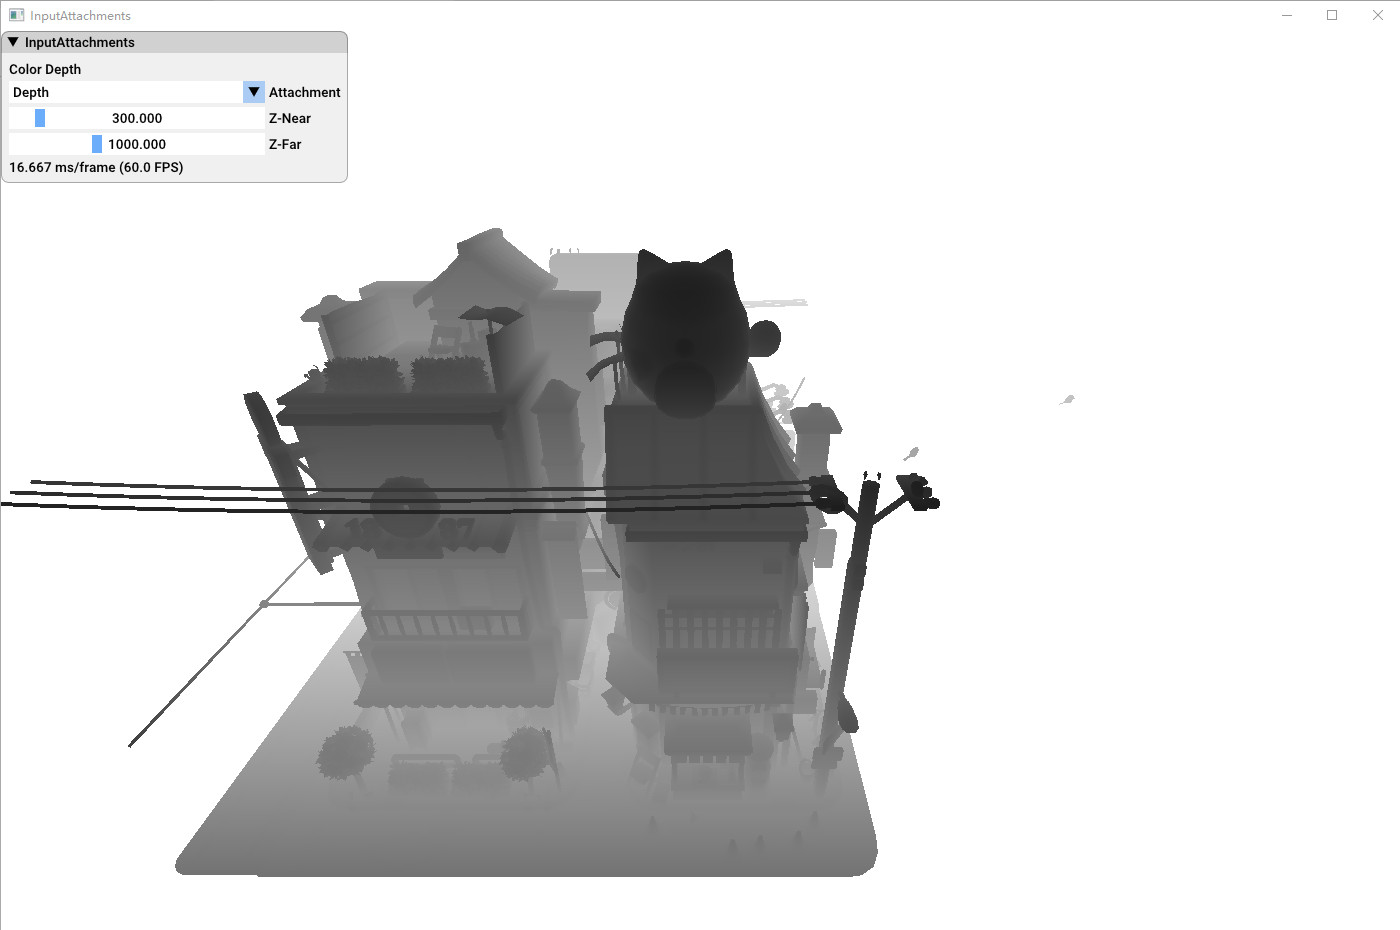
    17_InputAttachments

    博客地址

    • Albedo:VK_FORMAT_R8G8B8A8_UNORM
    • Normal:VK_FORMAT_R16G16B16A16_SFLOAT
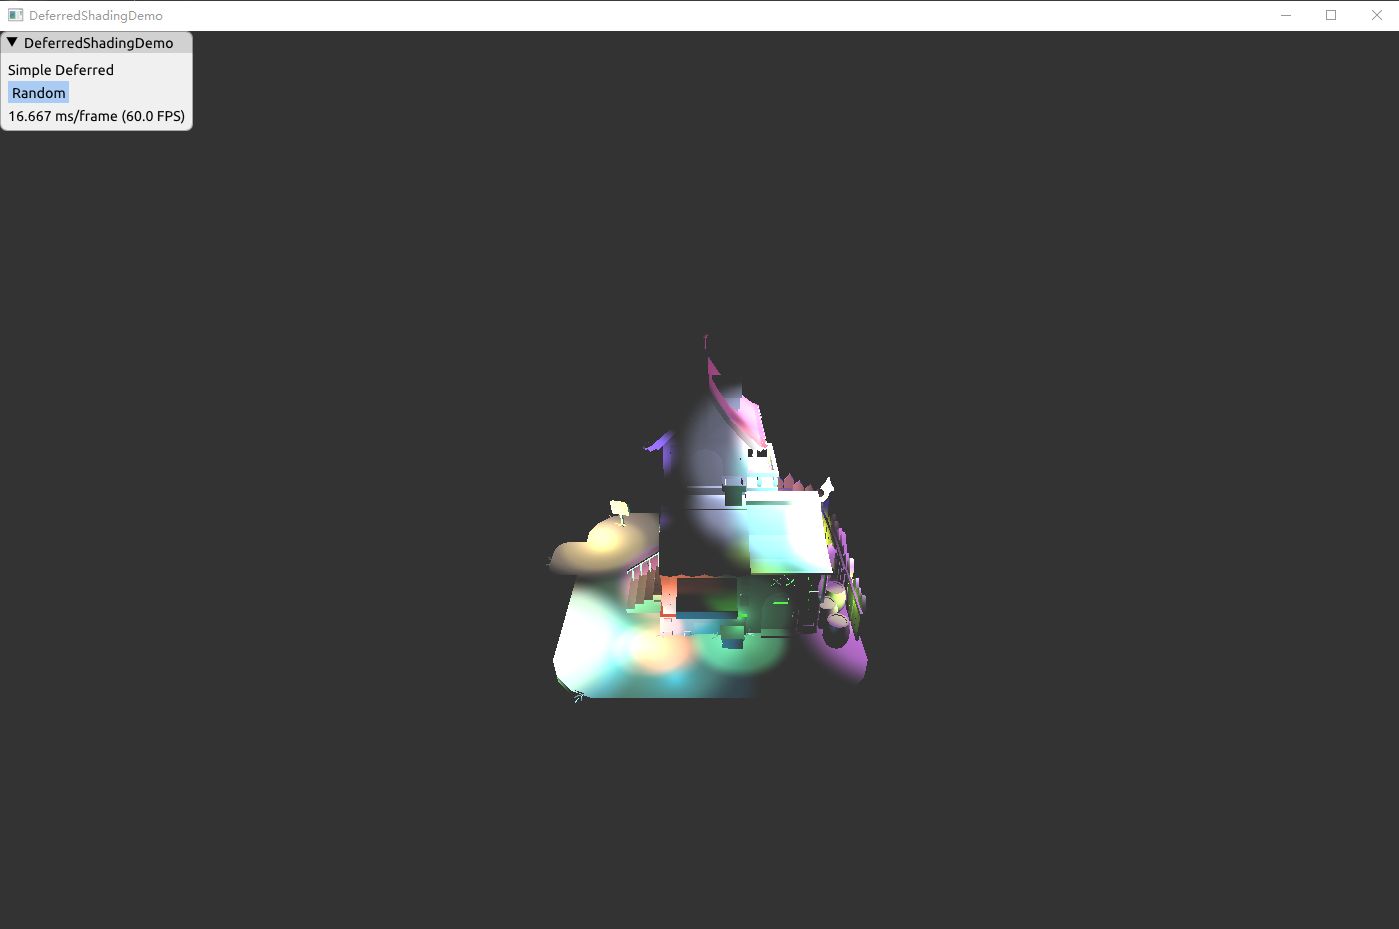
    • Position:VK_FORMAT_R16G16B16A16_SFLOAT 18_DeferredShading

    博客地址

    • Albedo: VK_FORMAT_R8G8B8A8_UNORM
    • Normal: VK_FORMAT_R8G8B8A8_UNORM
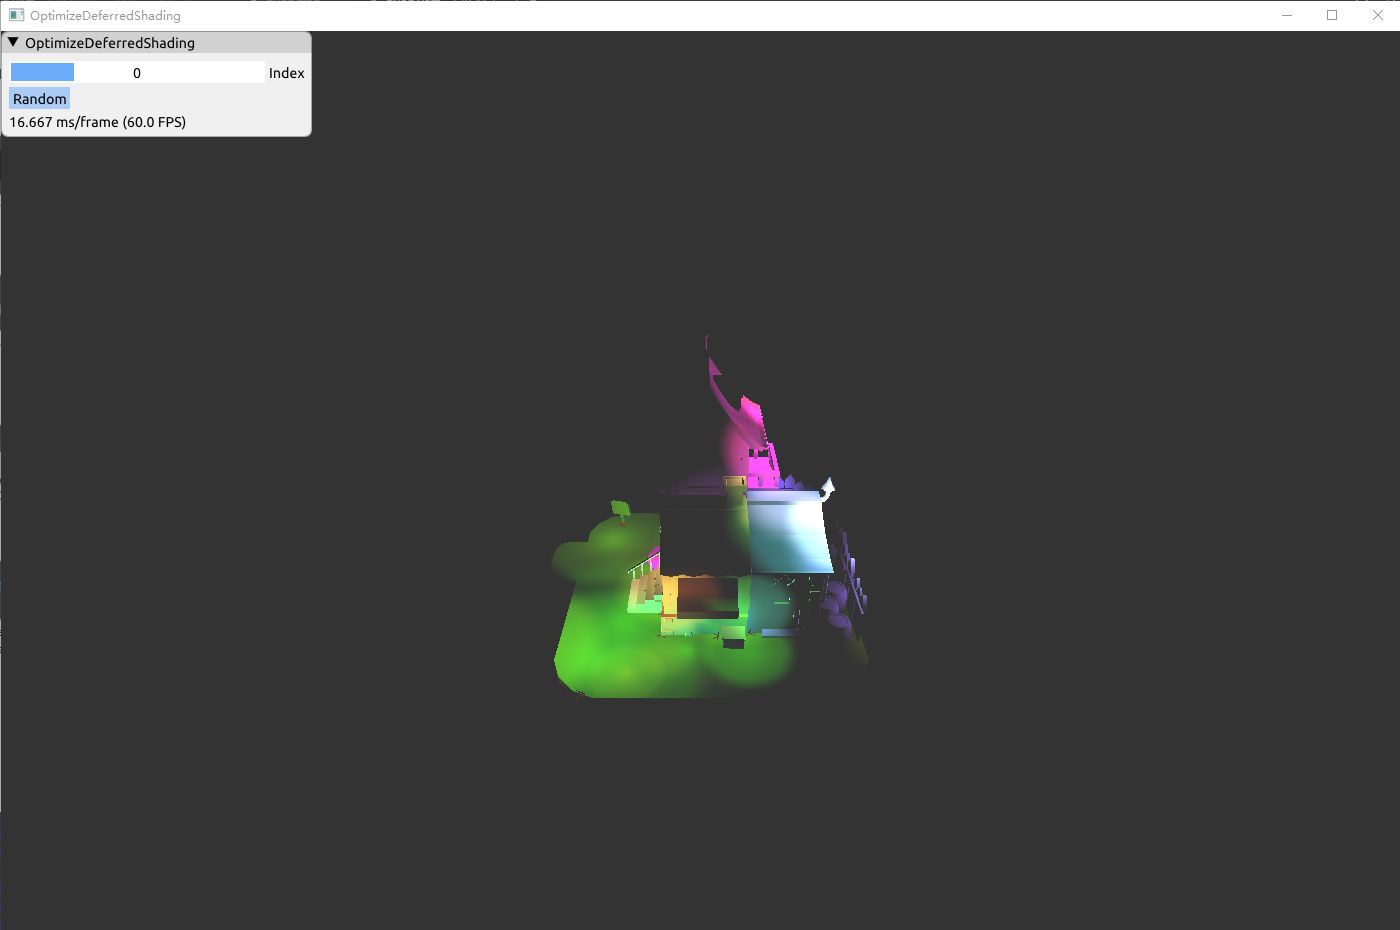
    • Position: Reconstructing world space position from depth buffer 19_OptimizeDeferredShading

    博客地址

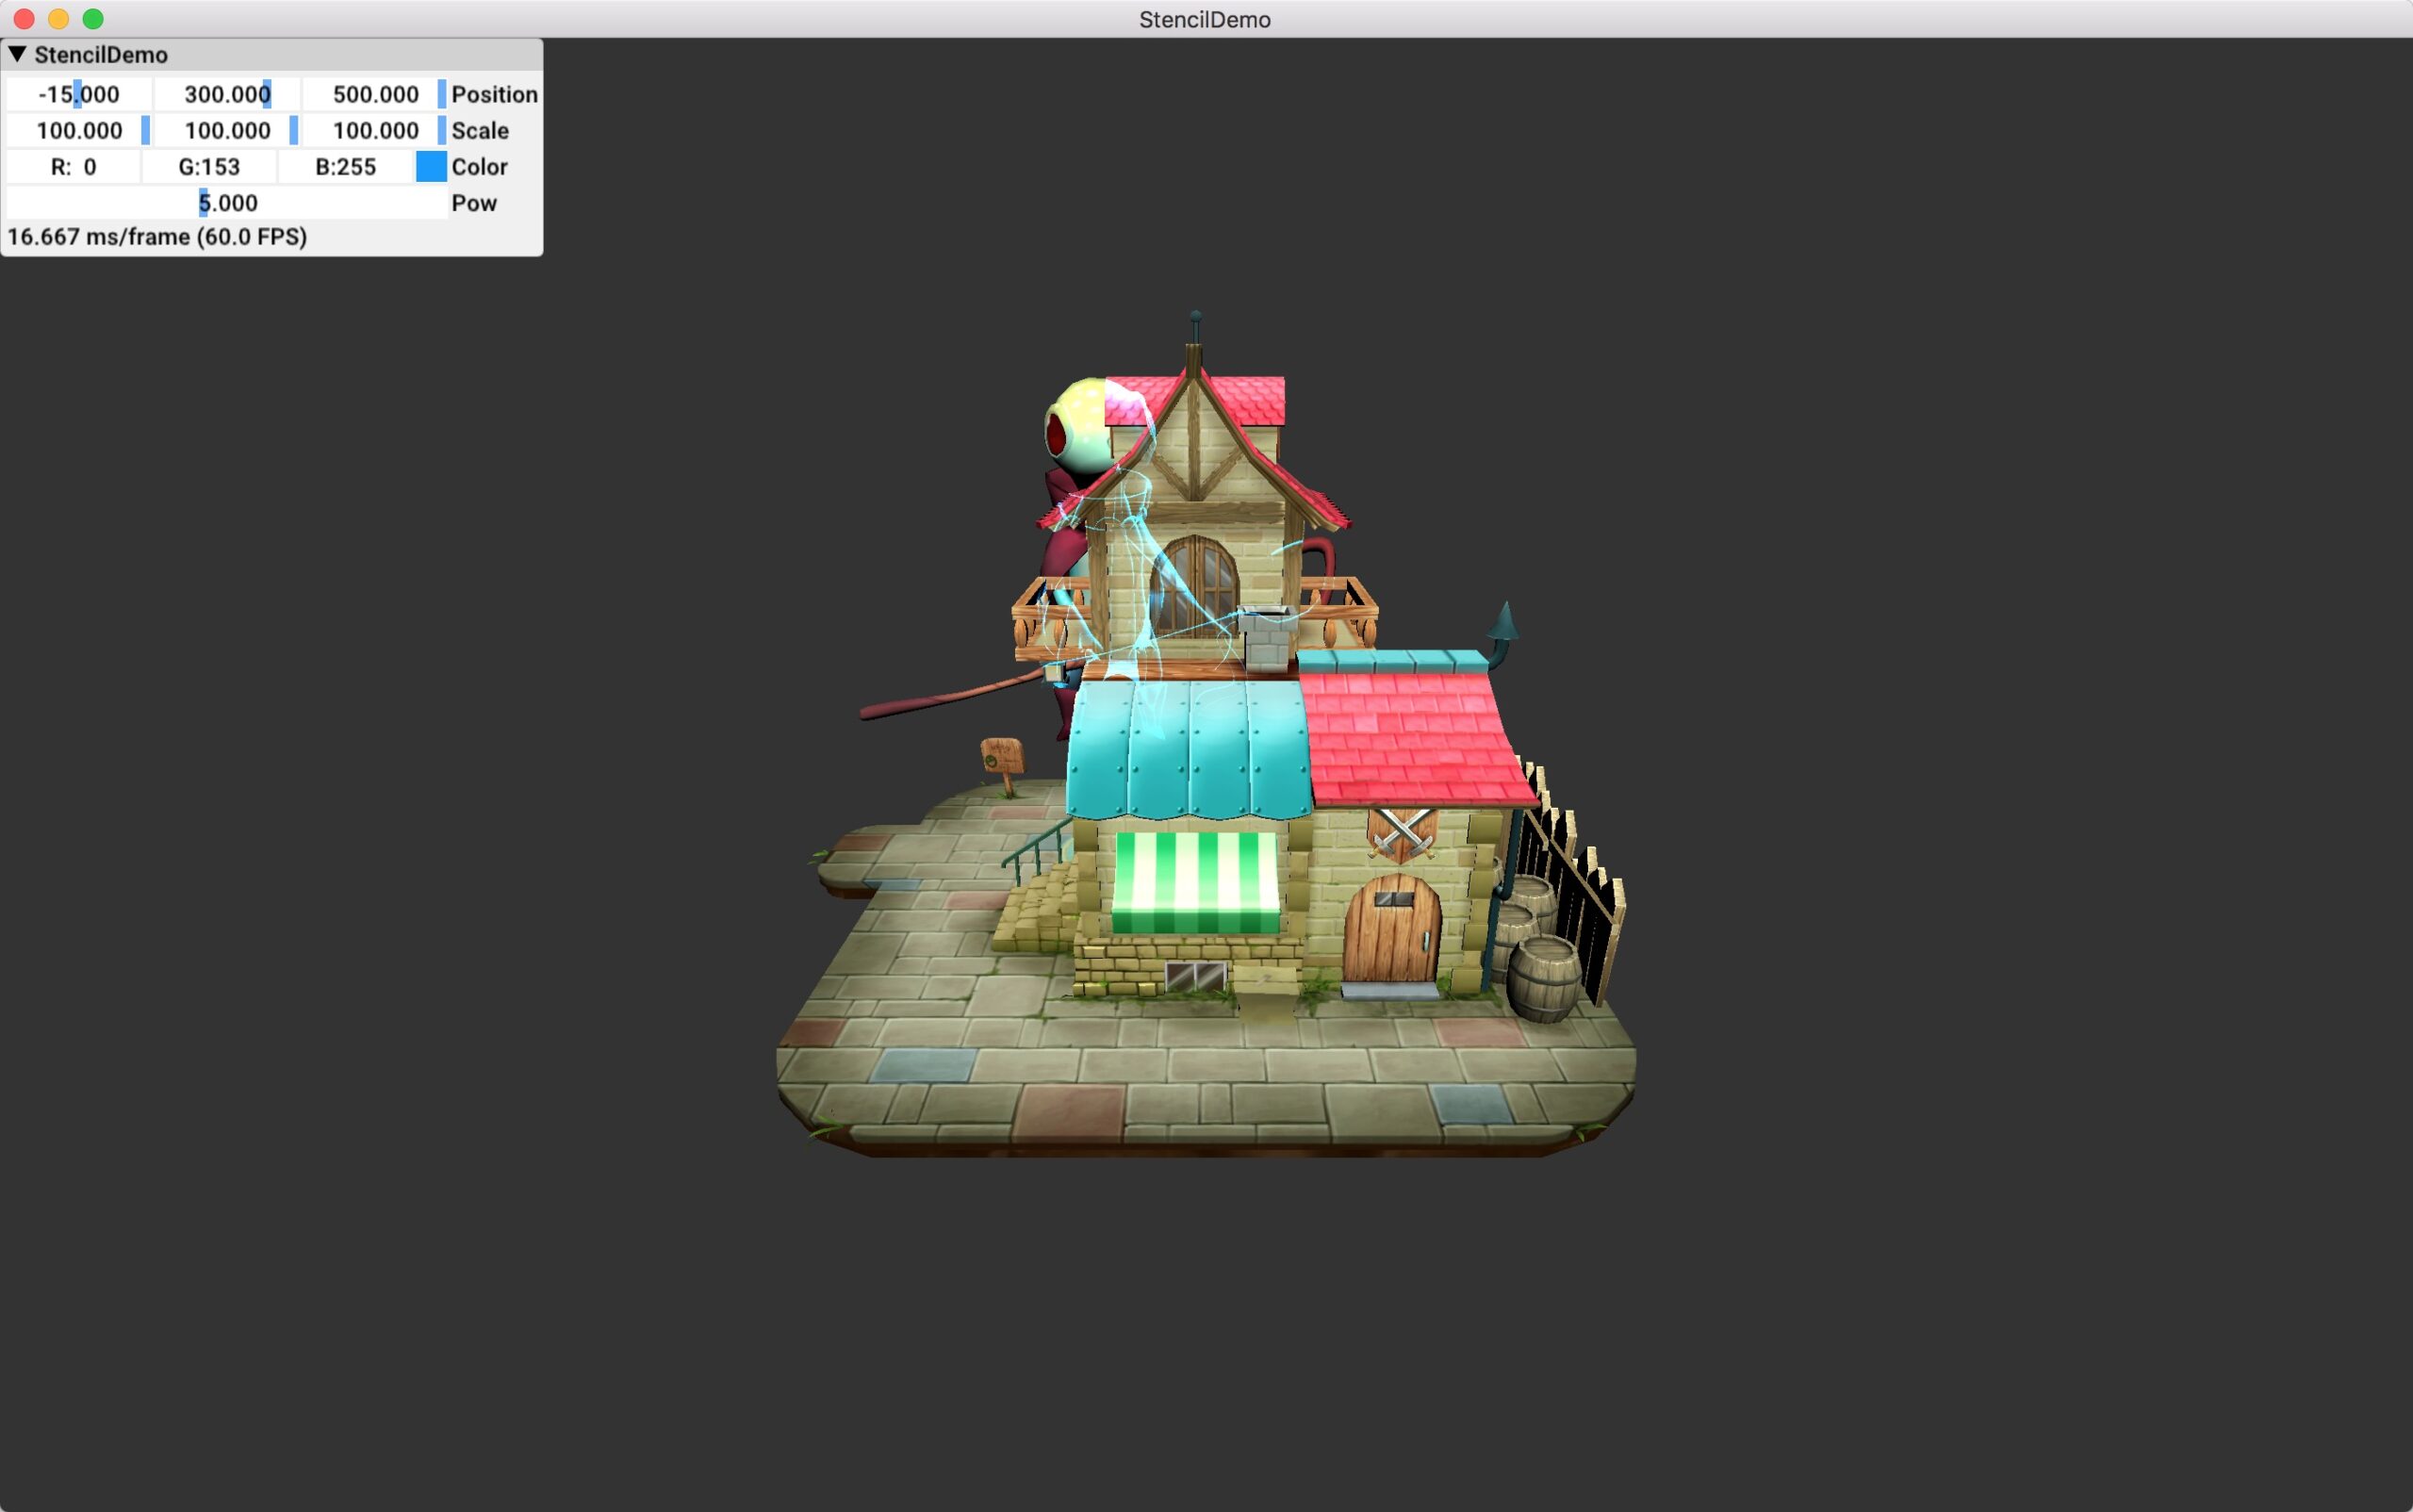
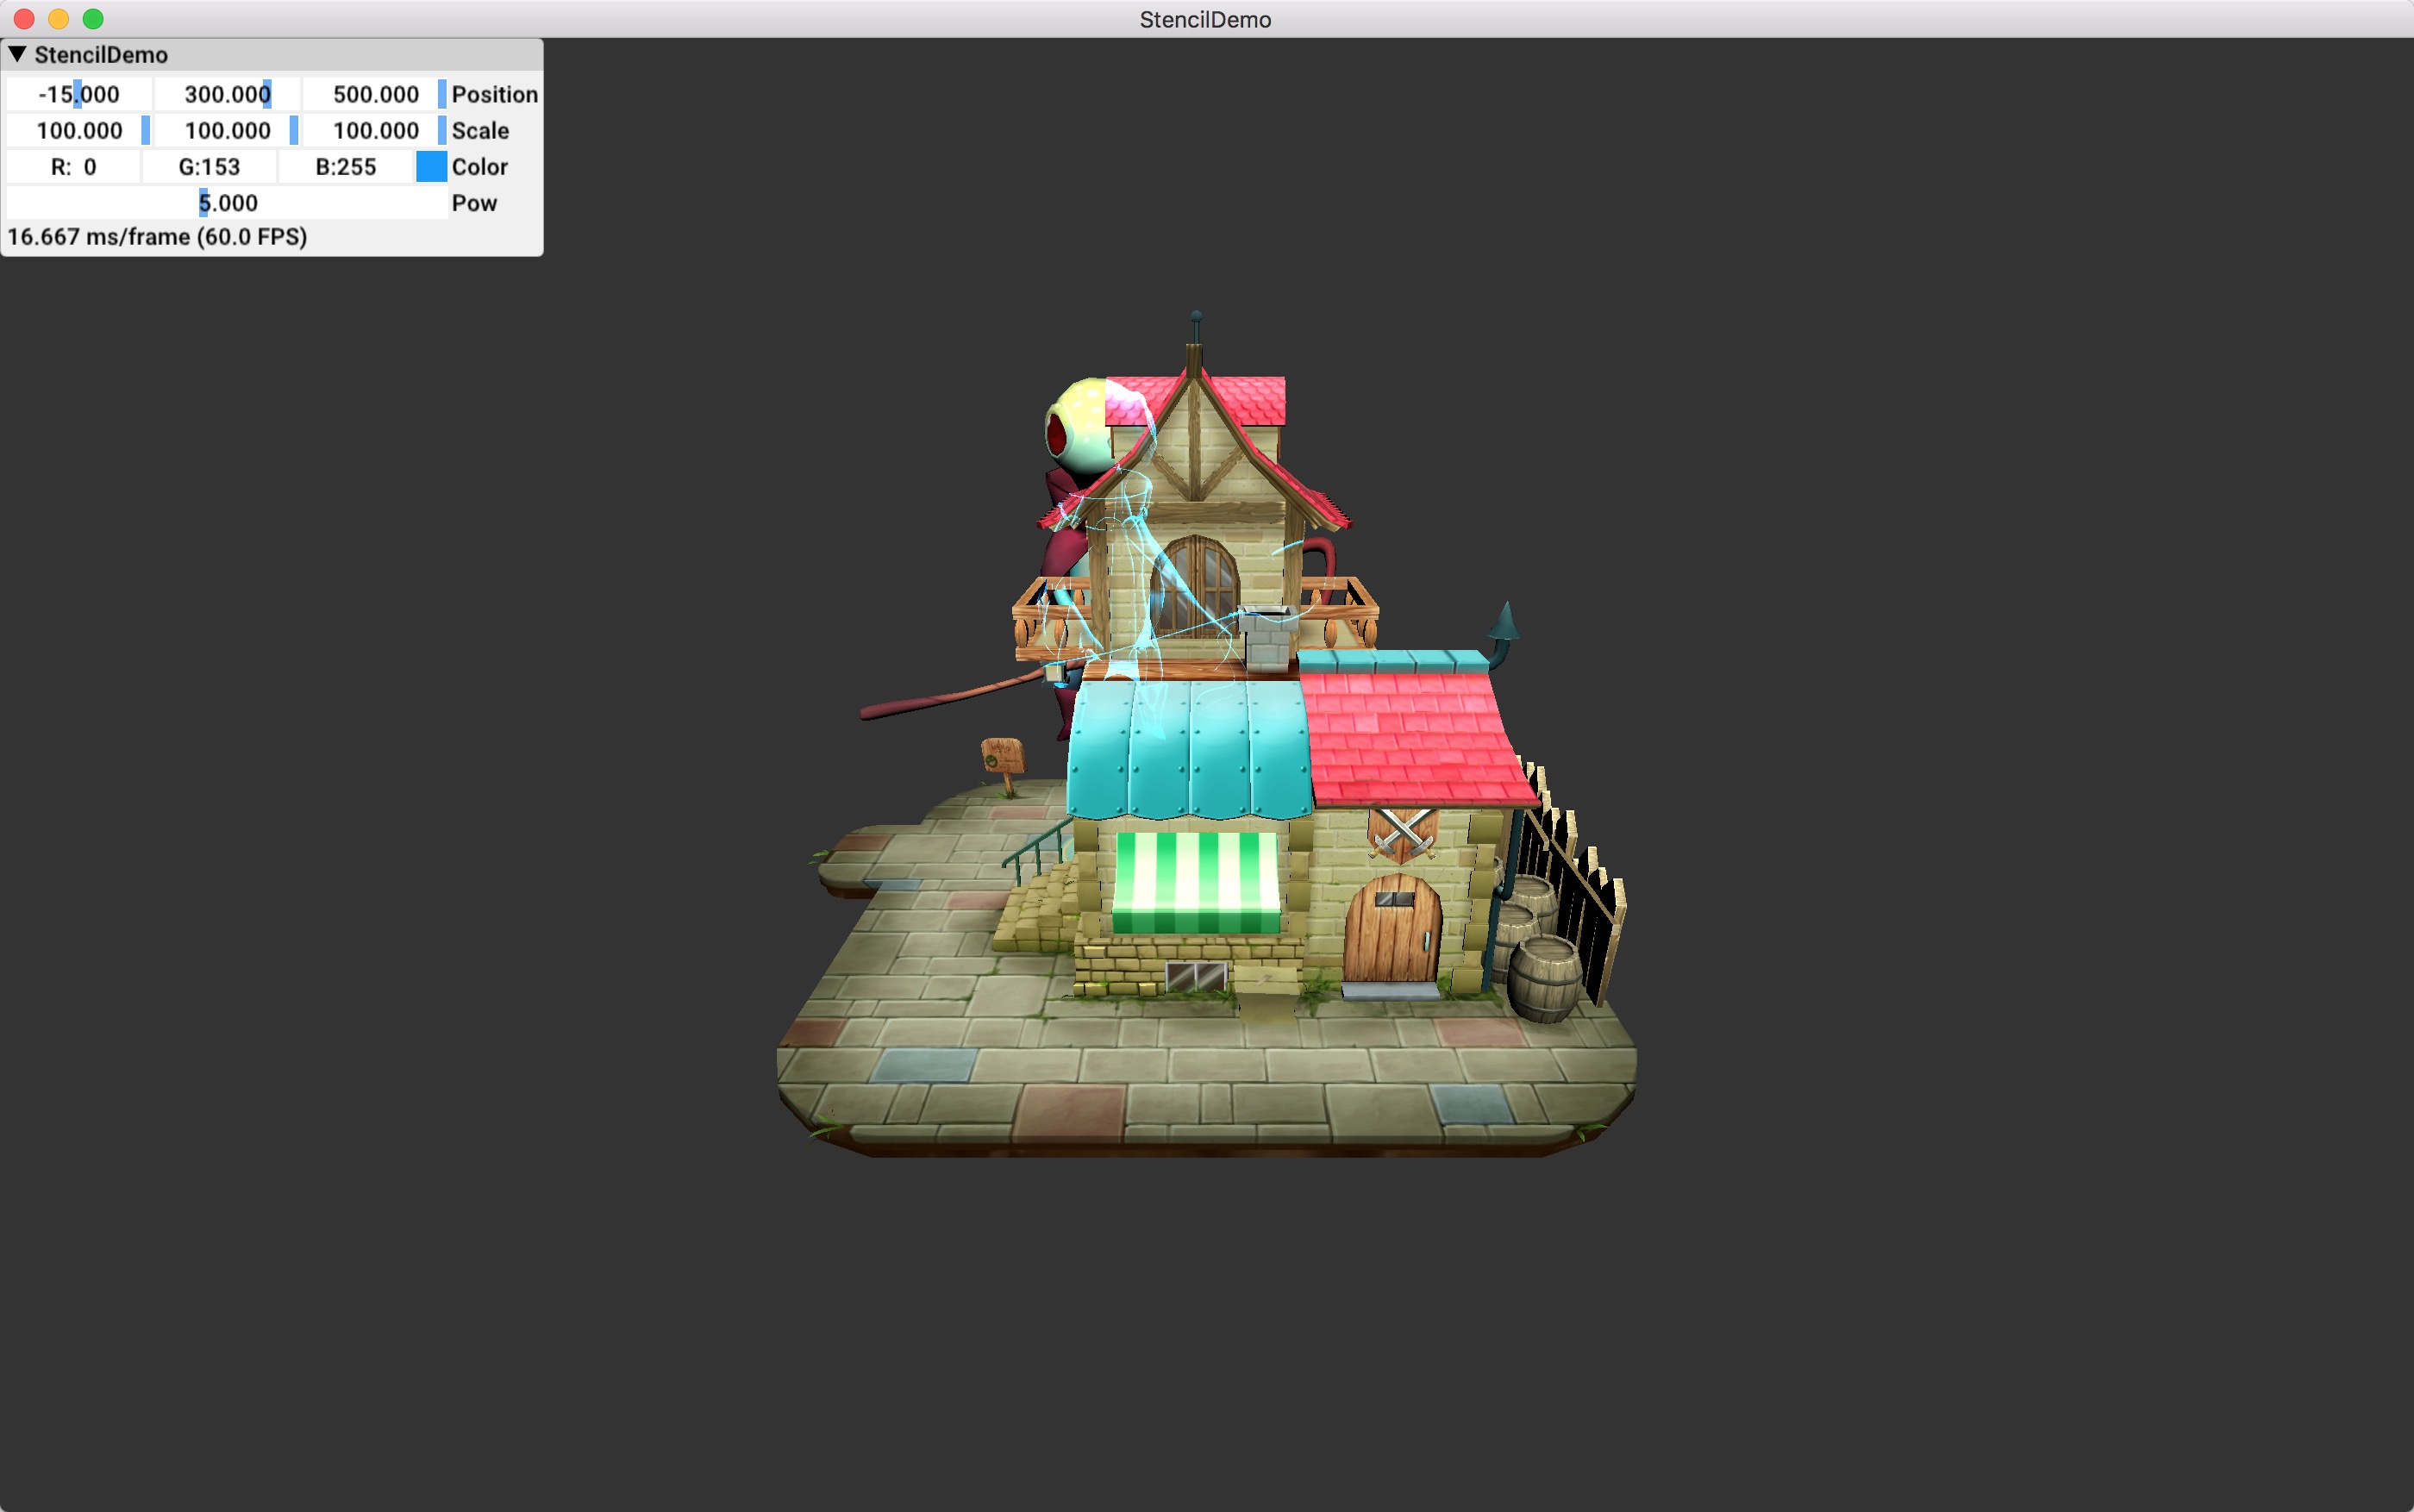
    博客地址 21_Stencil

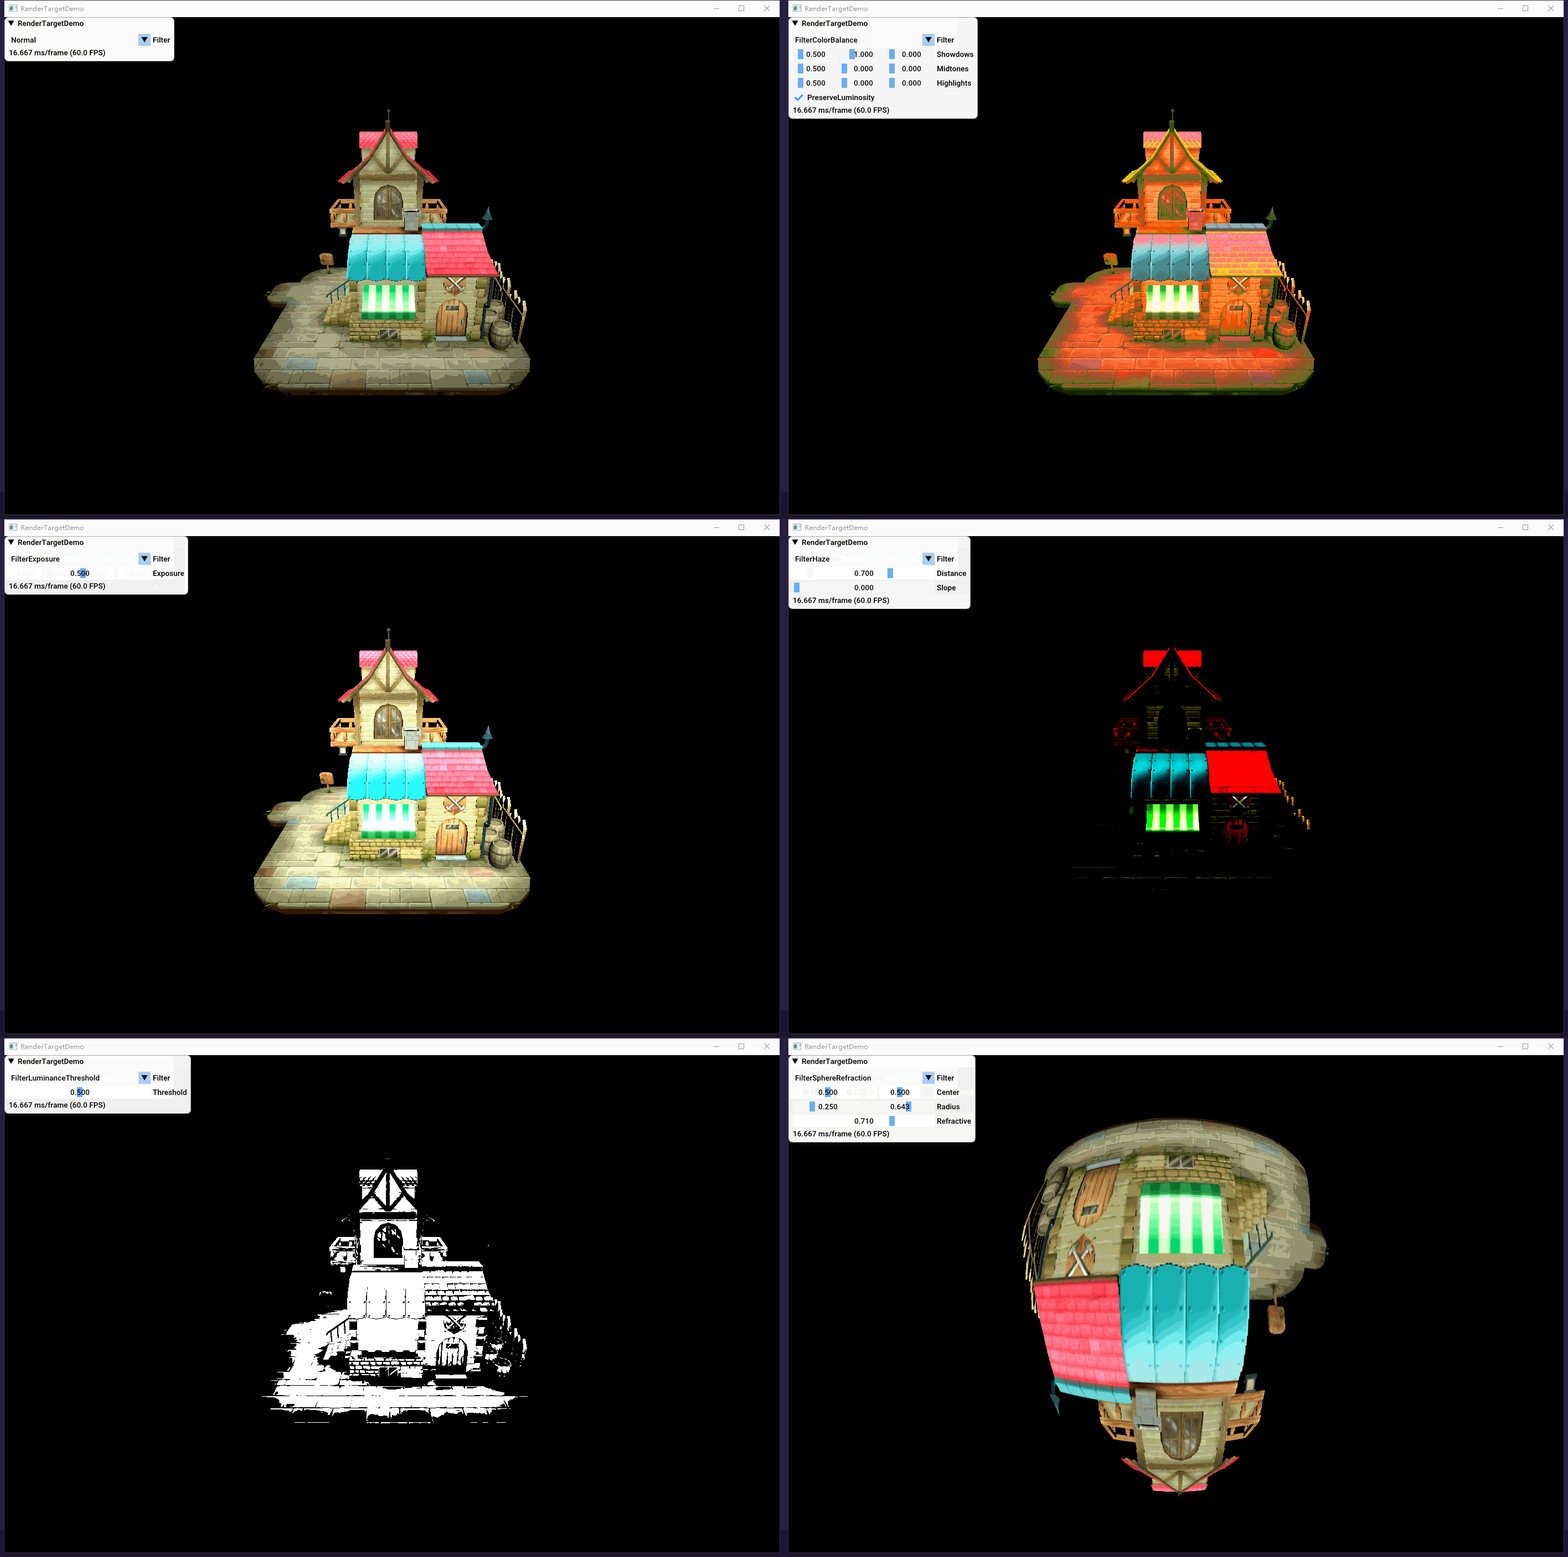
    博客地址 22_RenderTarget

    博客地址

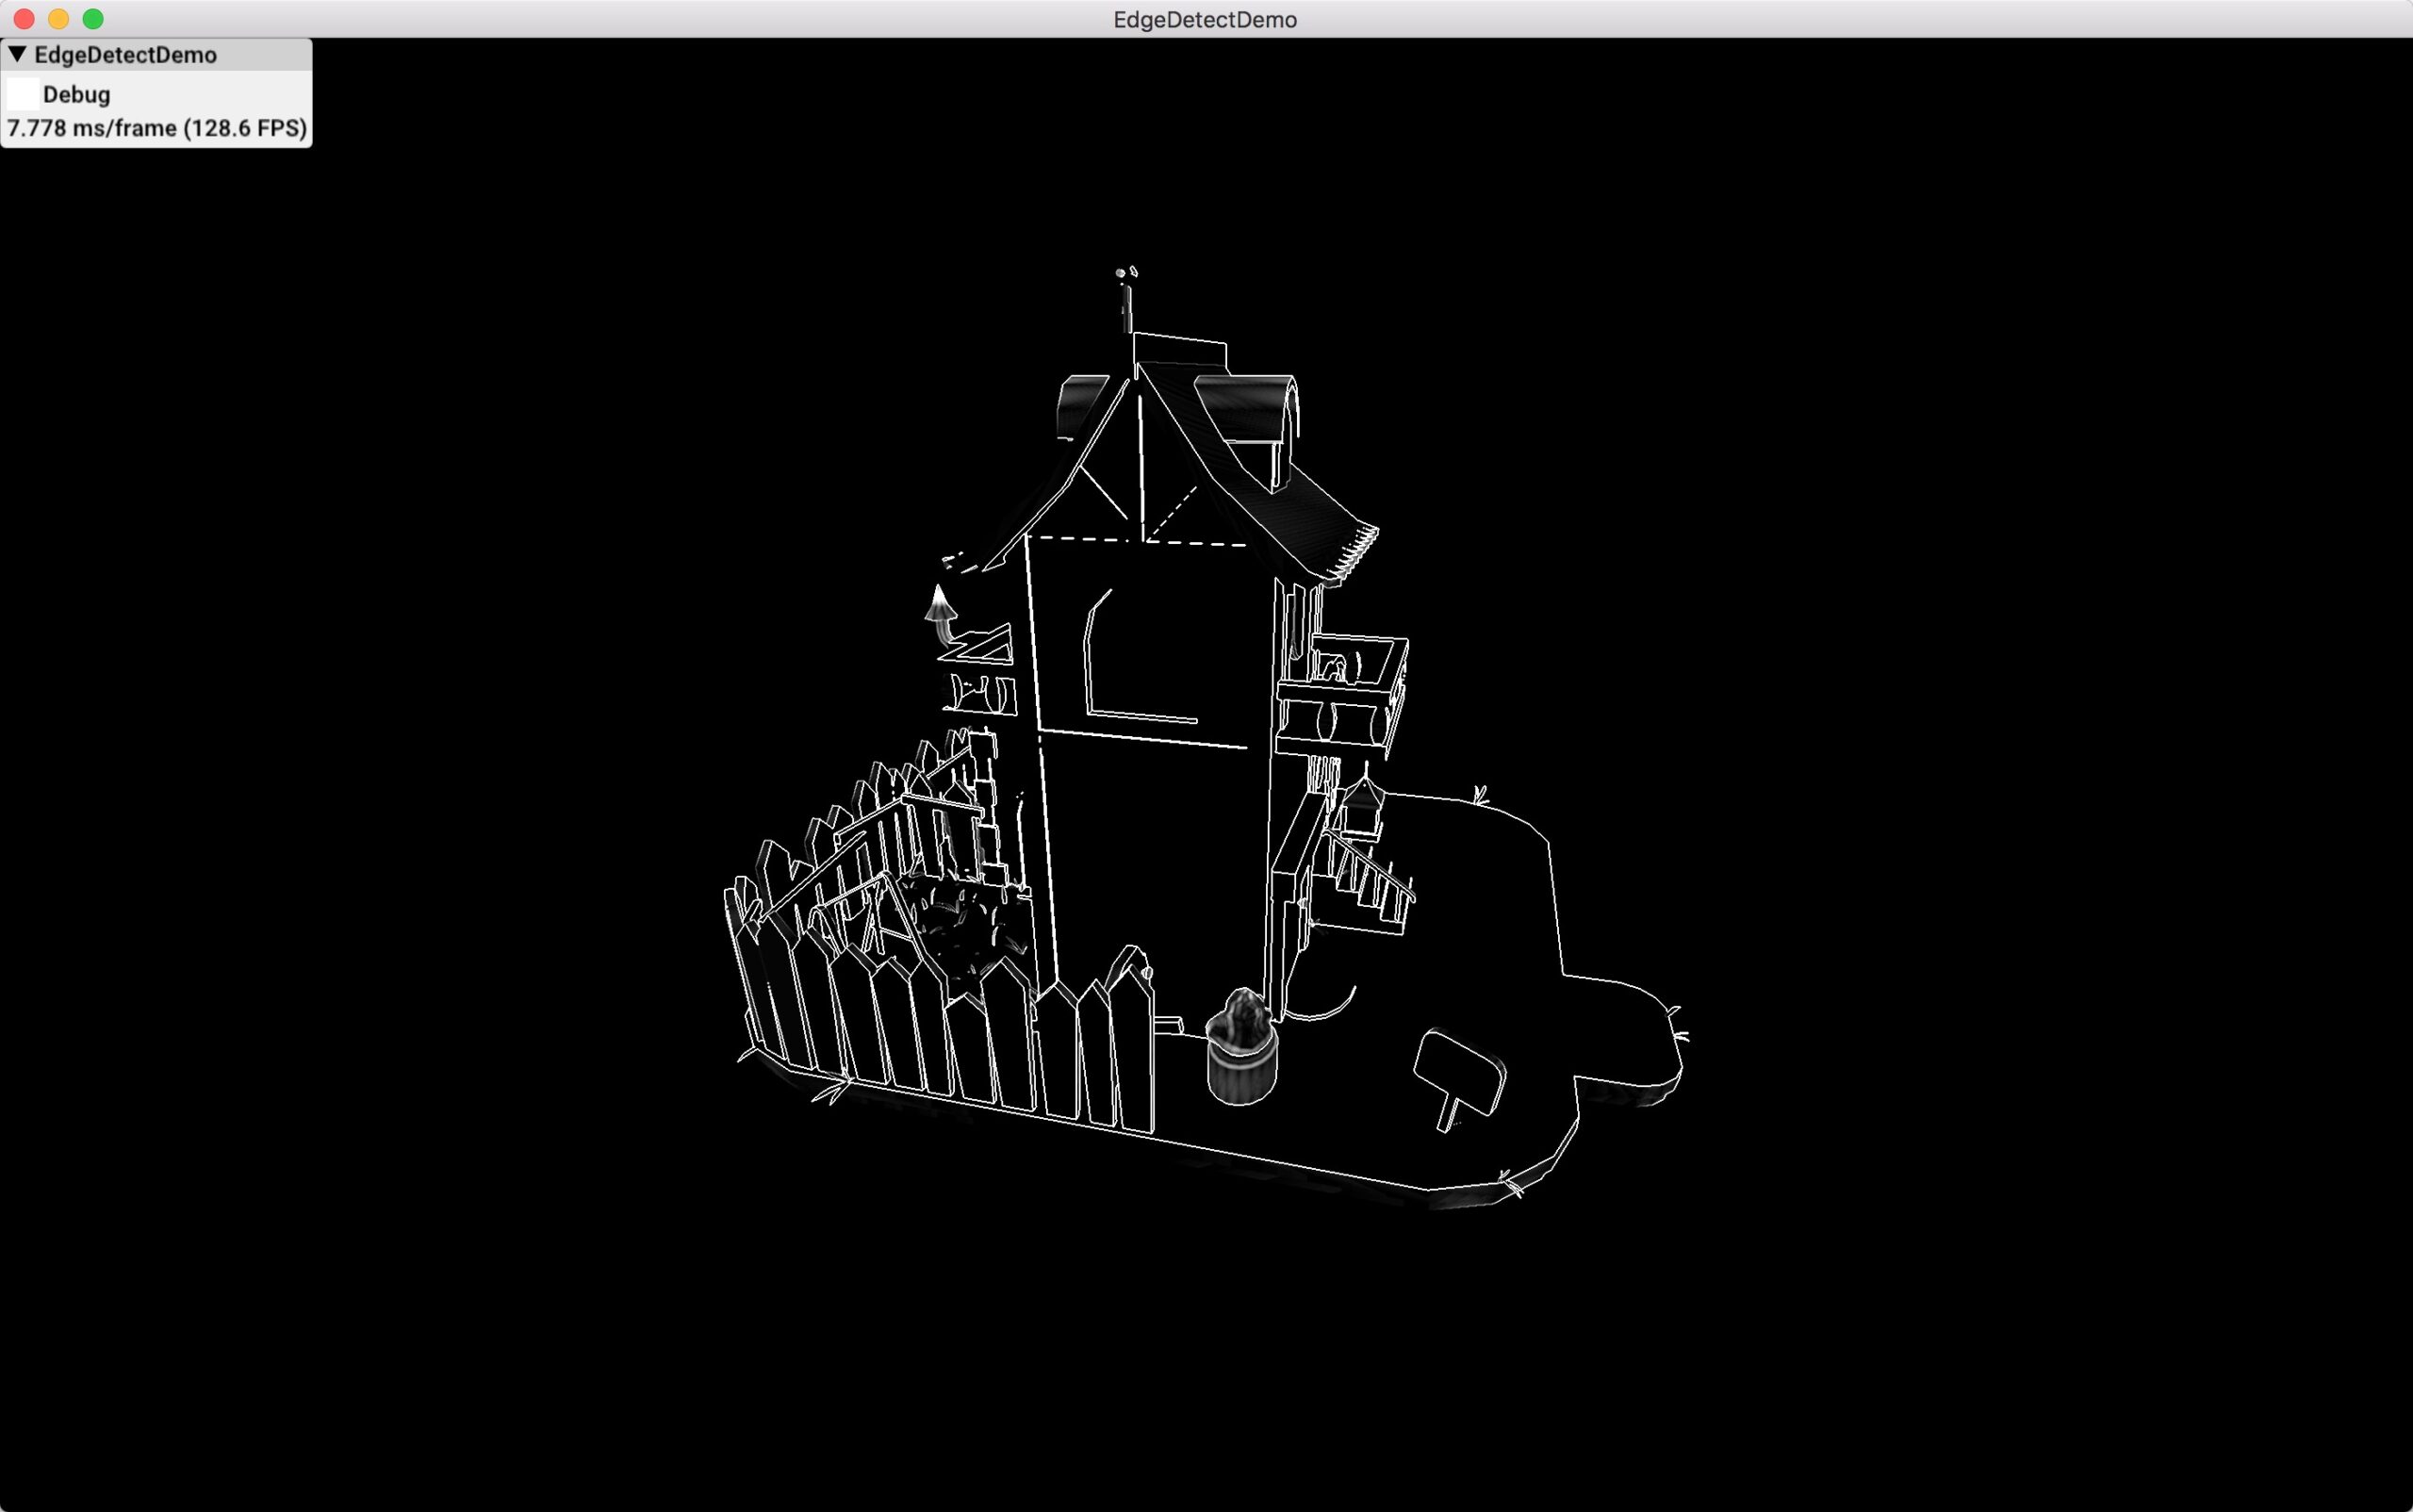
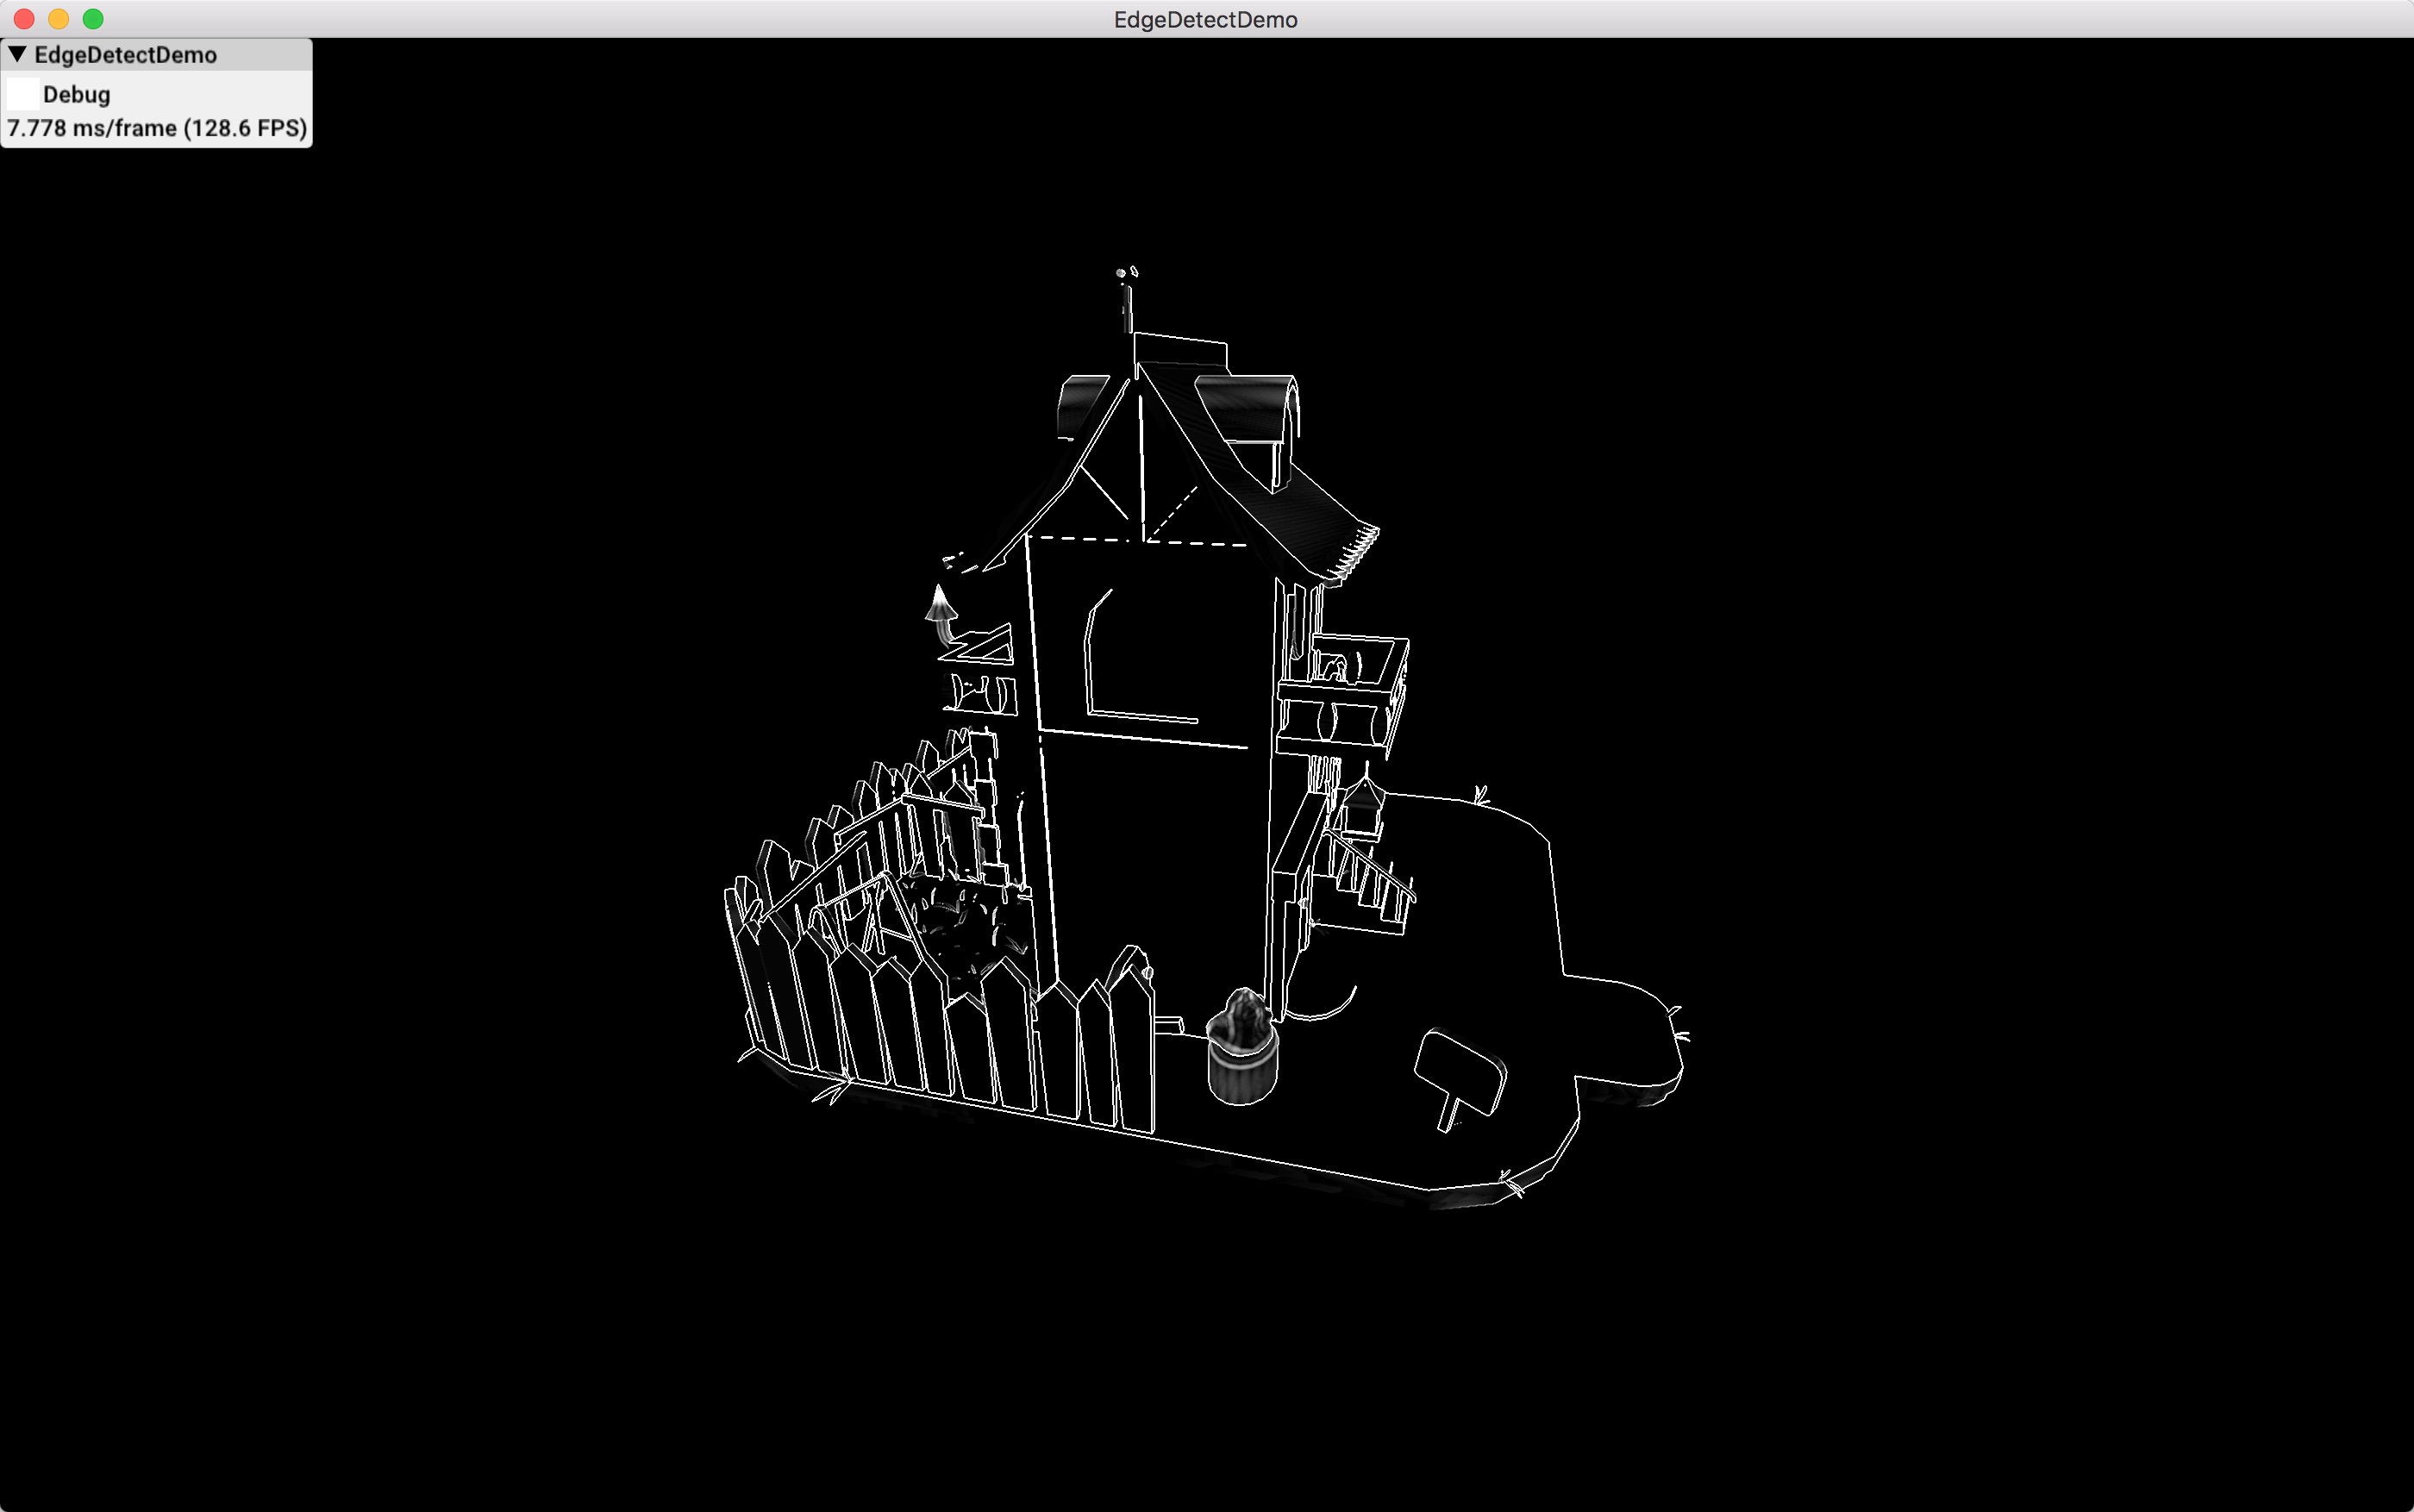
    博客地址 24_EdgeDetect

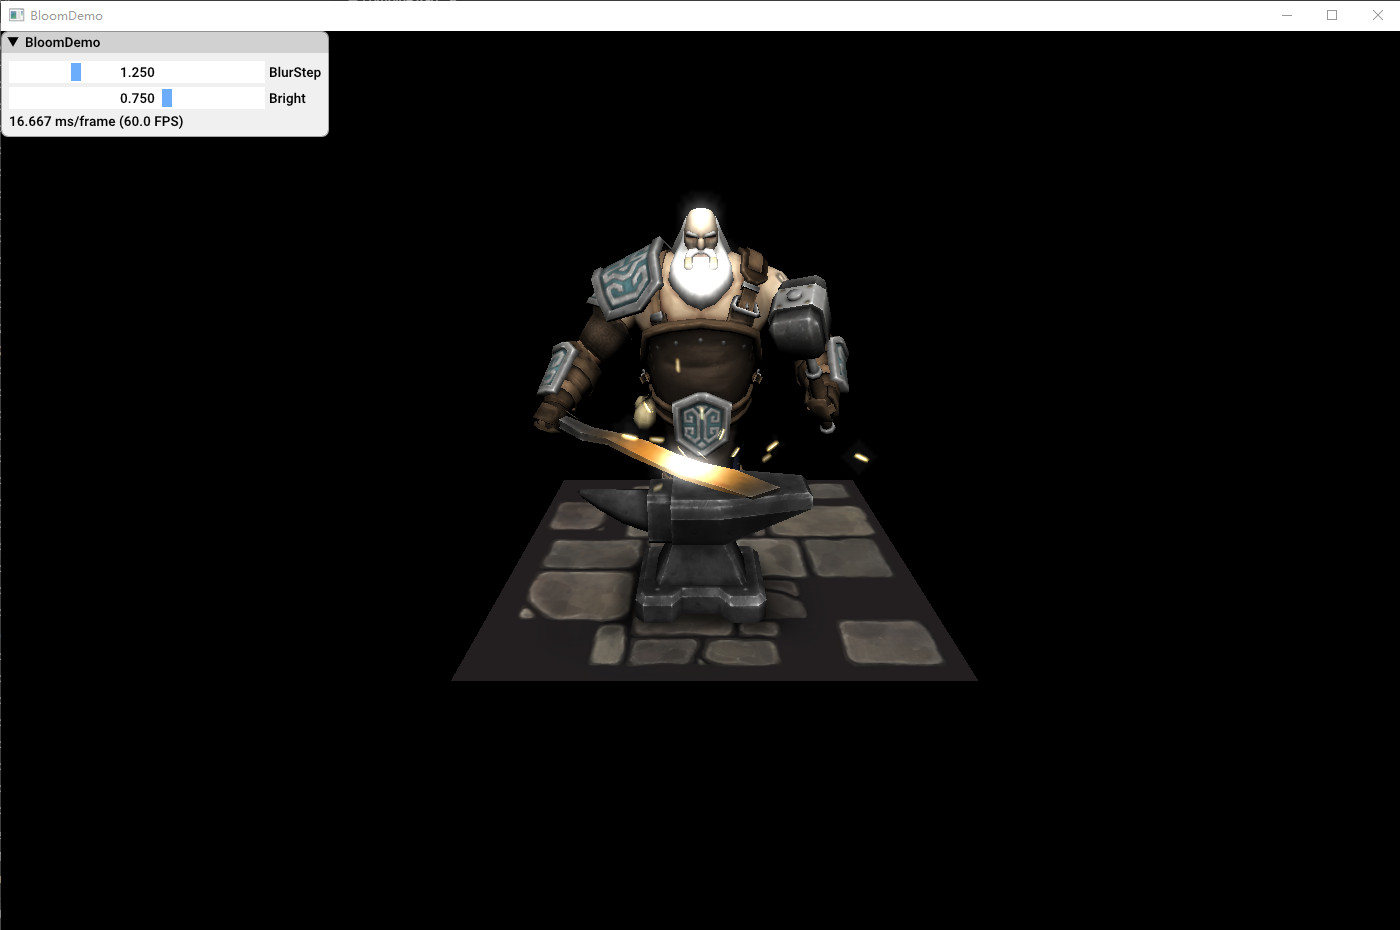
    博客地址 25_Bloom

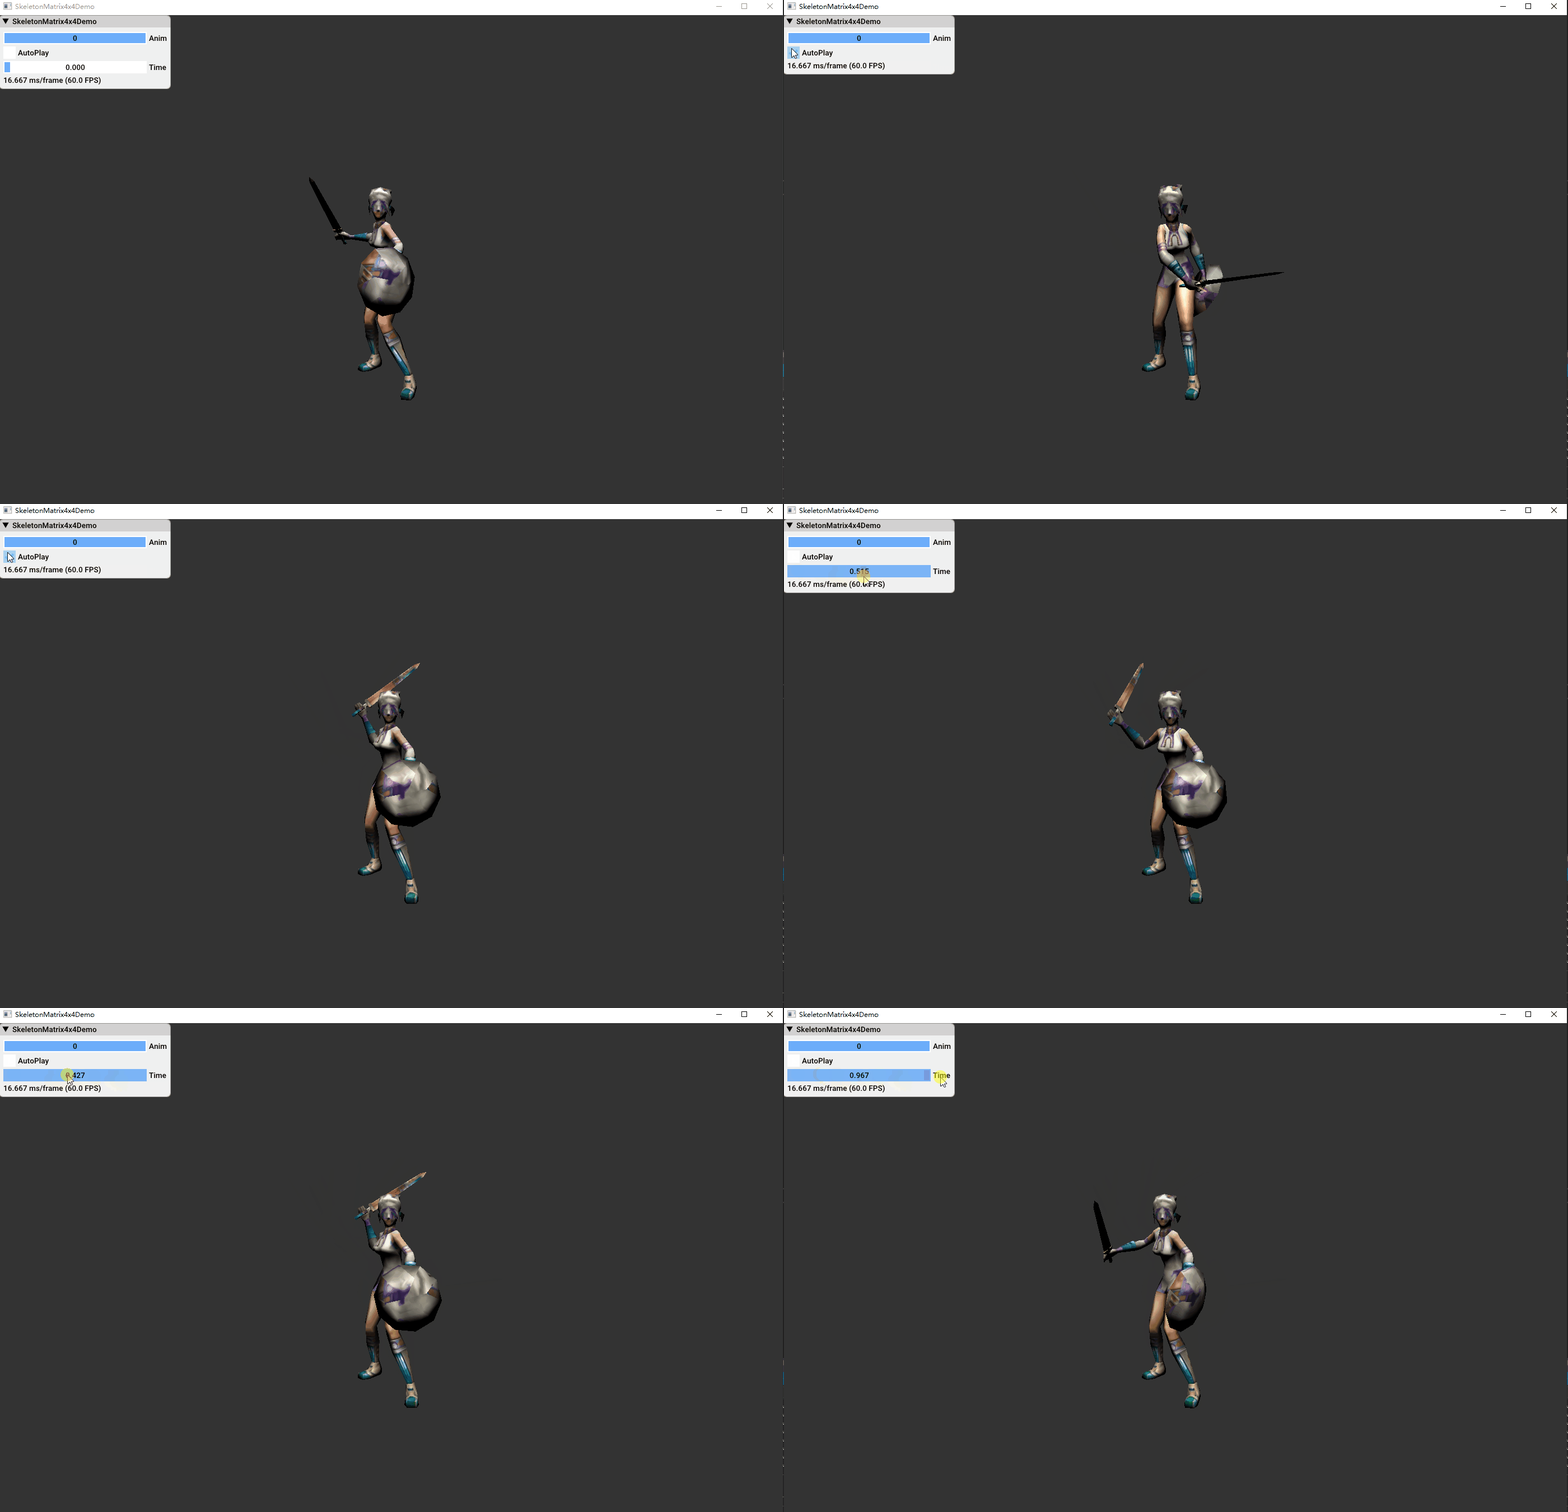
    博客地址 26_Skeleton

    博客地址

    • Pack 4 bone index(uint32) to 1 UInt32
    • Pack 4 bone weight(float) to 2 UInt32 Reduce 5 float per vertex

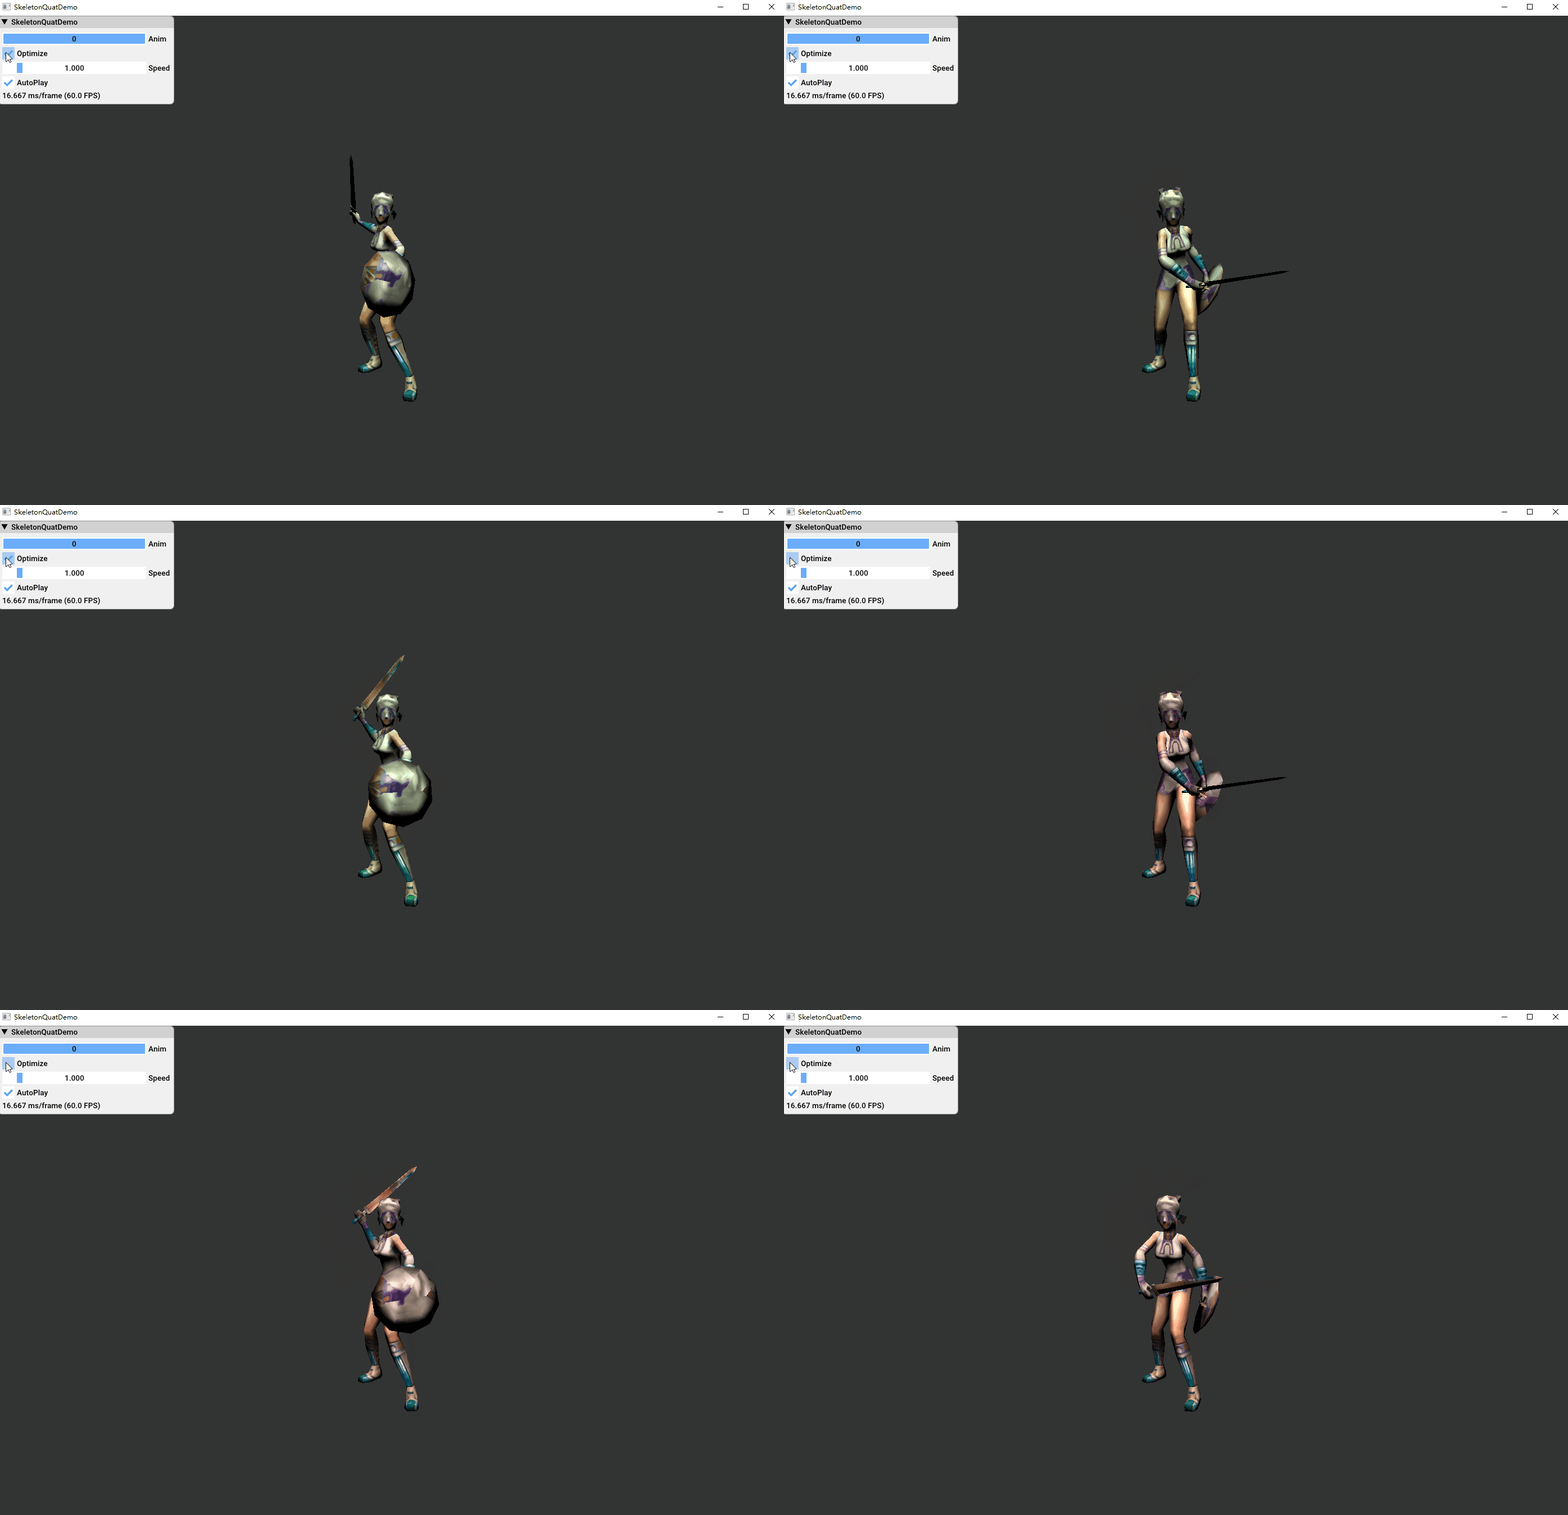
    博客地址

    • Dual quat animation, reduce 8 float per bone. From matrix4x4 to 2 vector. 28_SkeletonDualQuat

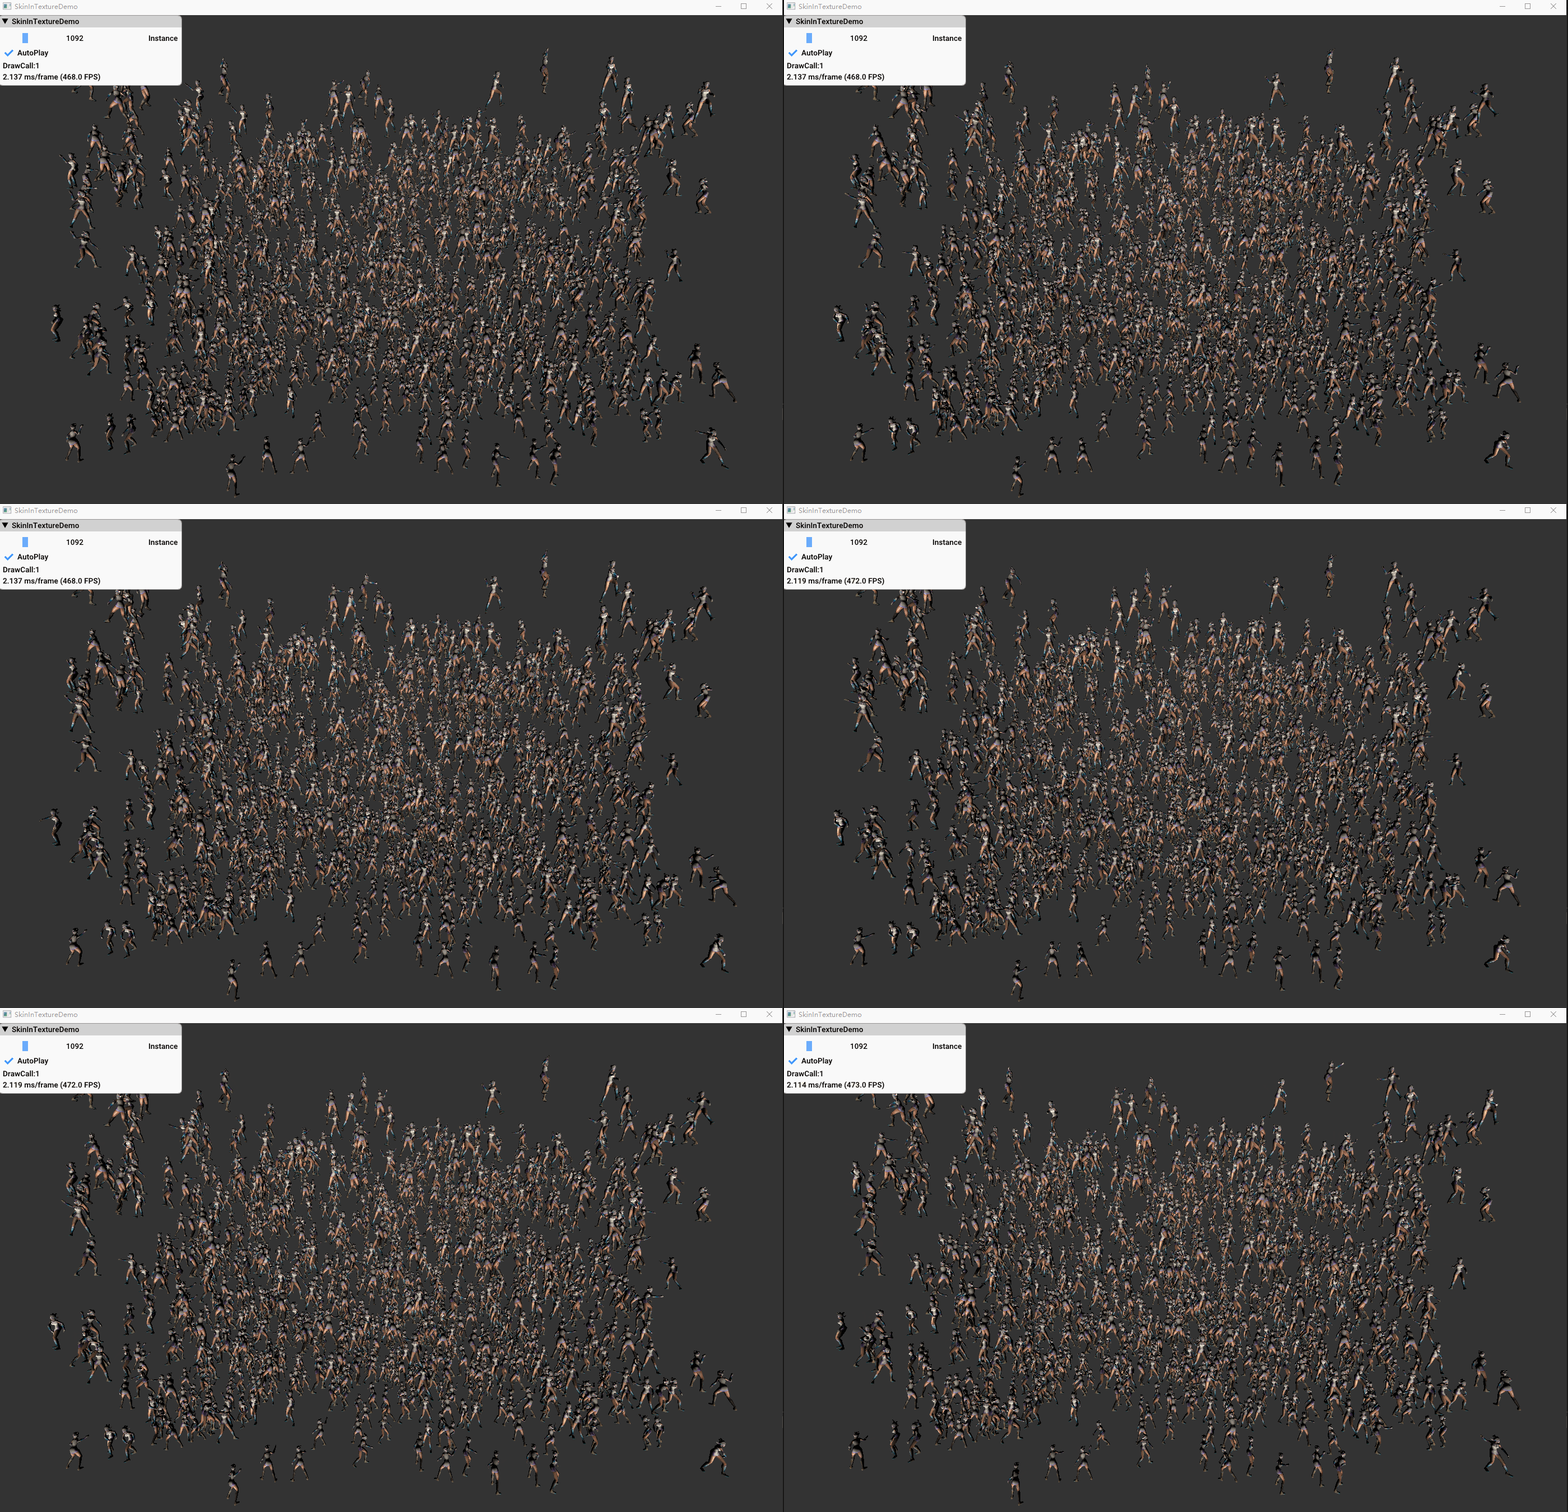
    博客地址

    • Store skeleton datas in texture and used in vertex shader.

    30_InstanceSkin

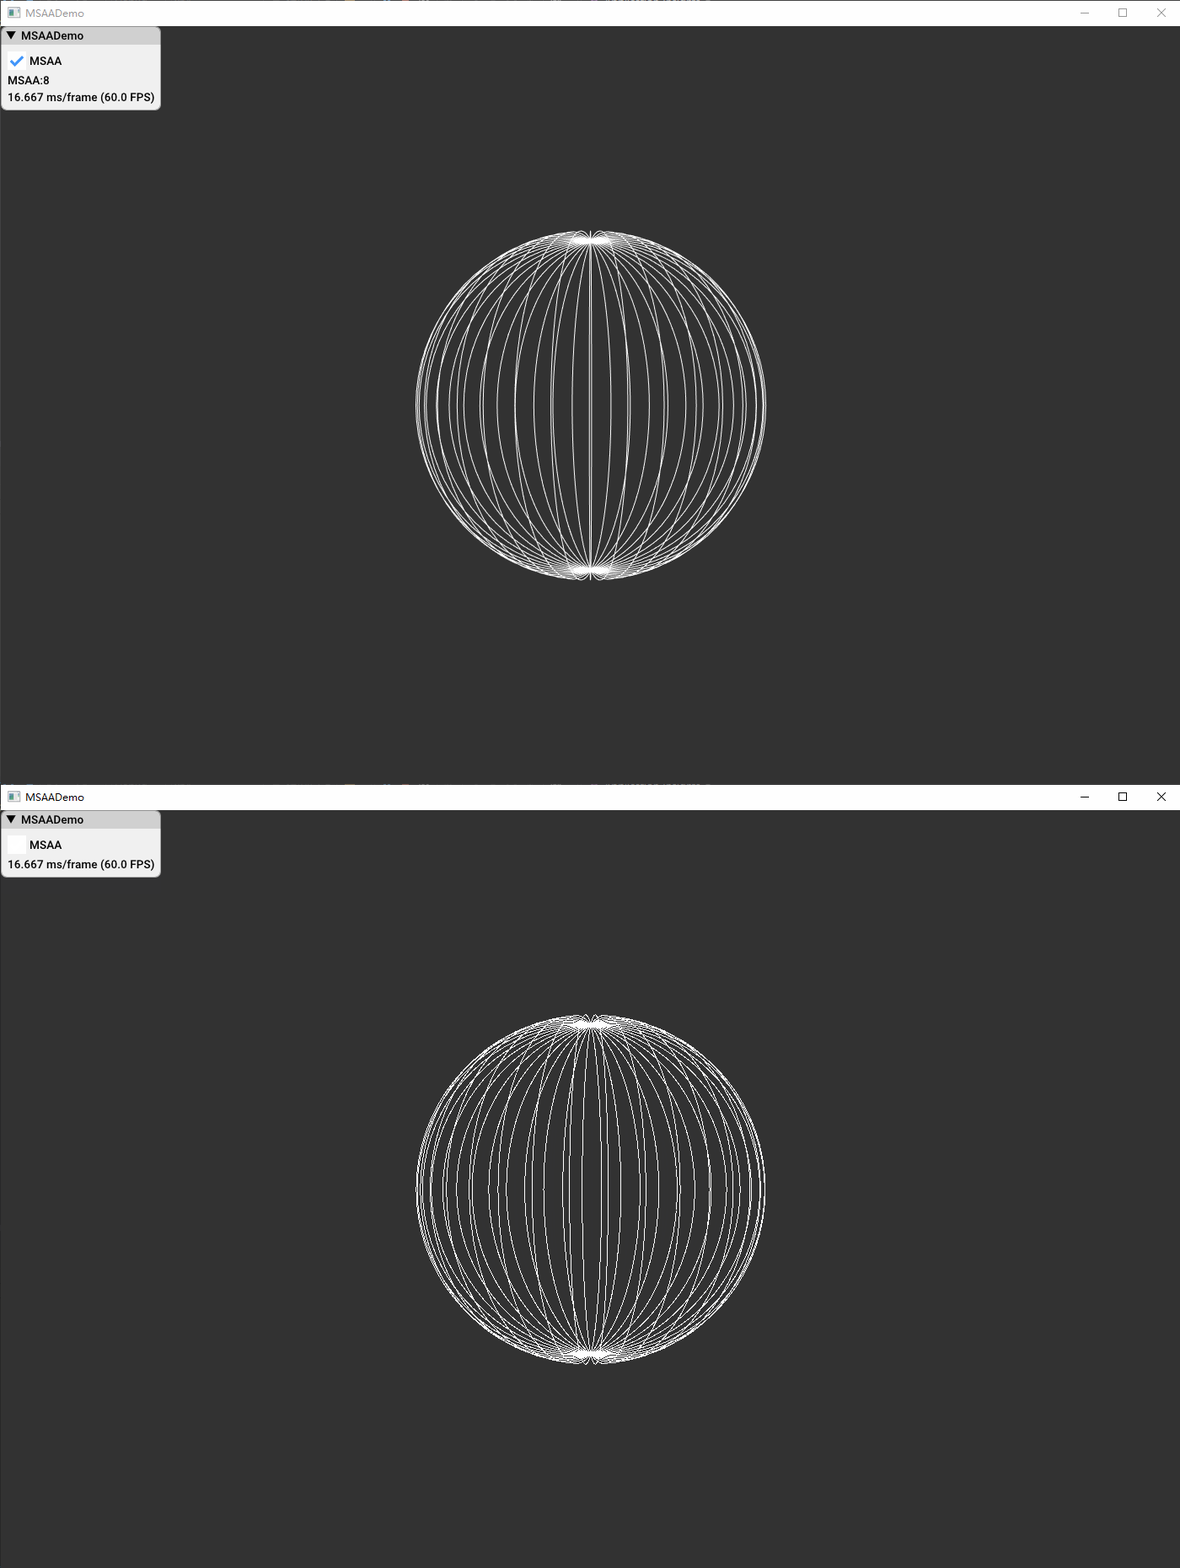
    31_MSAA

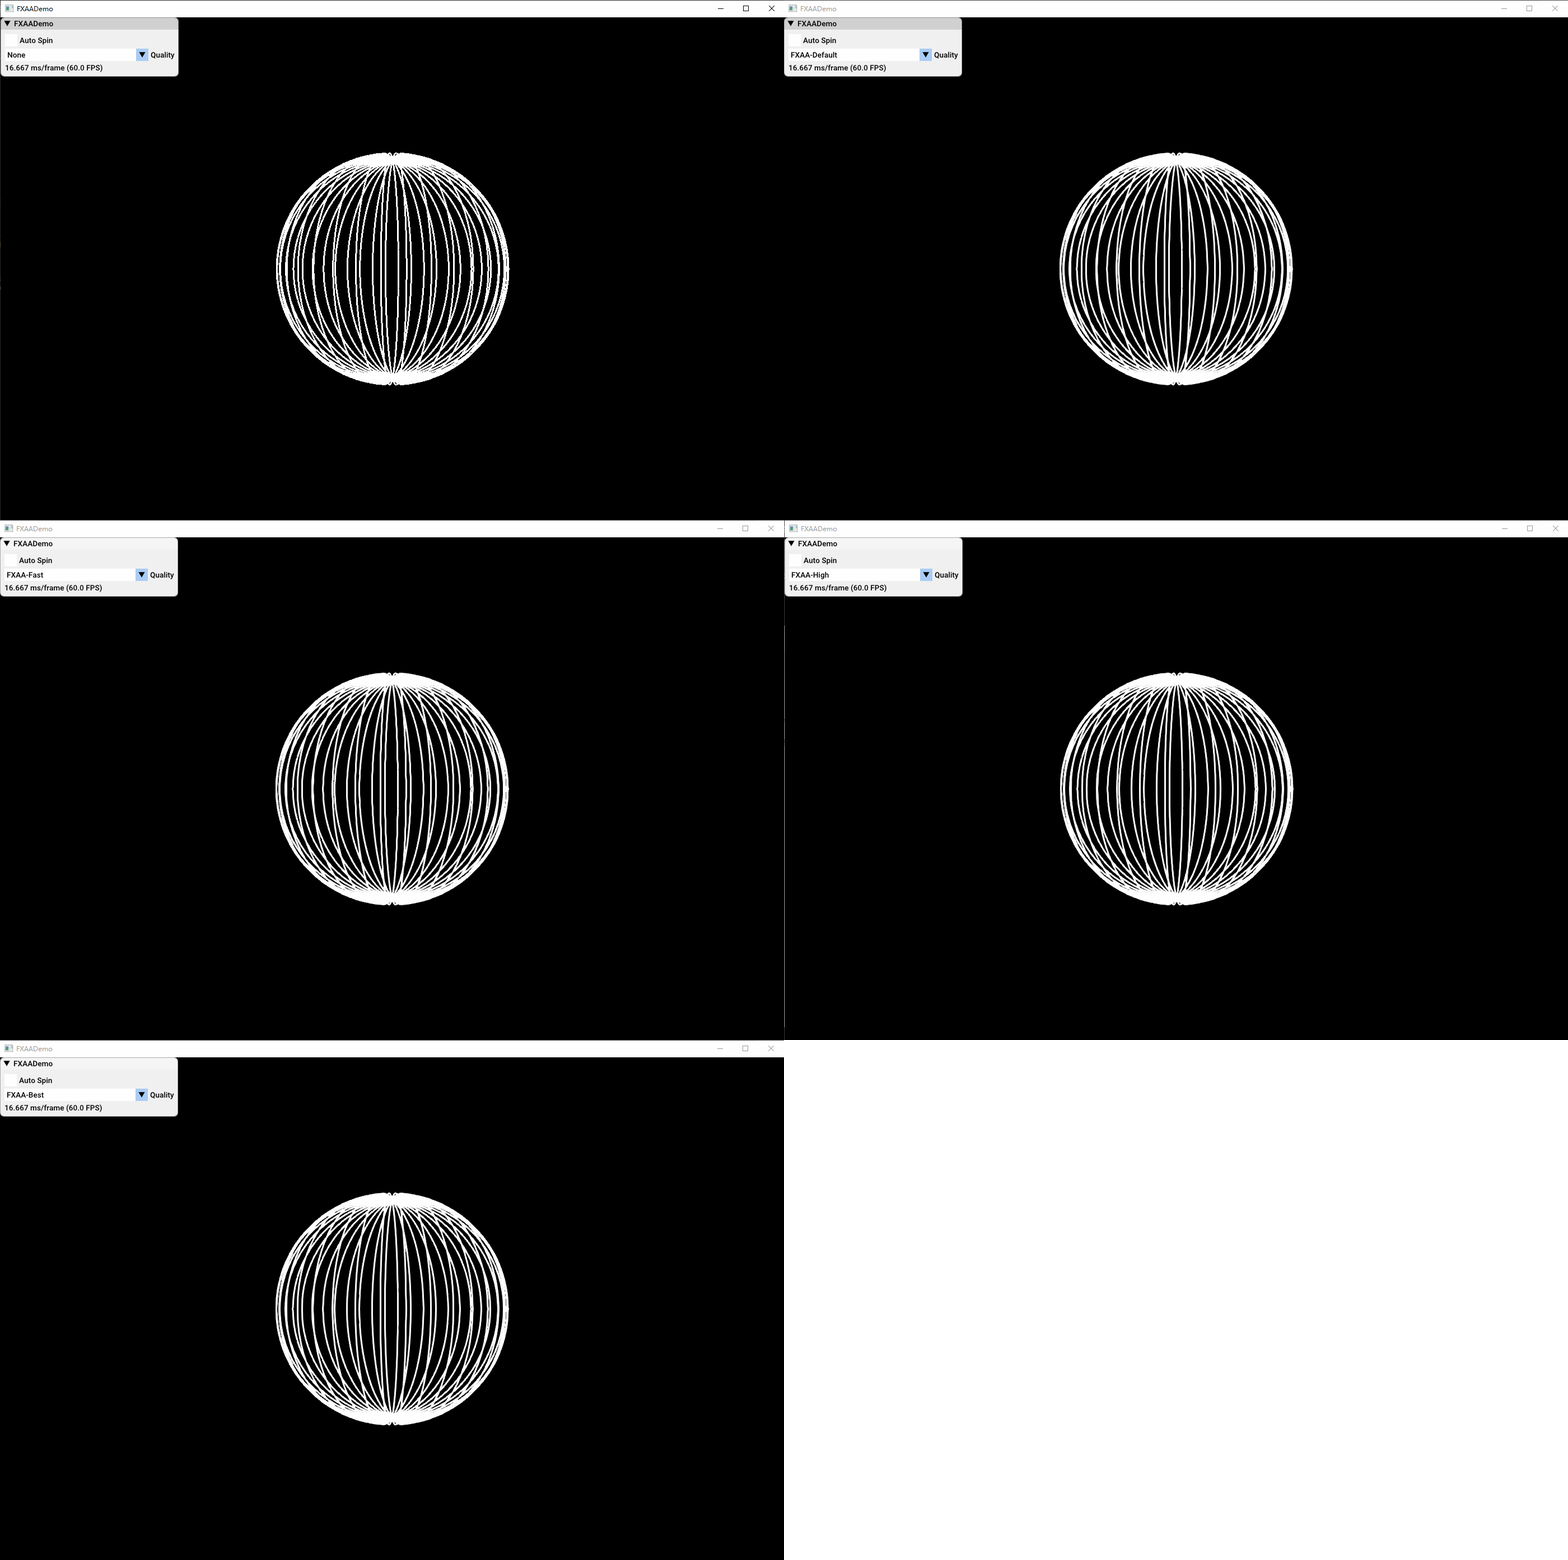
    32_FXAA

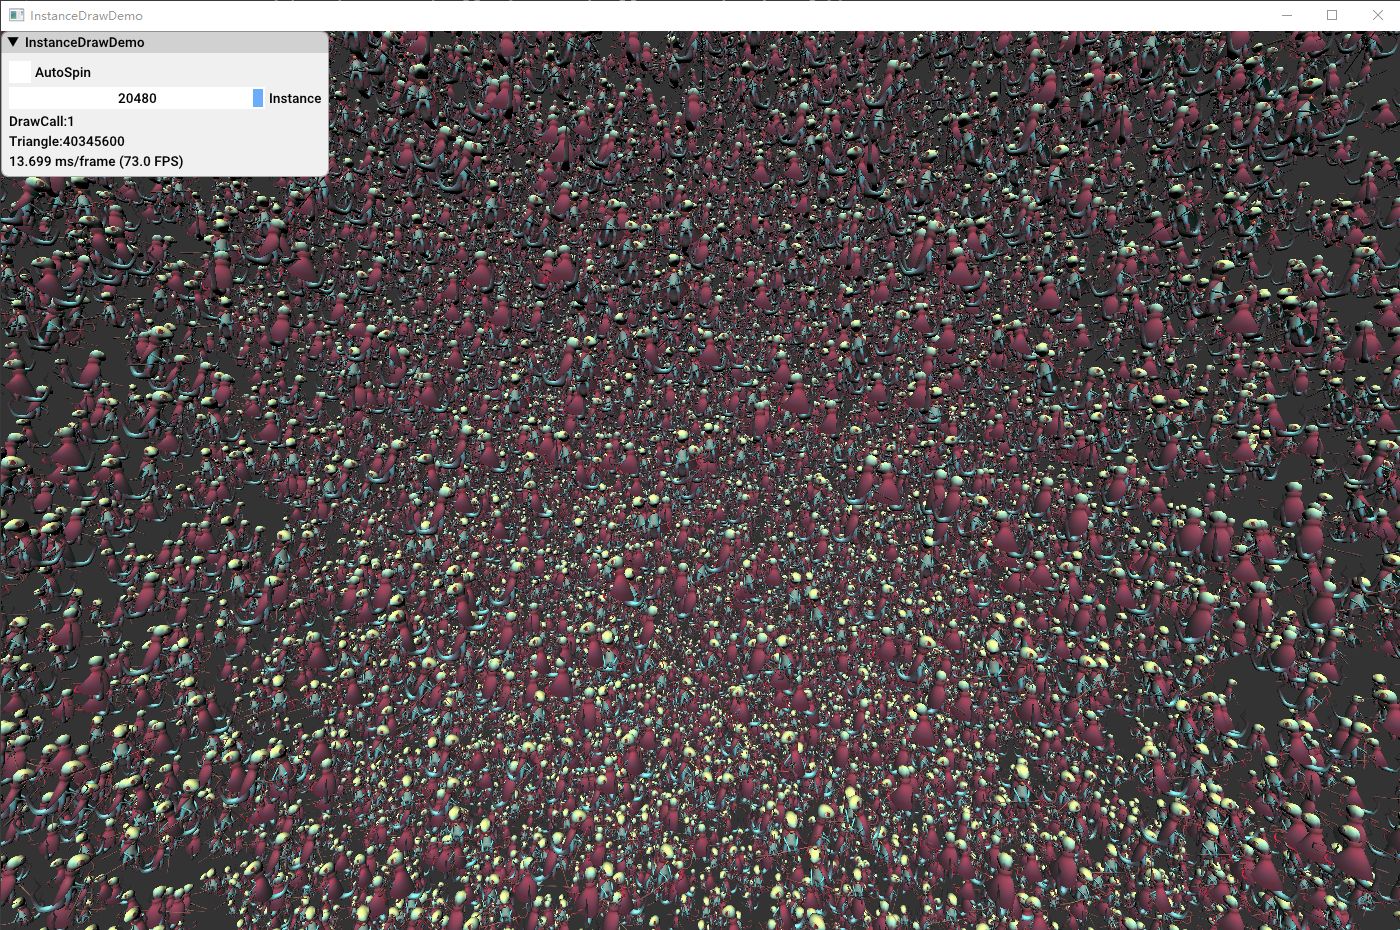
    33_InstanceDraw

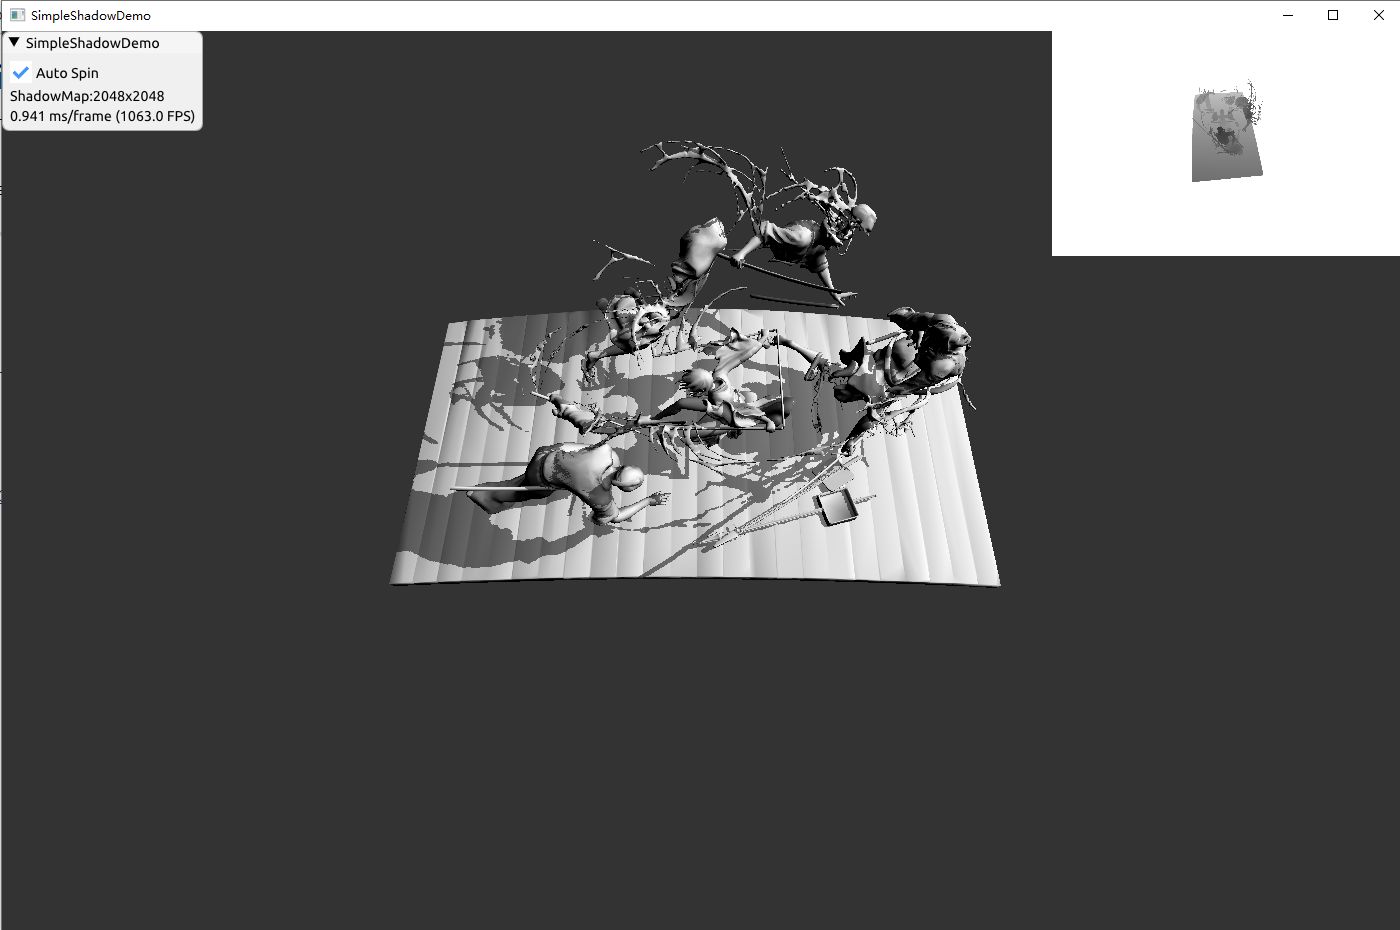
    34_SimpleShadow

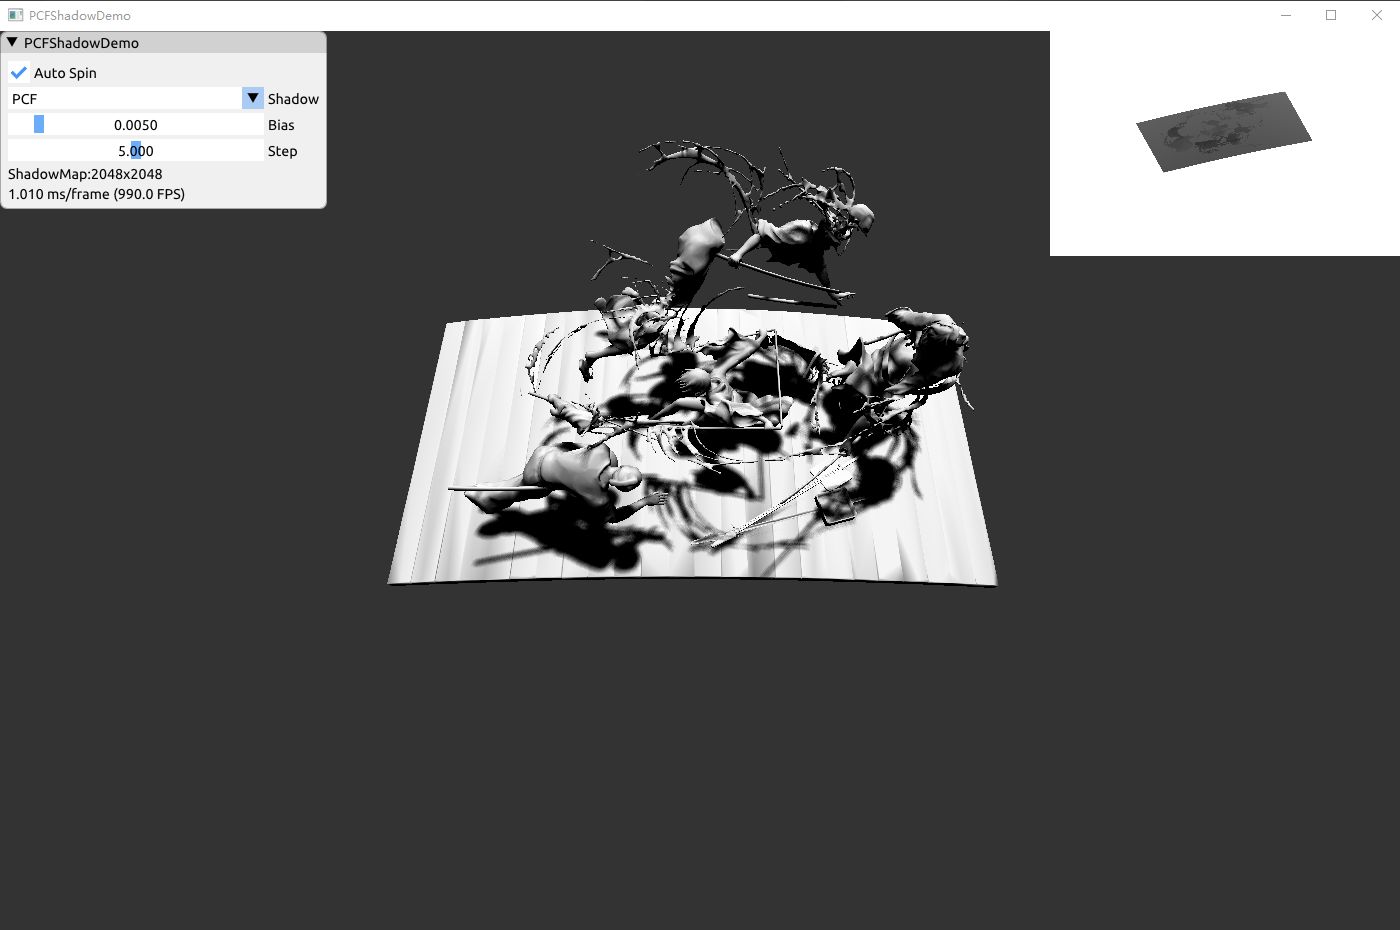
    35_PCFShadow

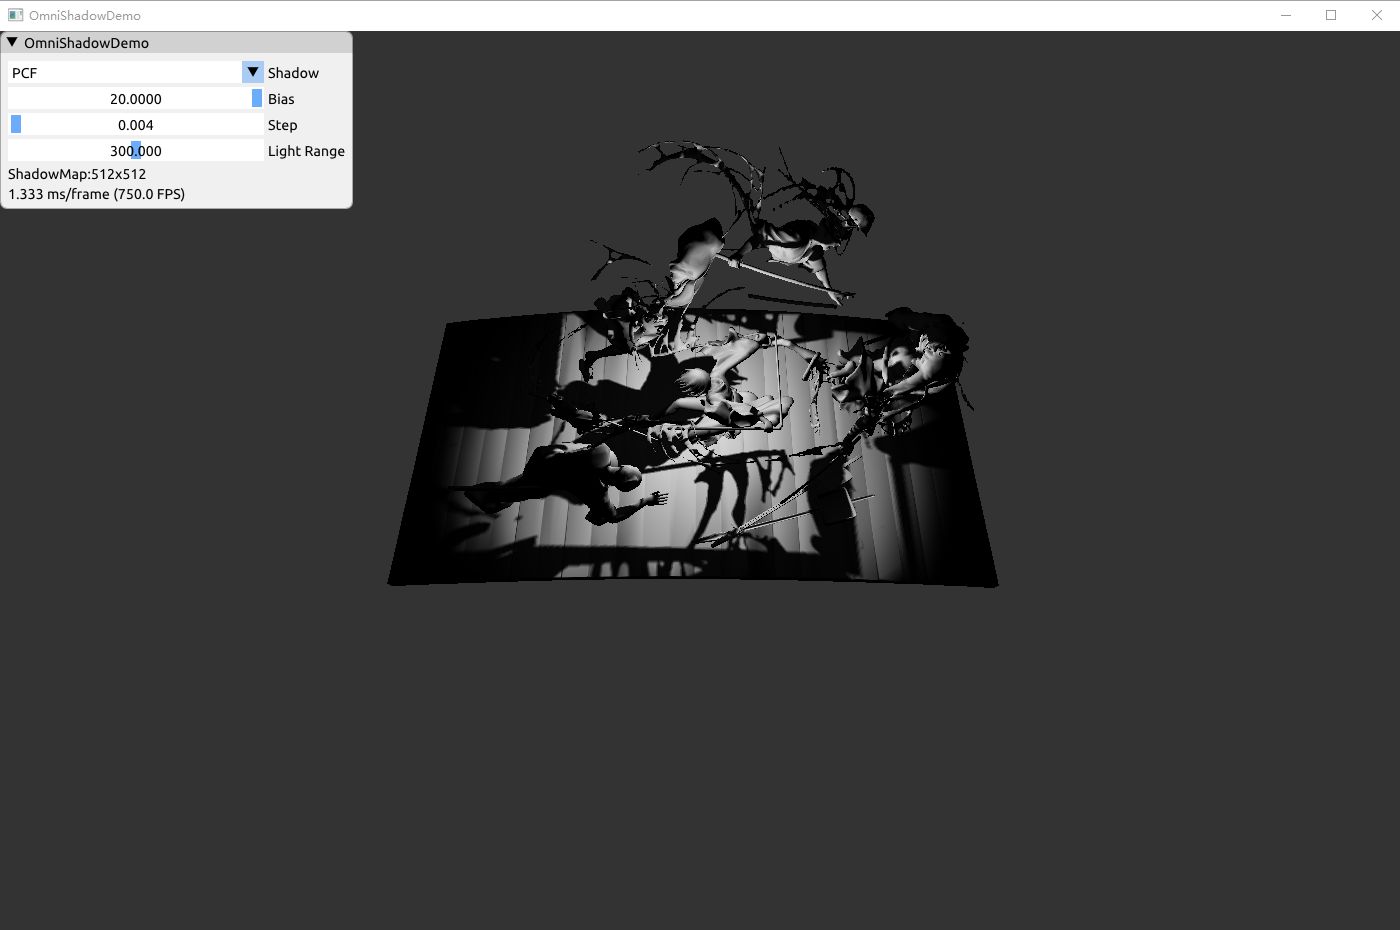
    36_OmniShadow

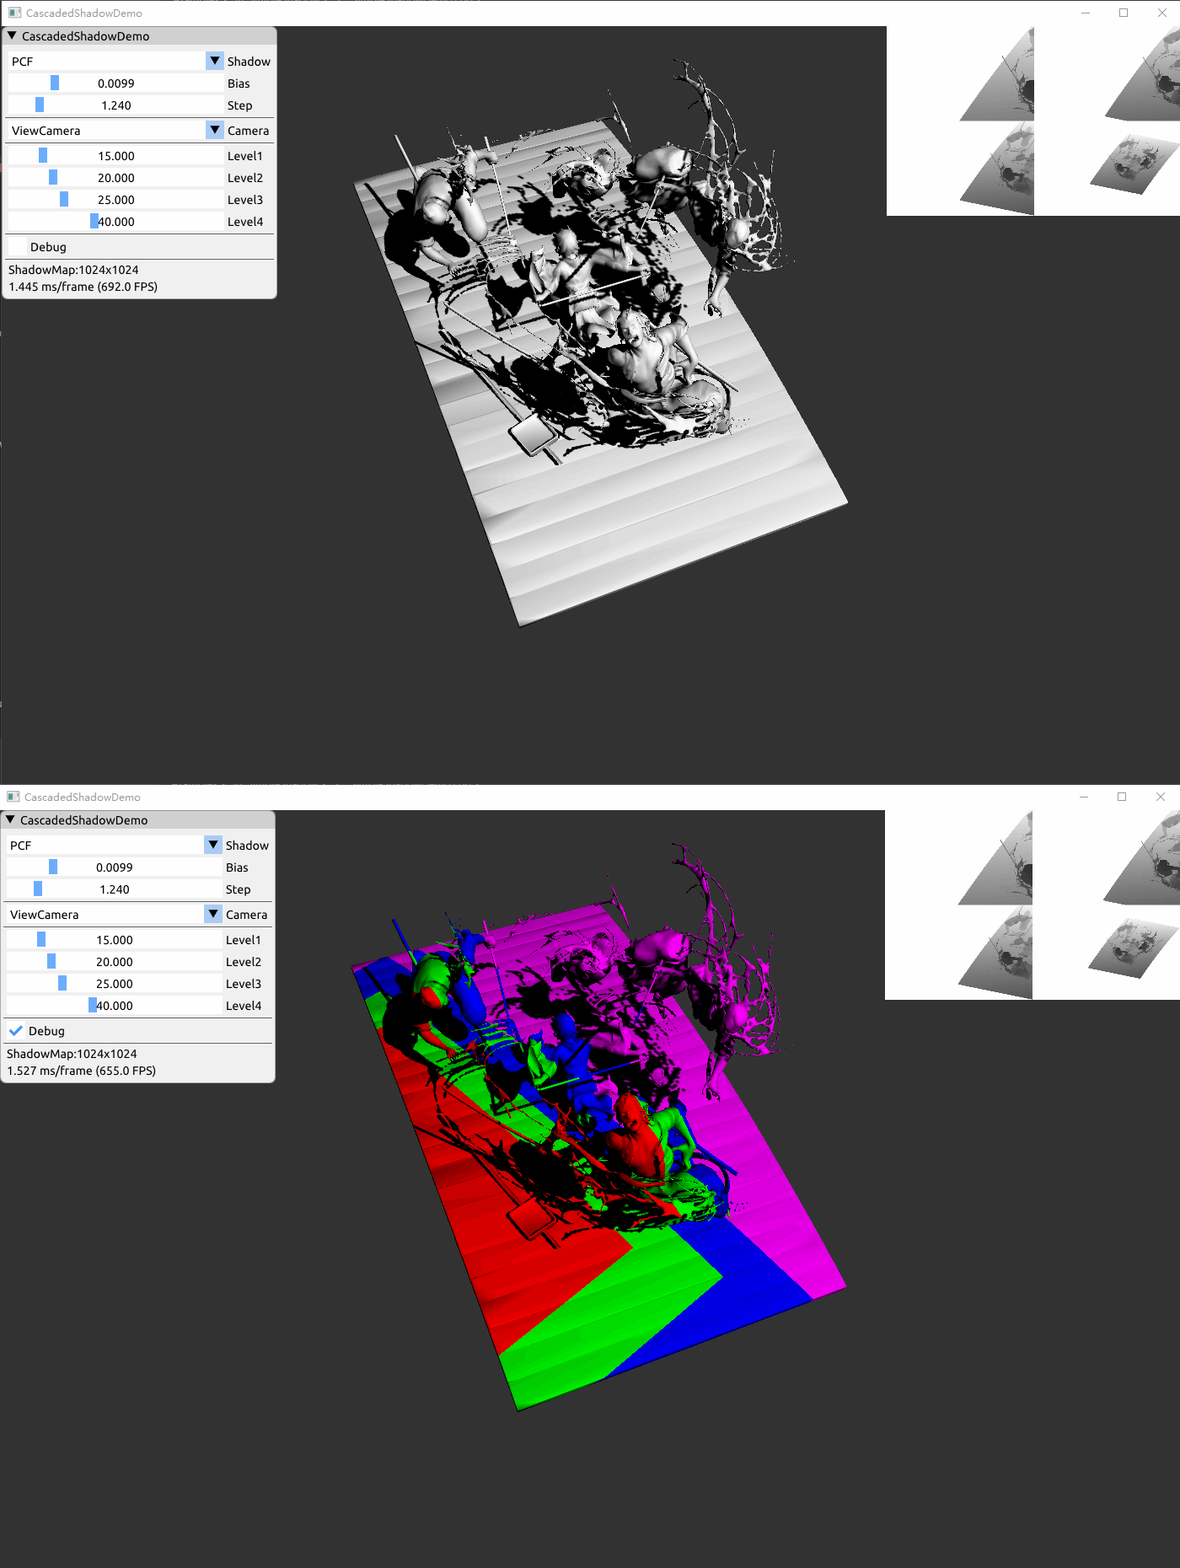
    37_CascadedShadow

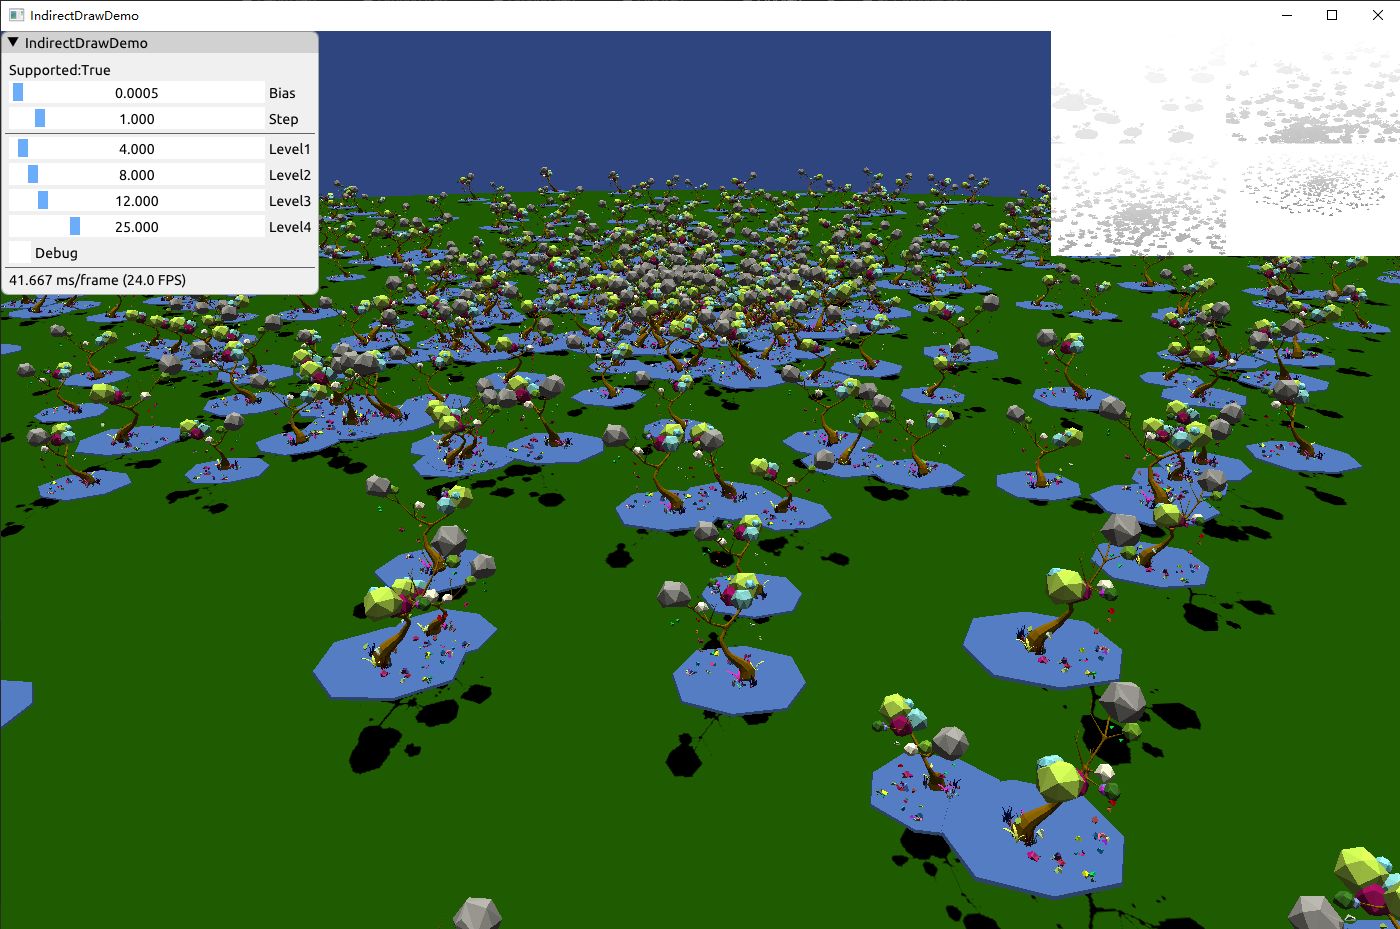
    38_IndirectDraw

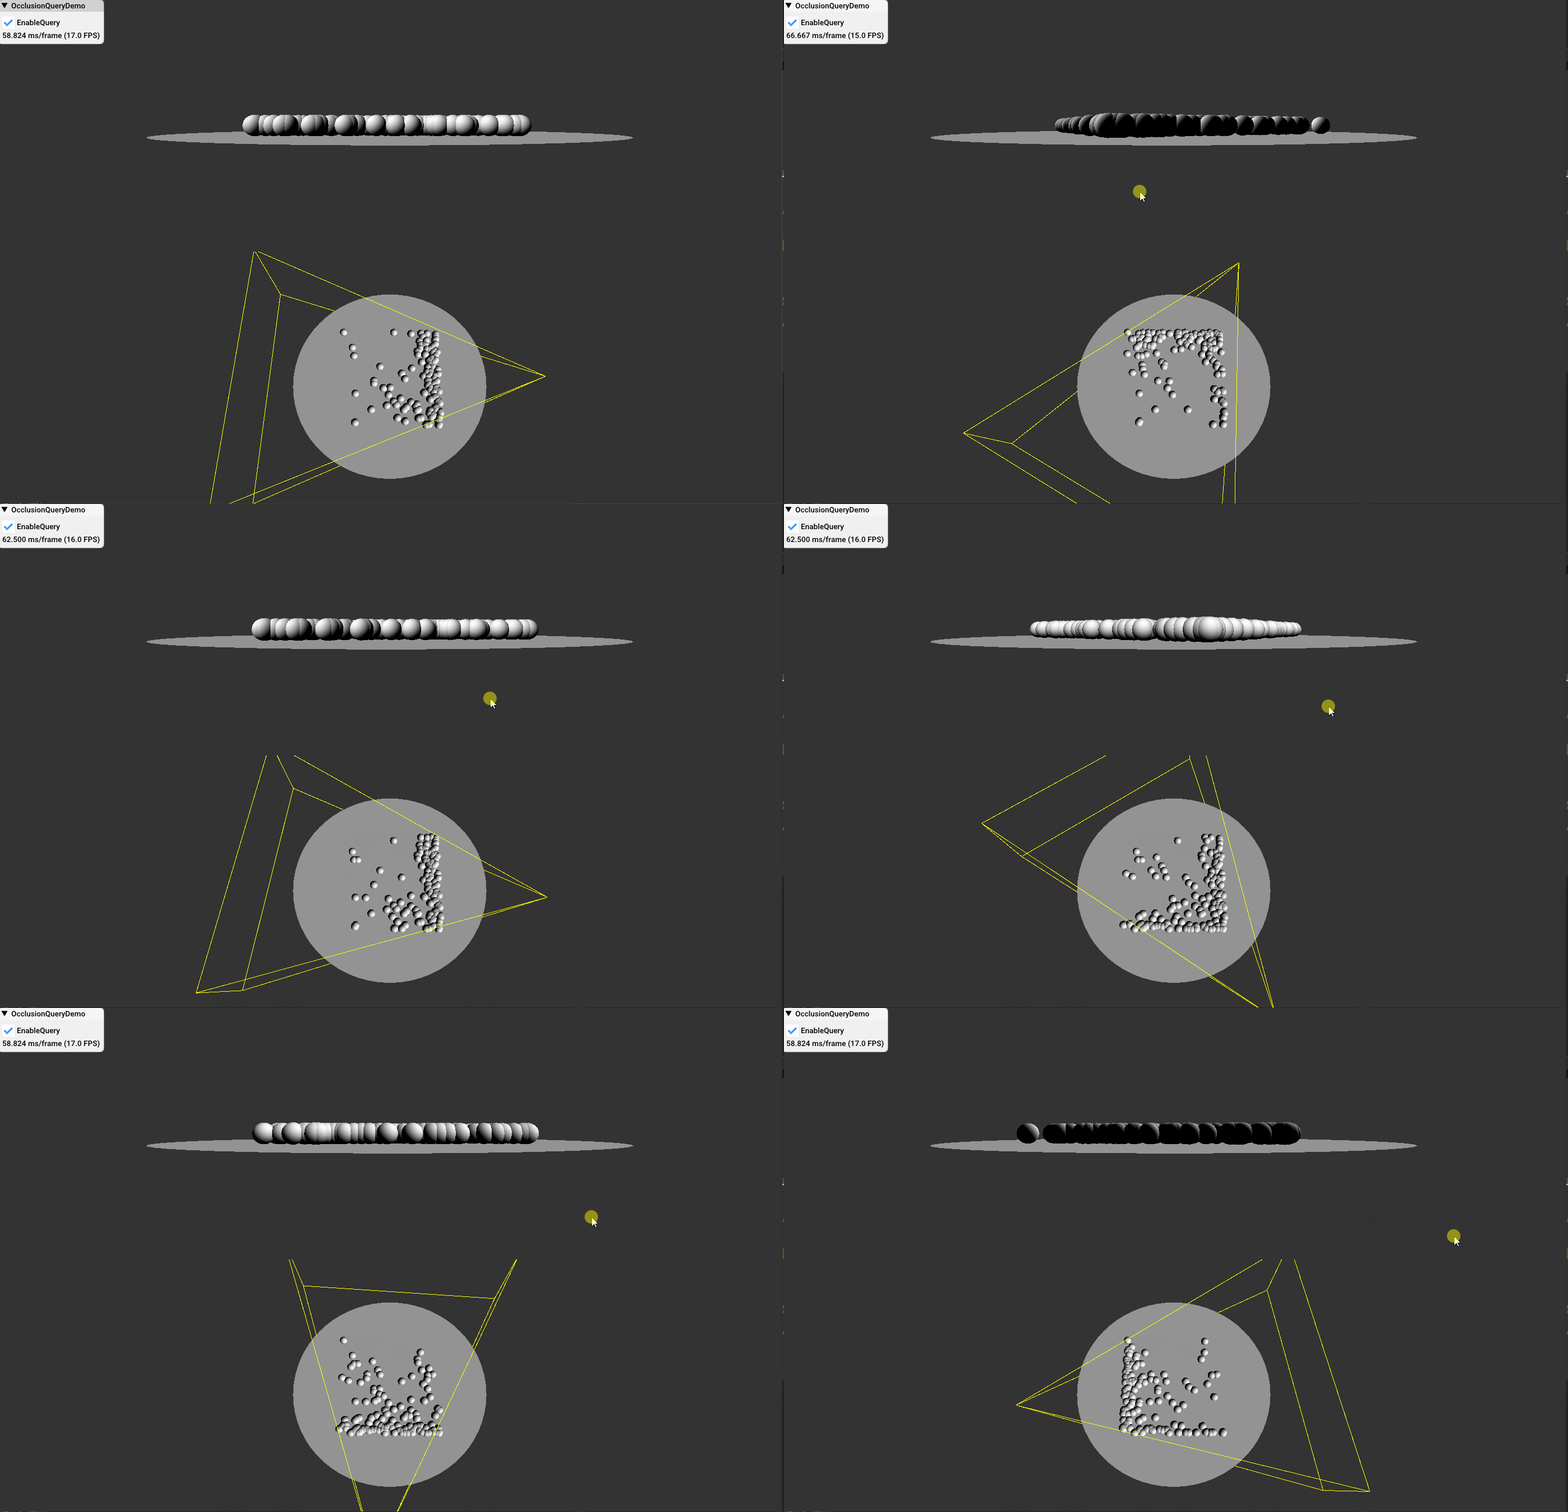
    39_OcclusionQueries

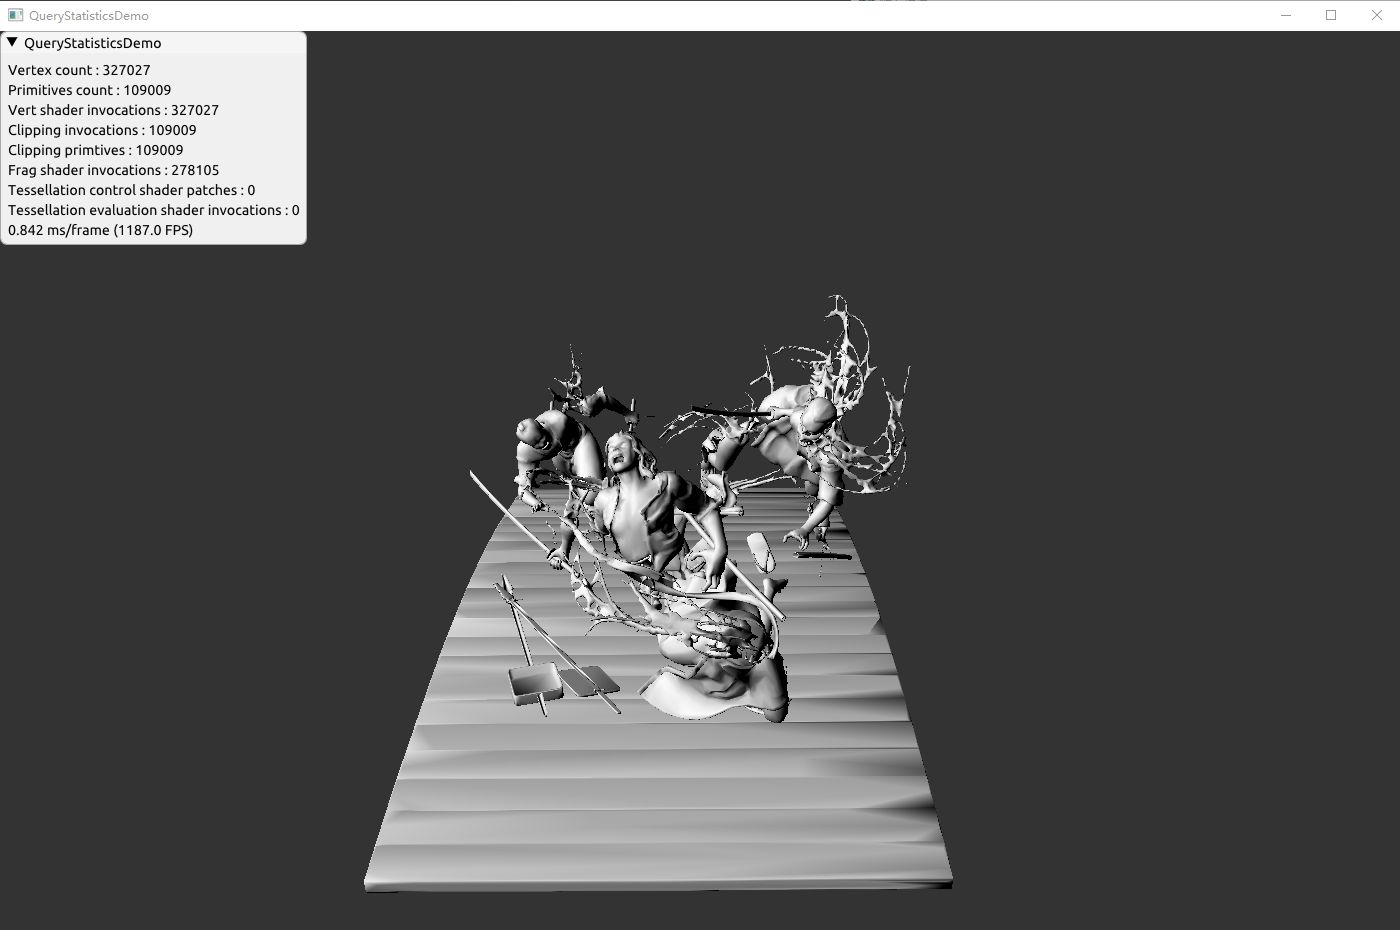
    40_QueryStatistics

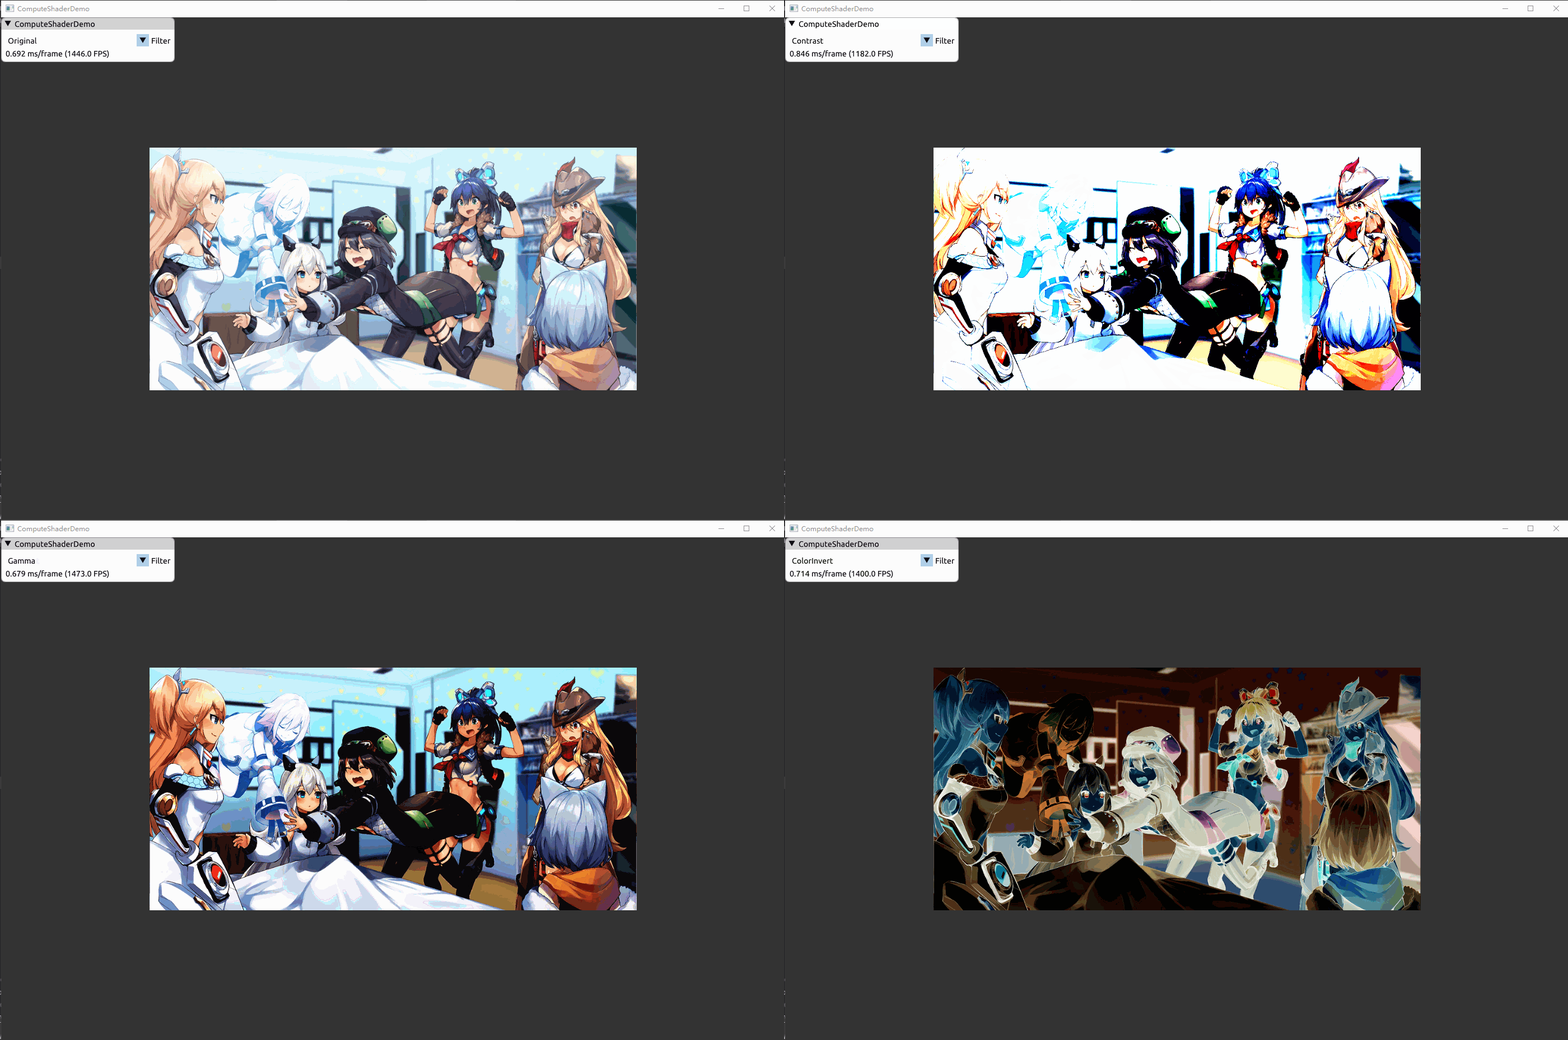
    41_ComputeShader

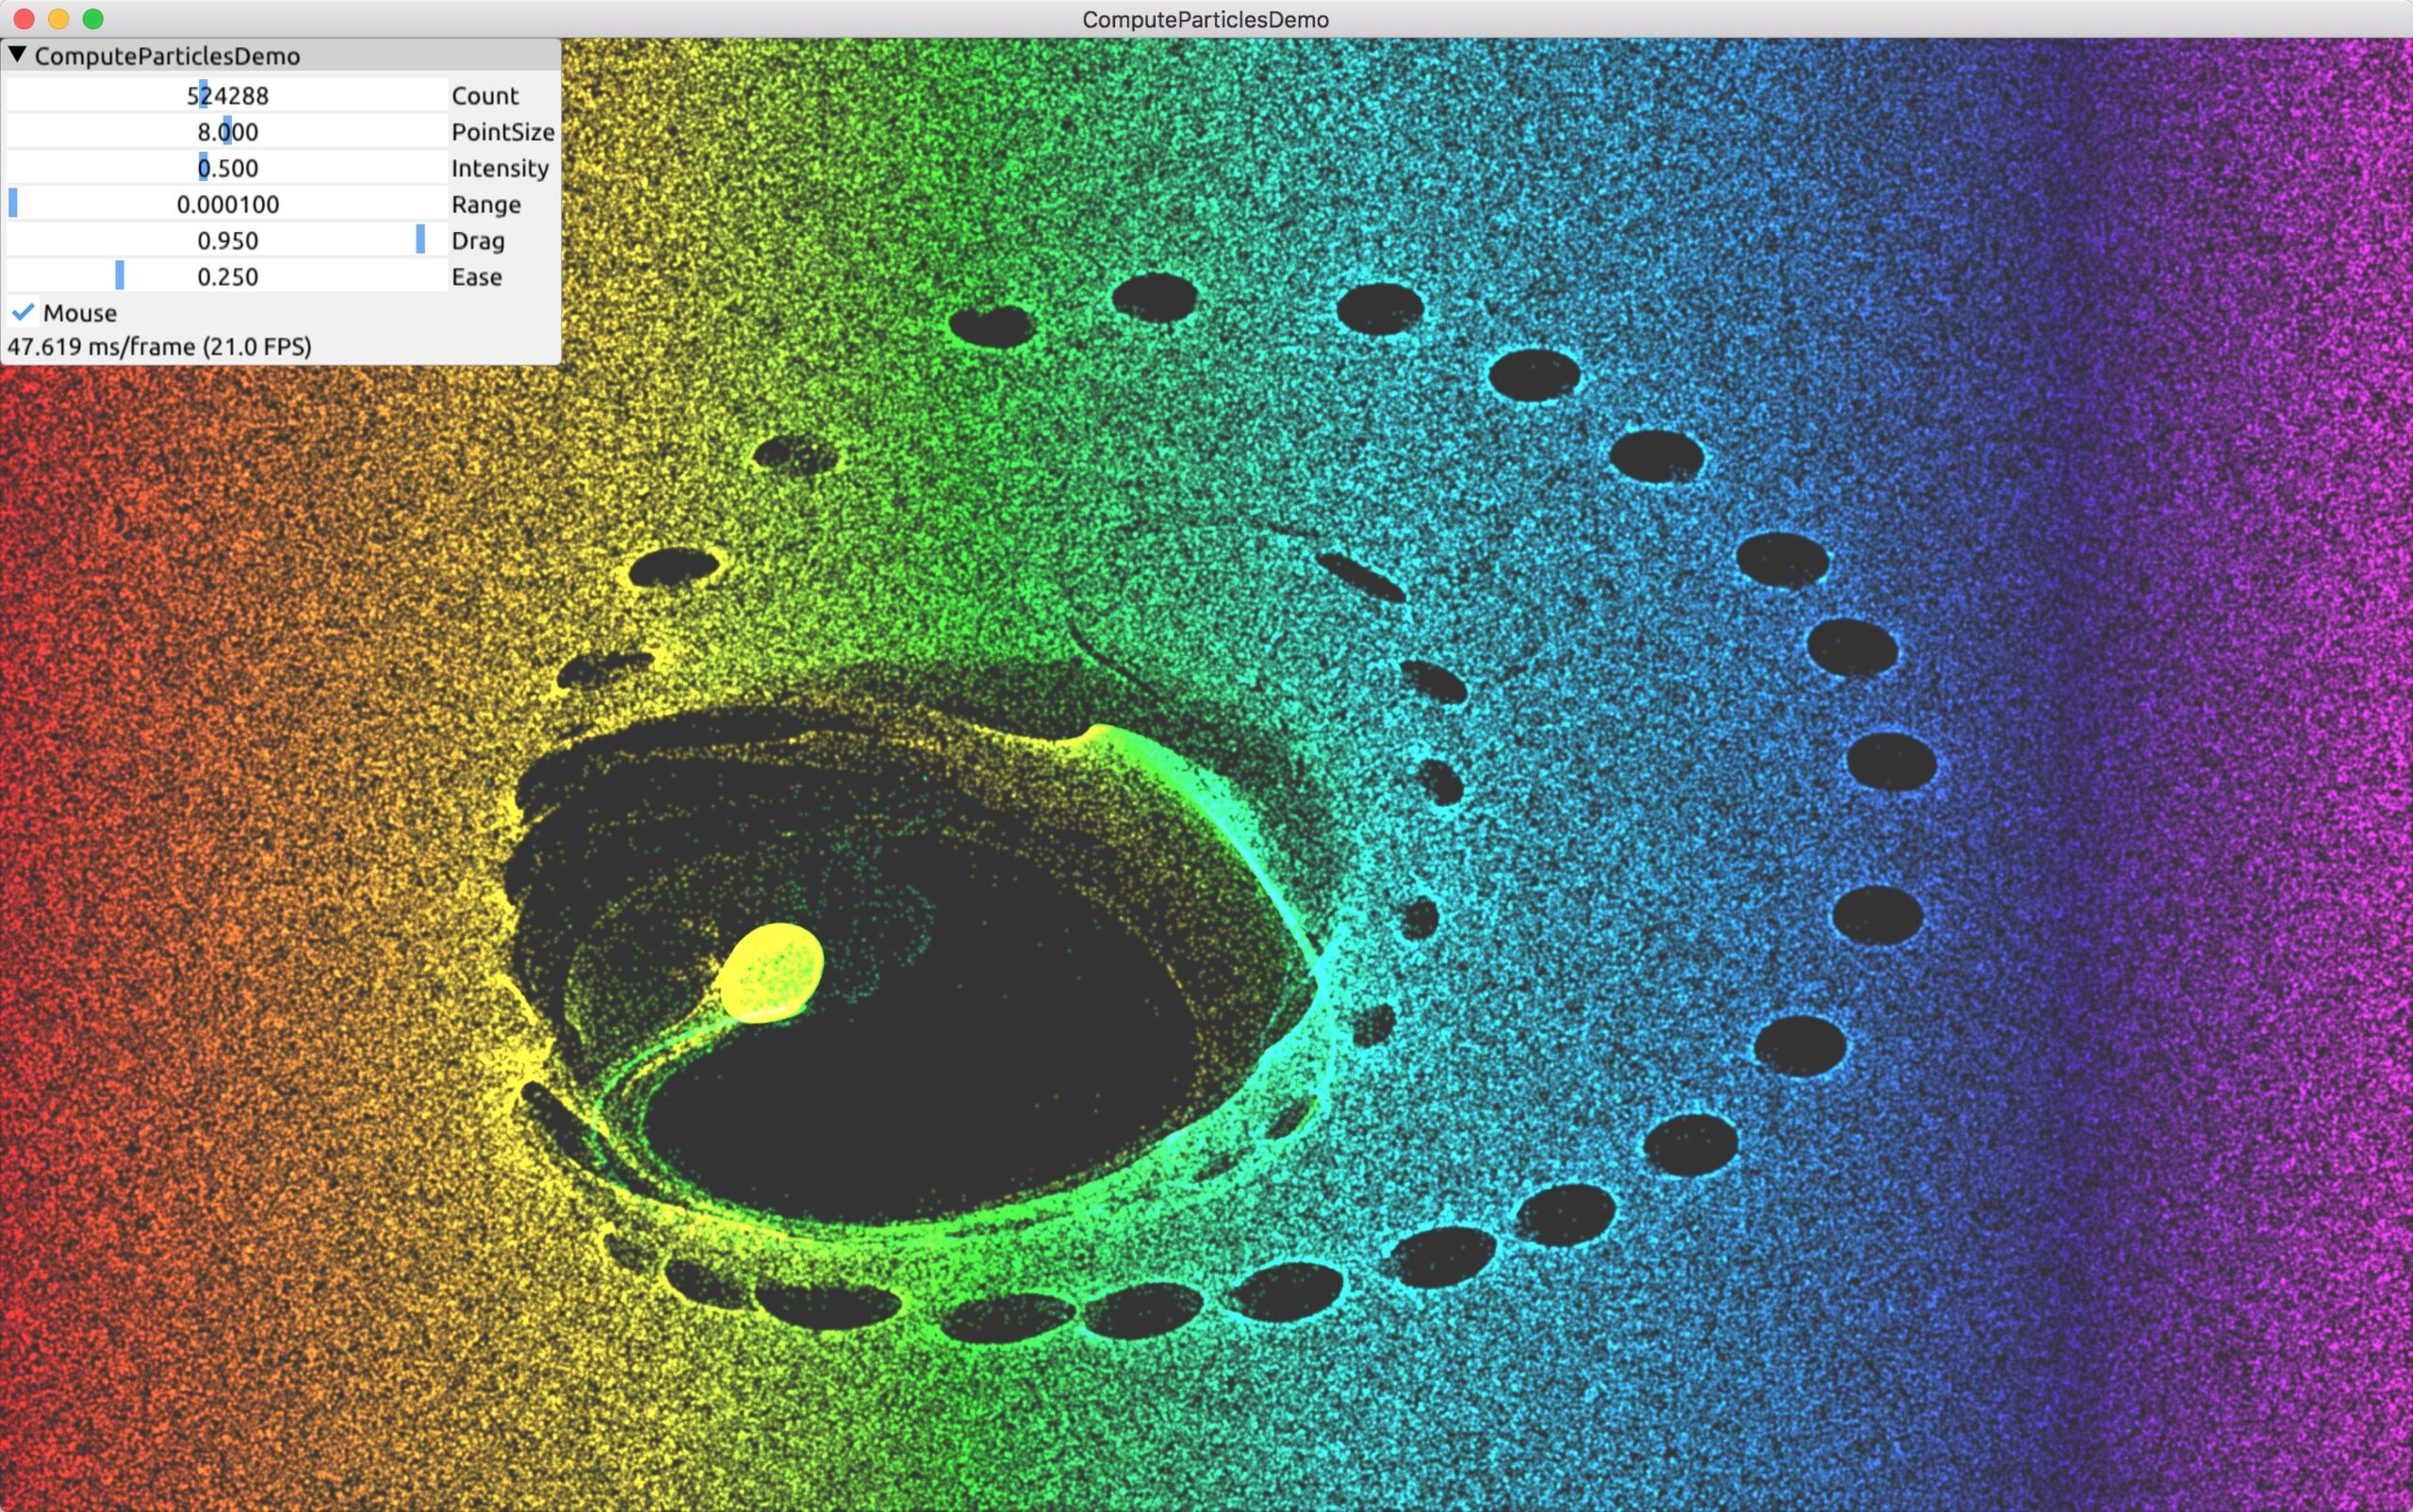
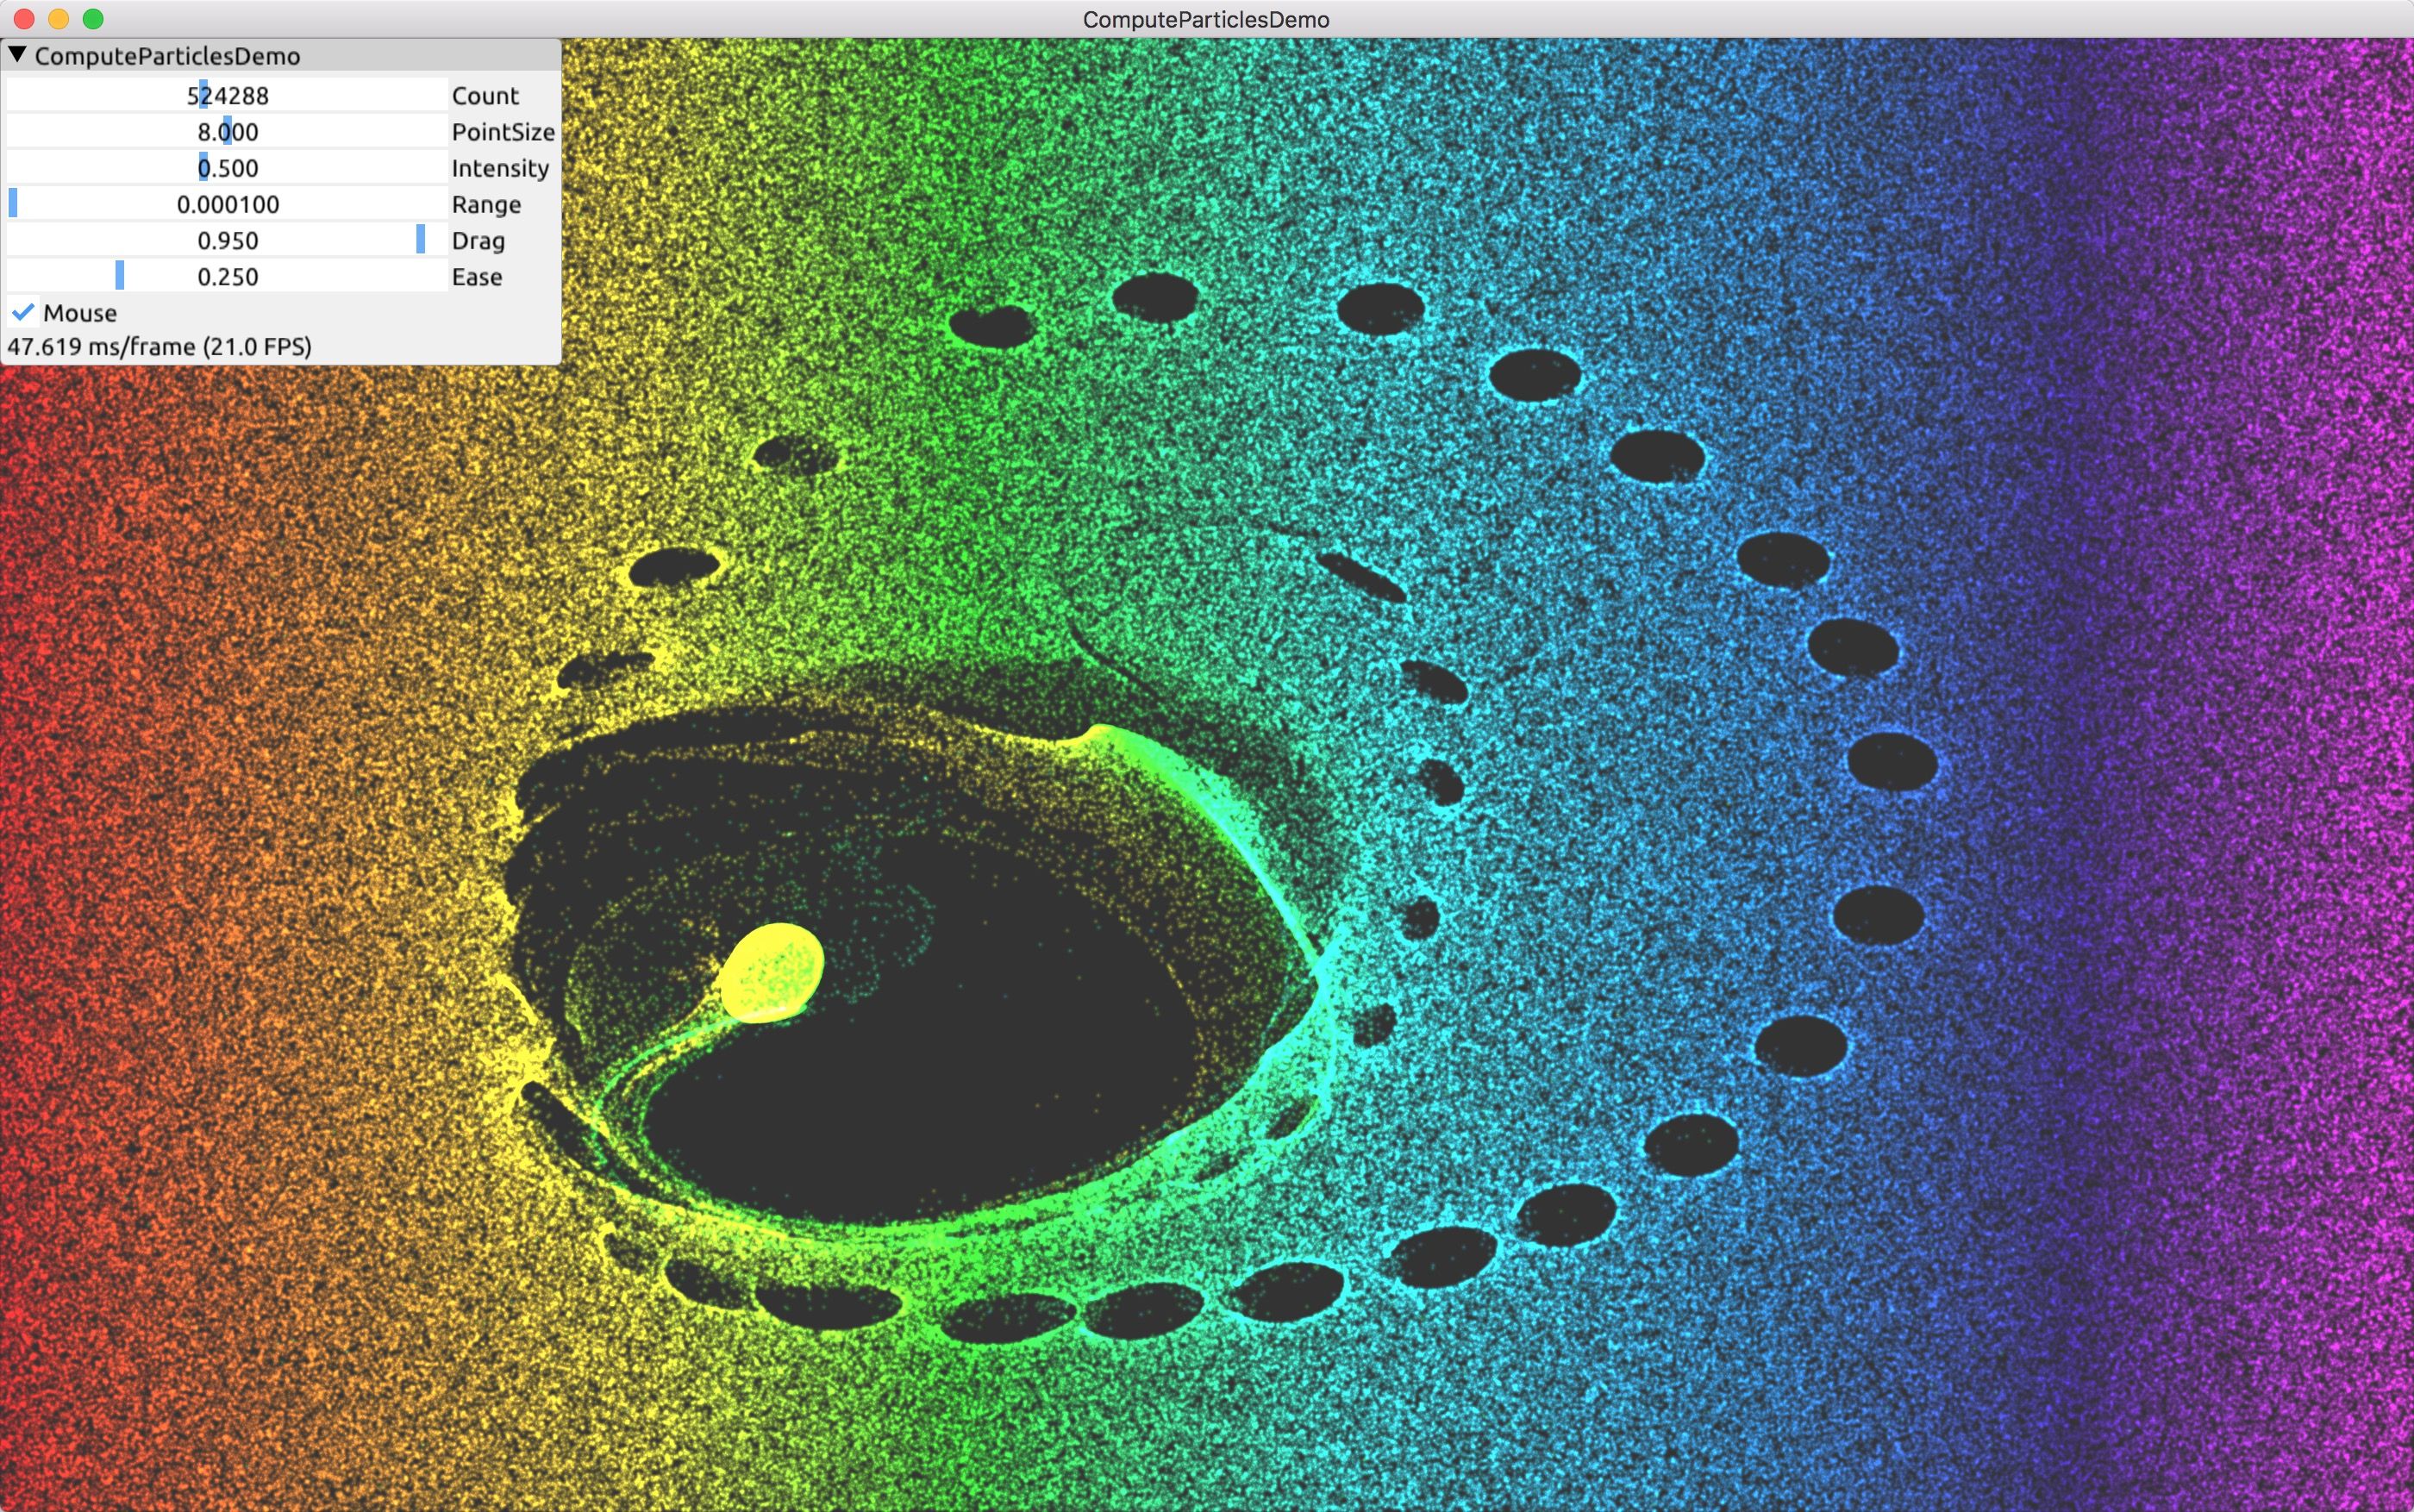
    43_ComputeParticles

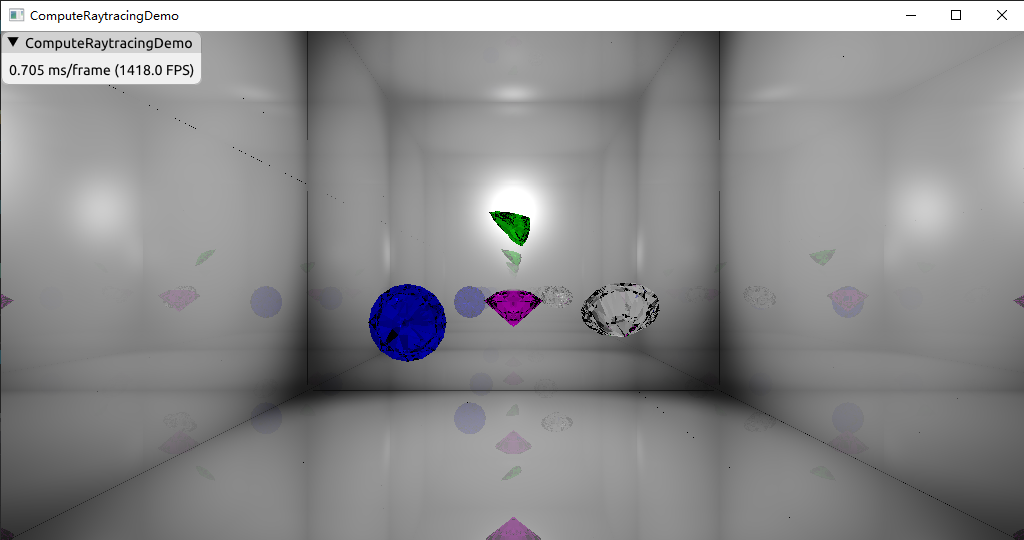
    44_ComputeRaytracing

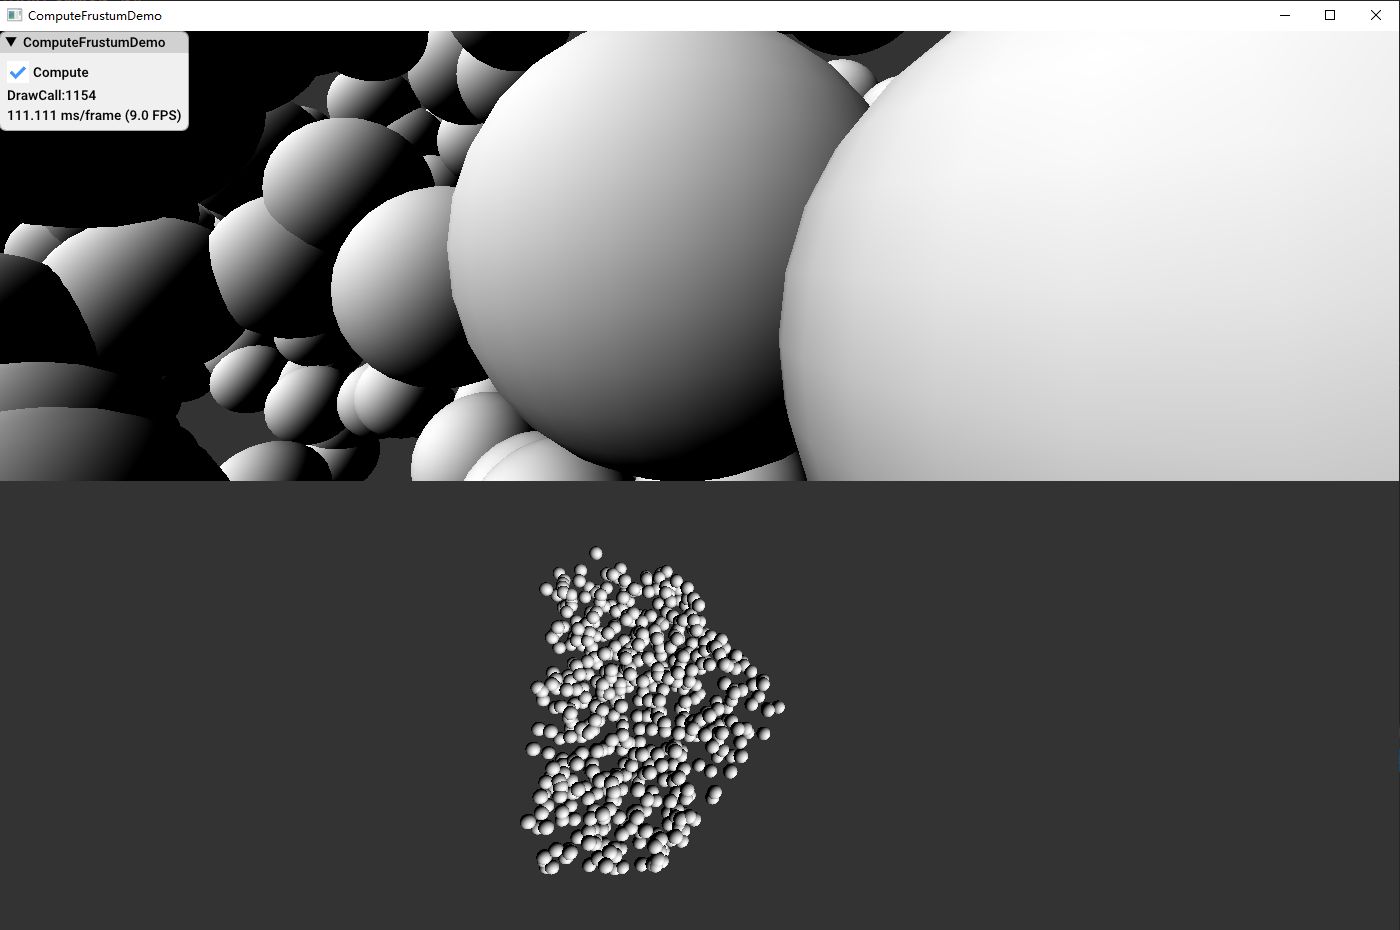
    45_ComputeFrustum

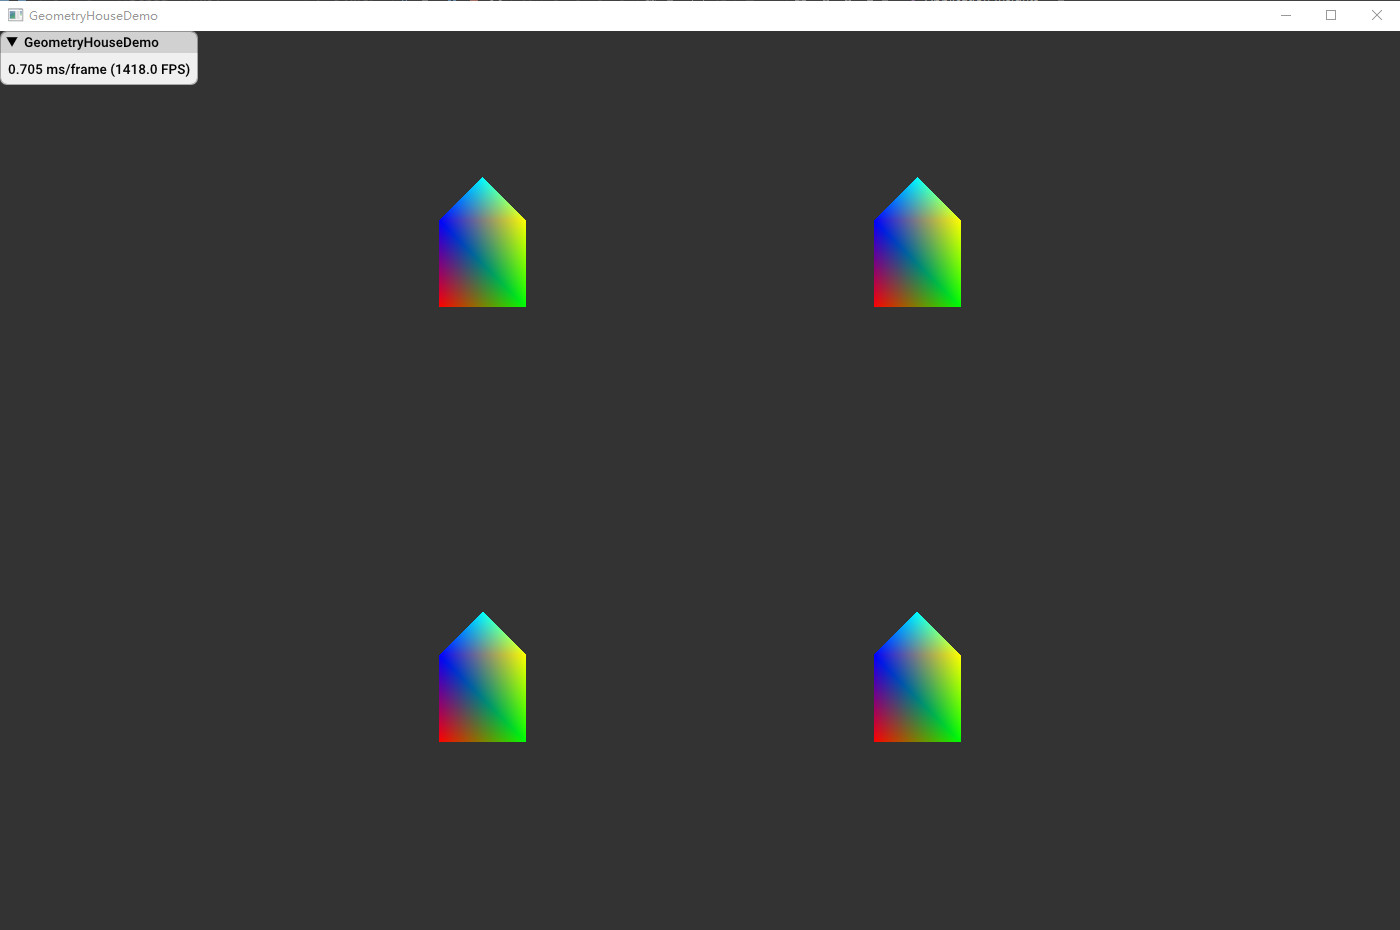
    46_GeometryHouse

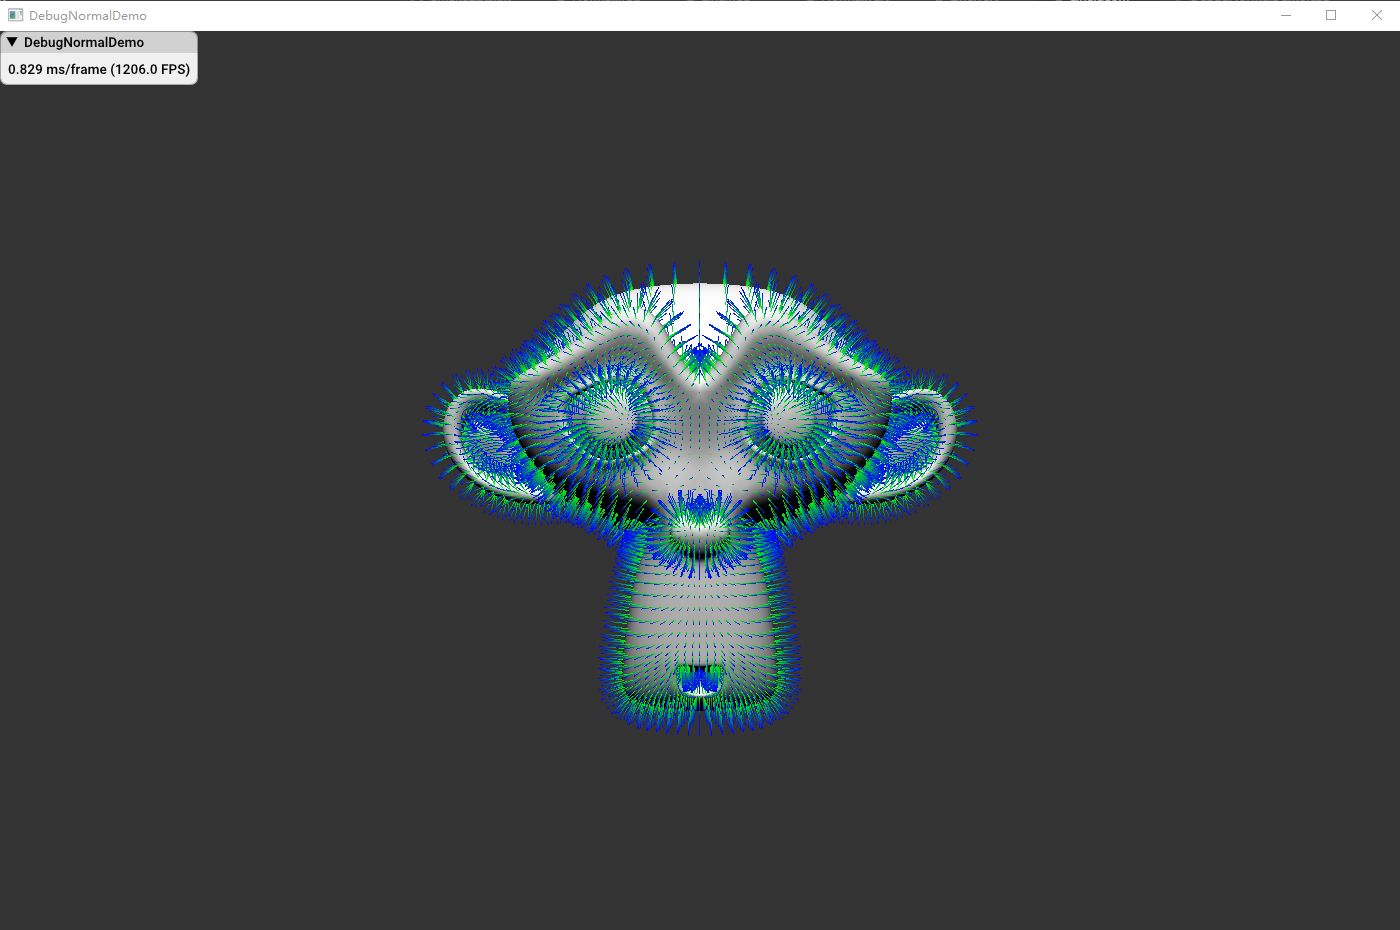
    47_DebugNormal

    48_GeometryOmniShadow

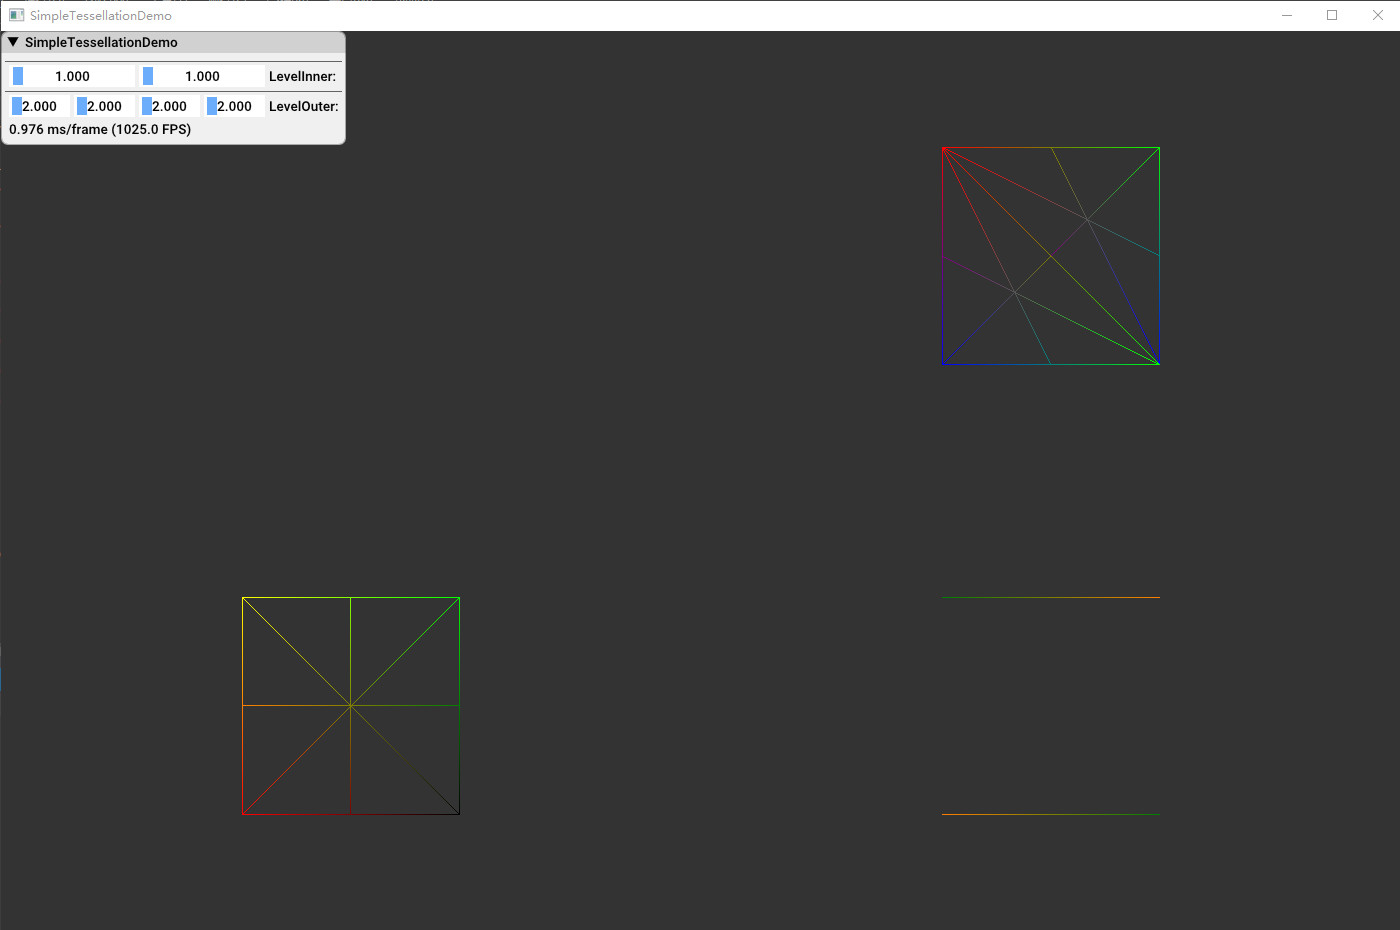
    49_SimpleTessellation

    50_PNTessellation

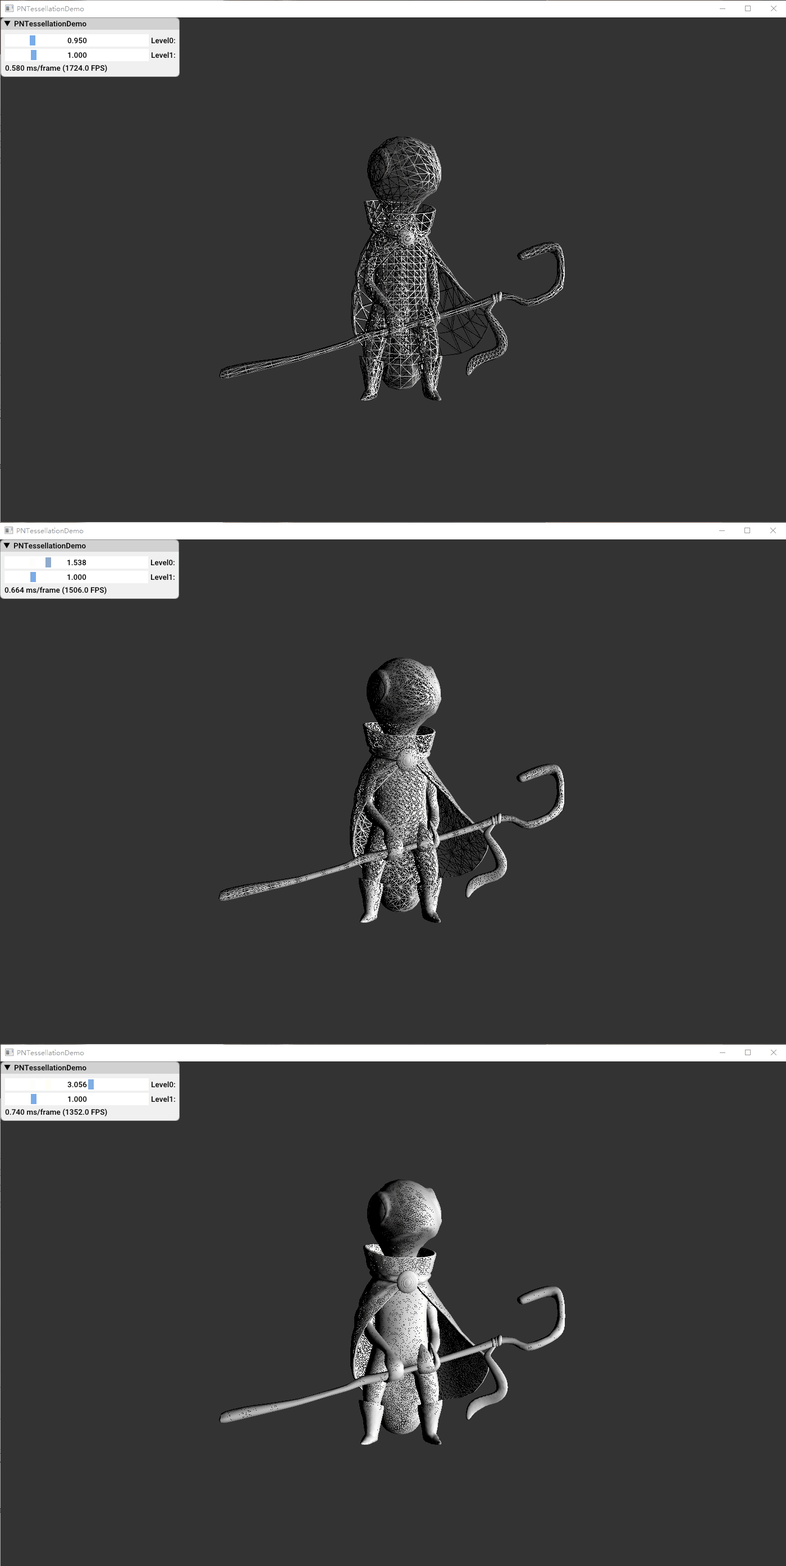
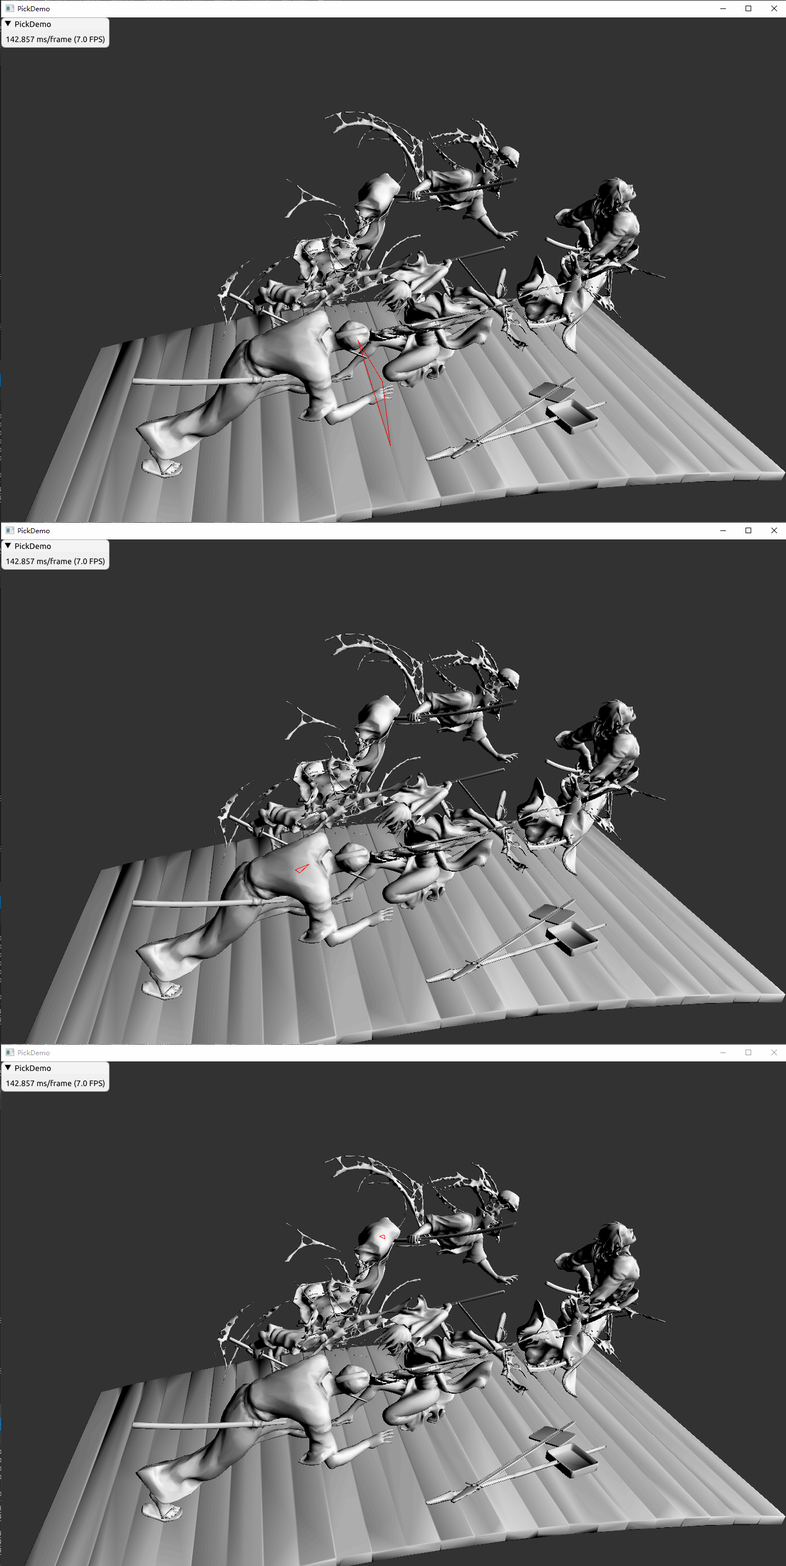
    51_Pick

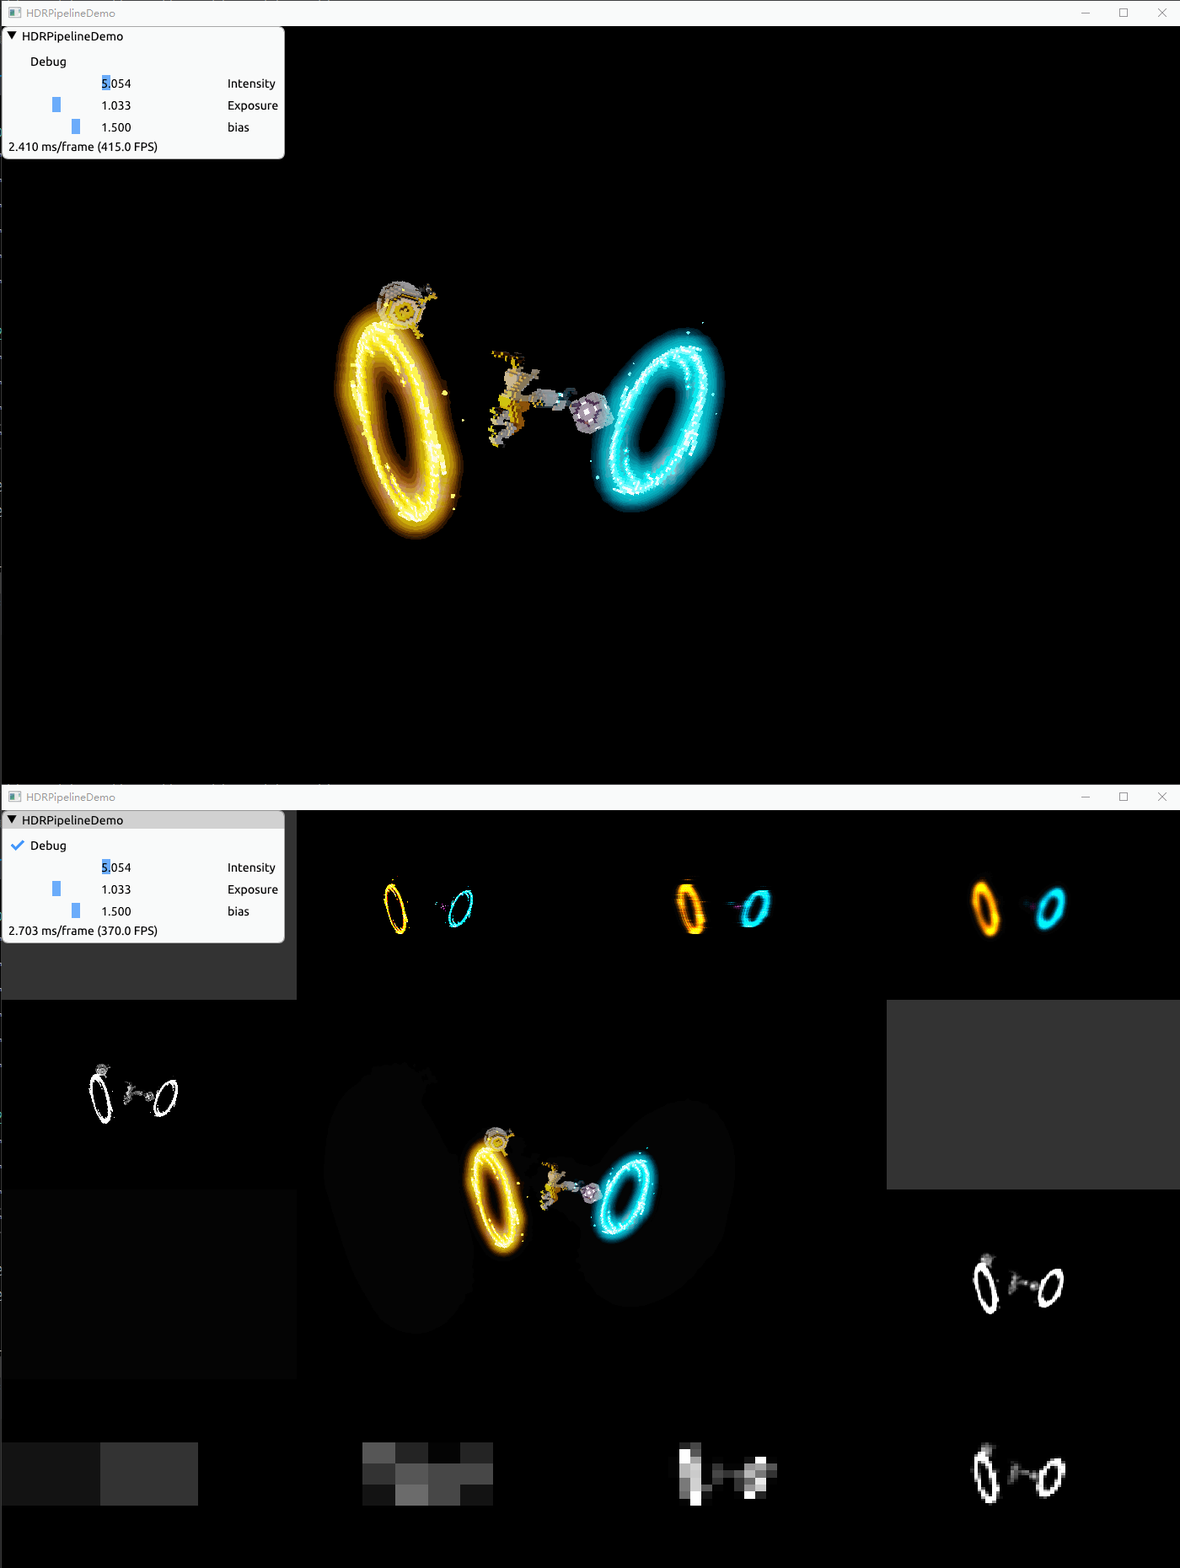
    52_HDRPipeline

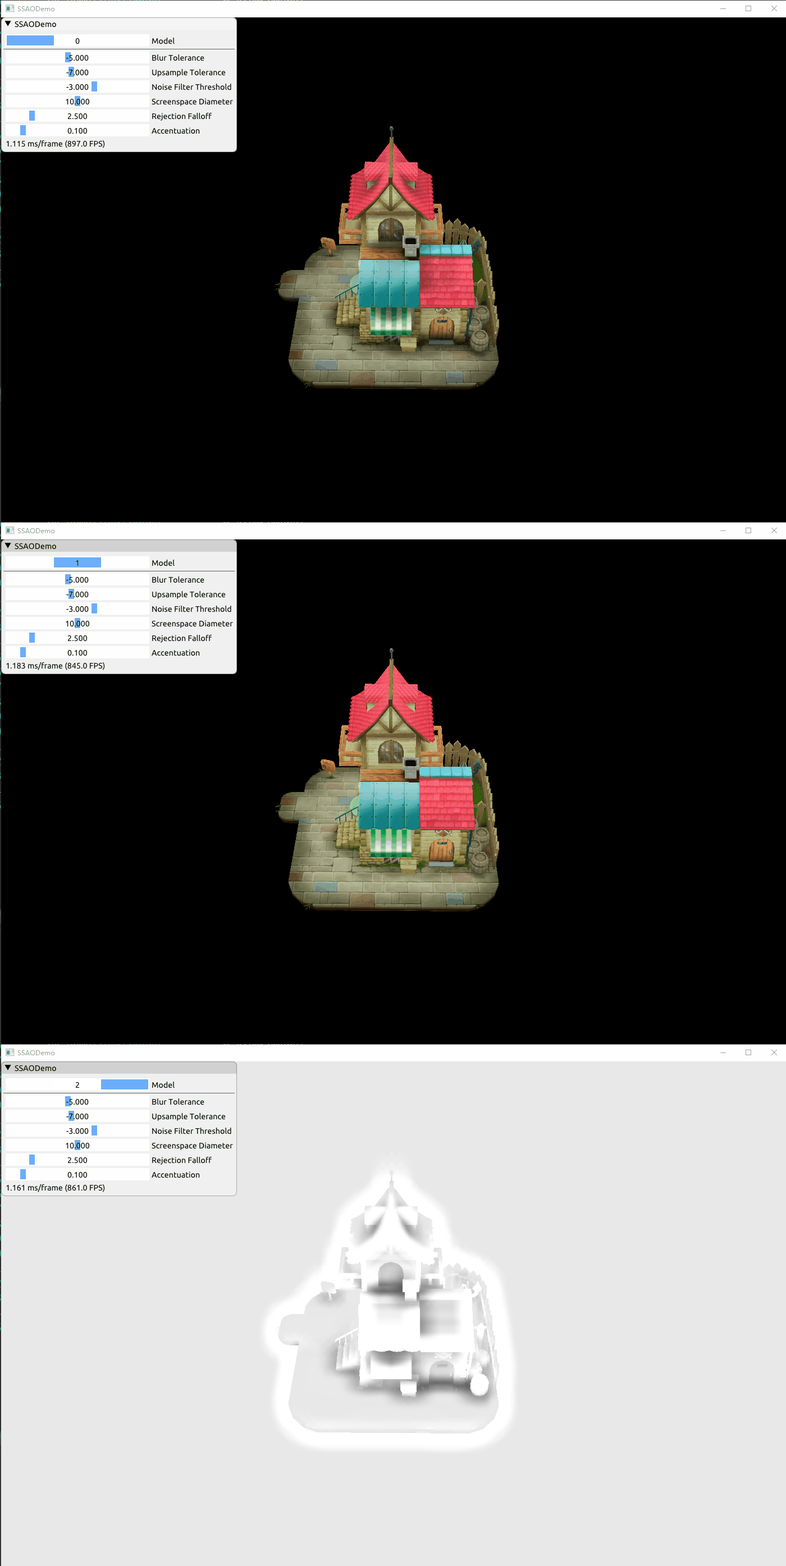
    53_SSAO

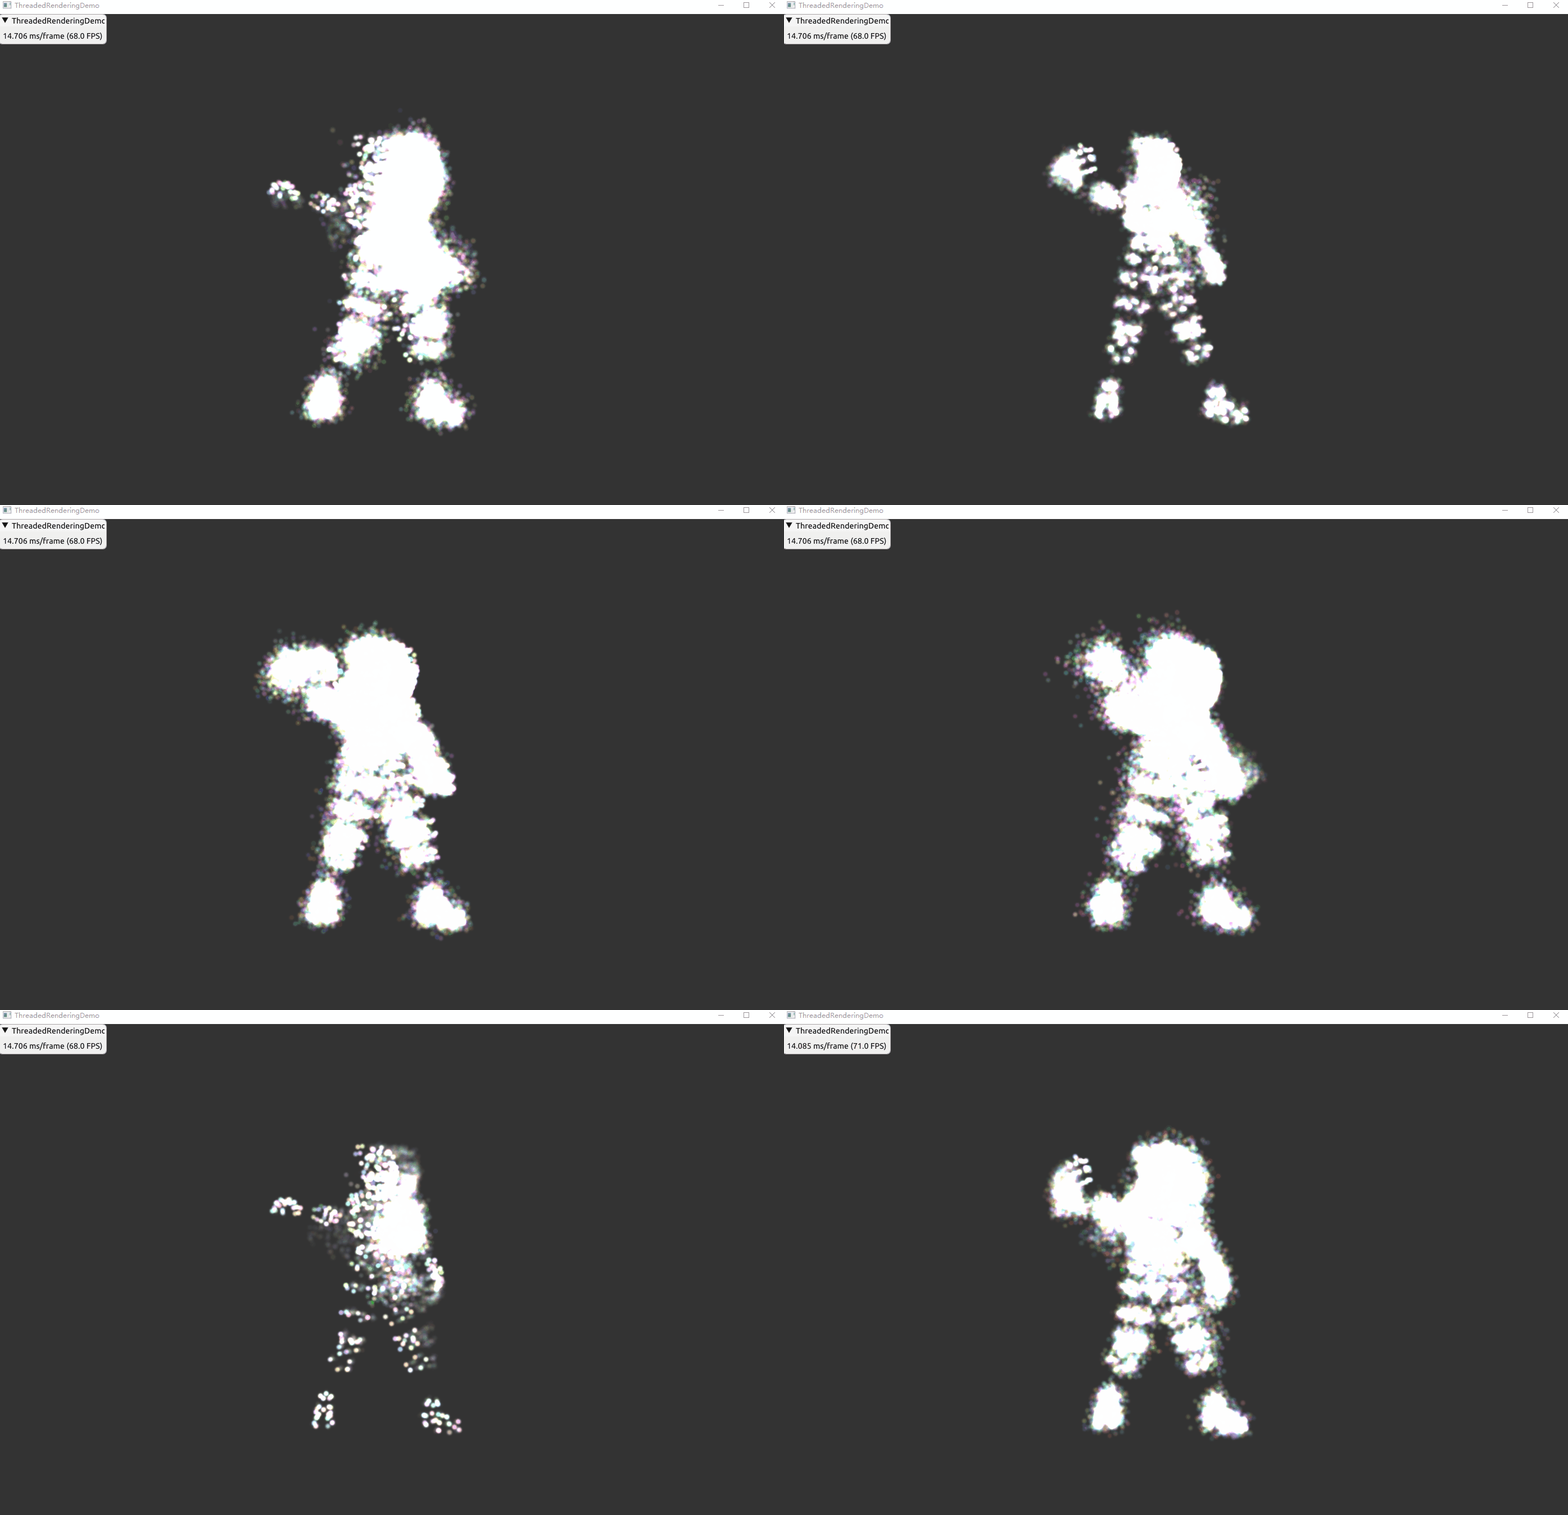
    54_ThreadedRendering

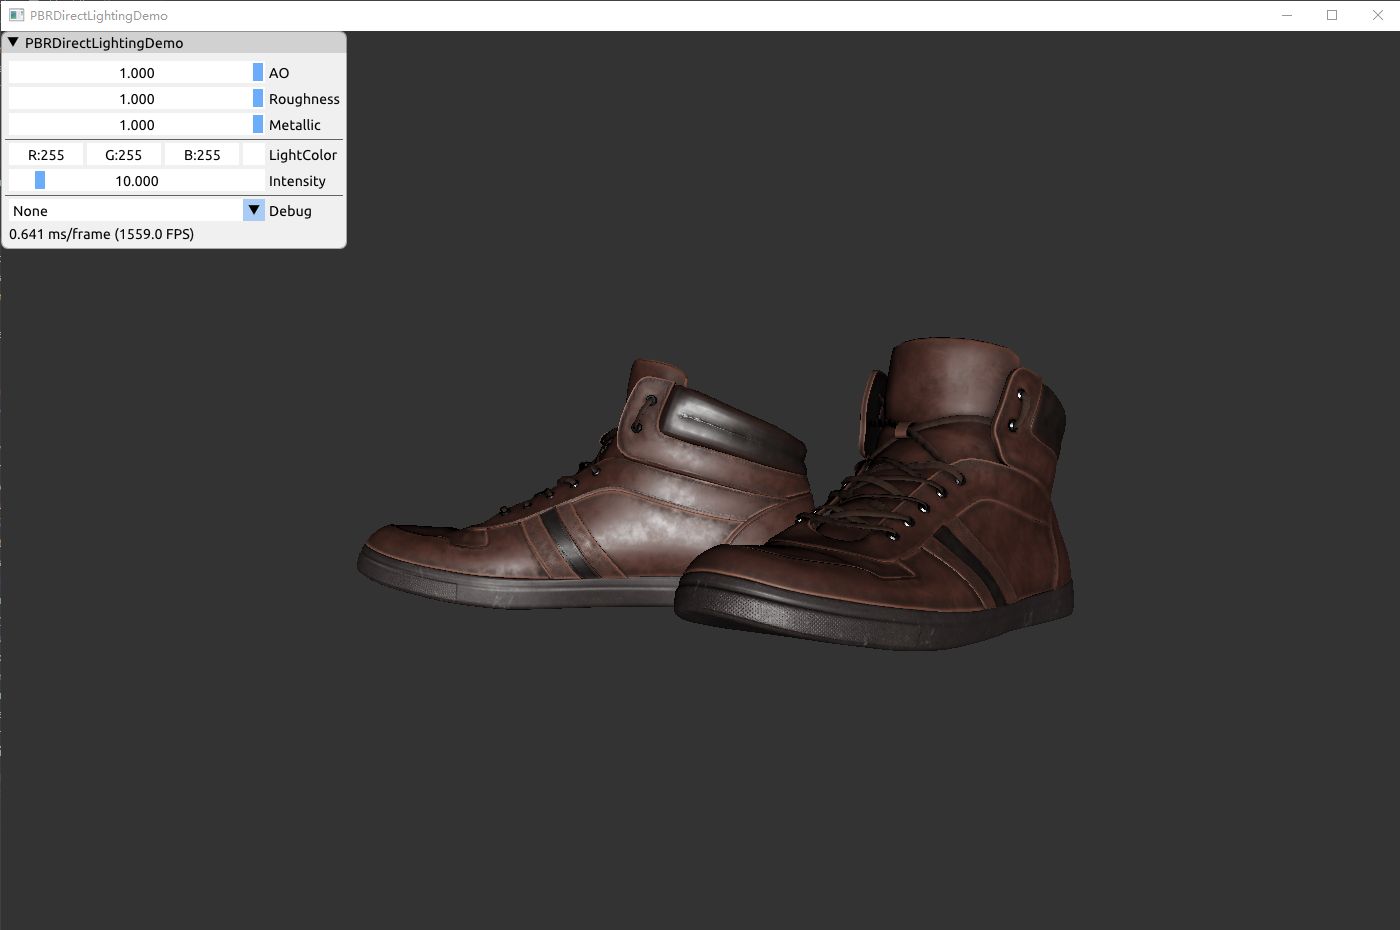
    55_PBR_DirectLighting

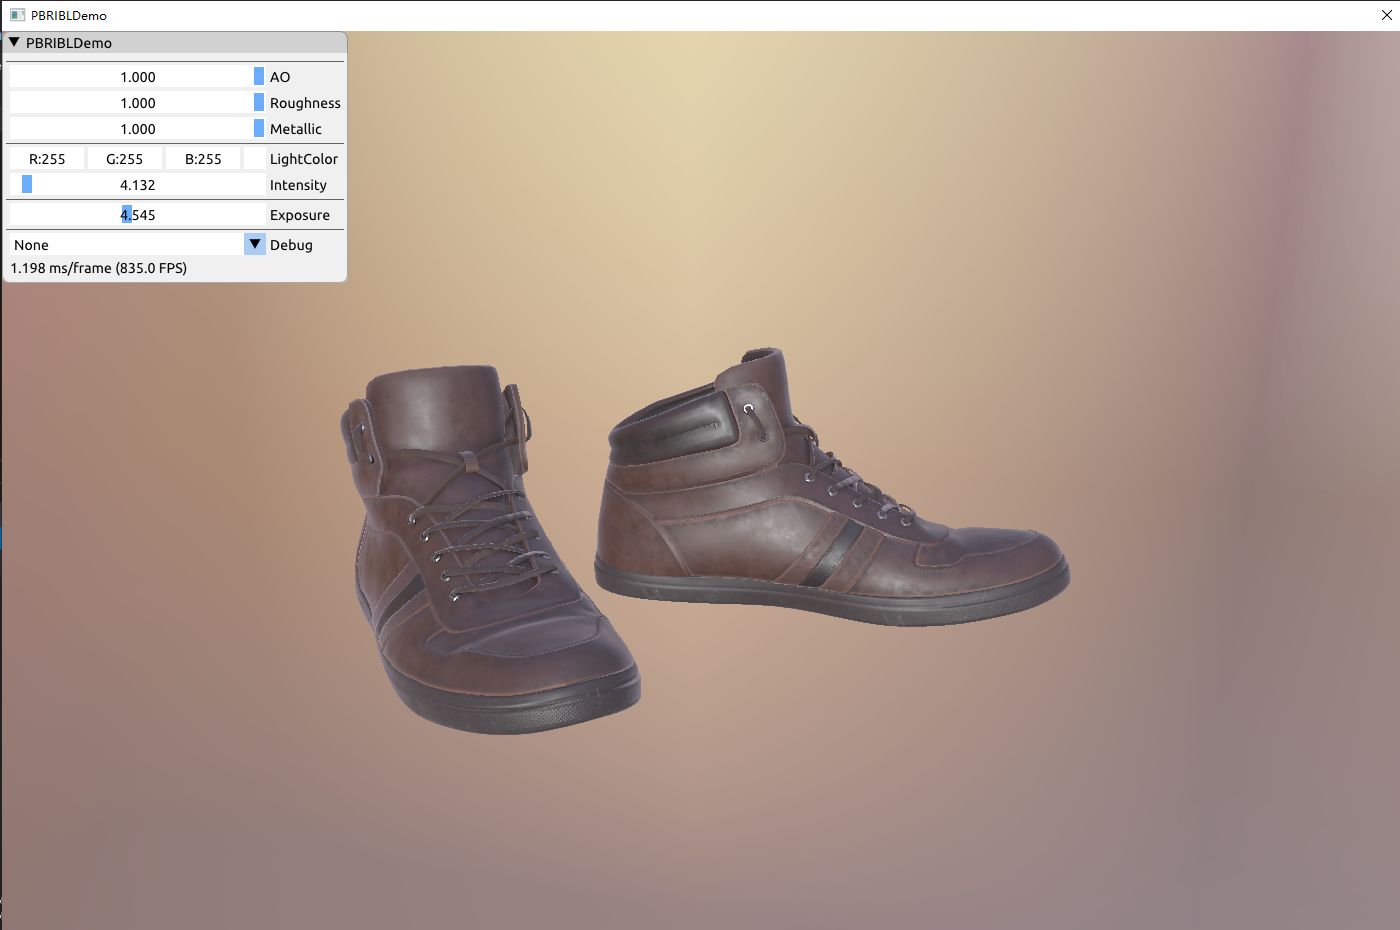
    56_PBR_IBL

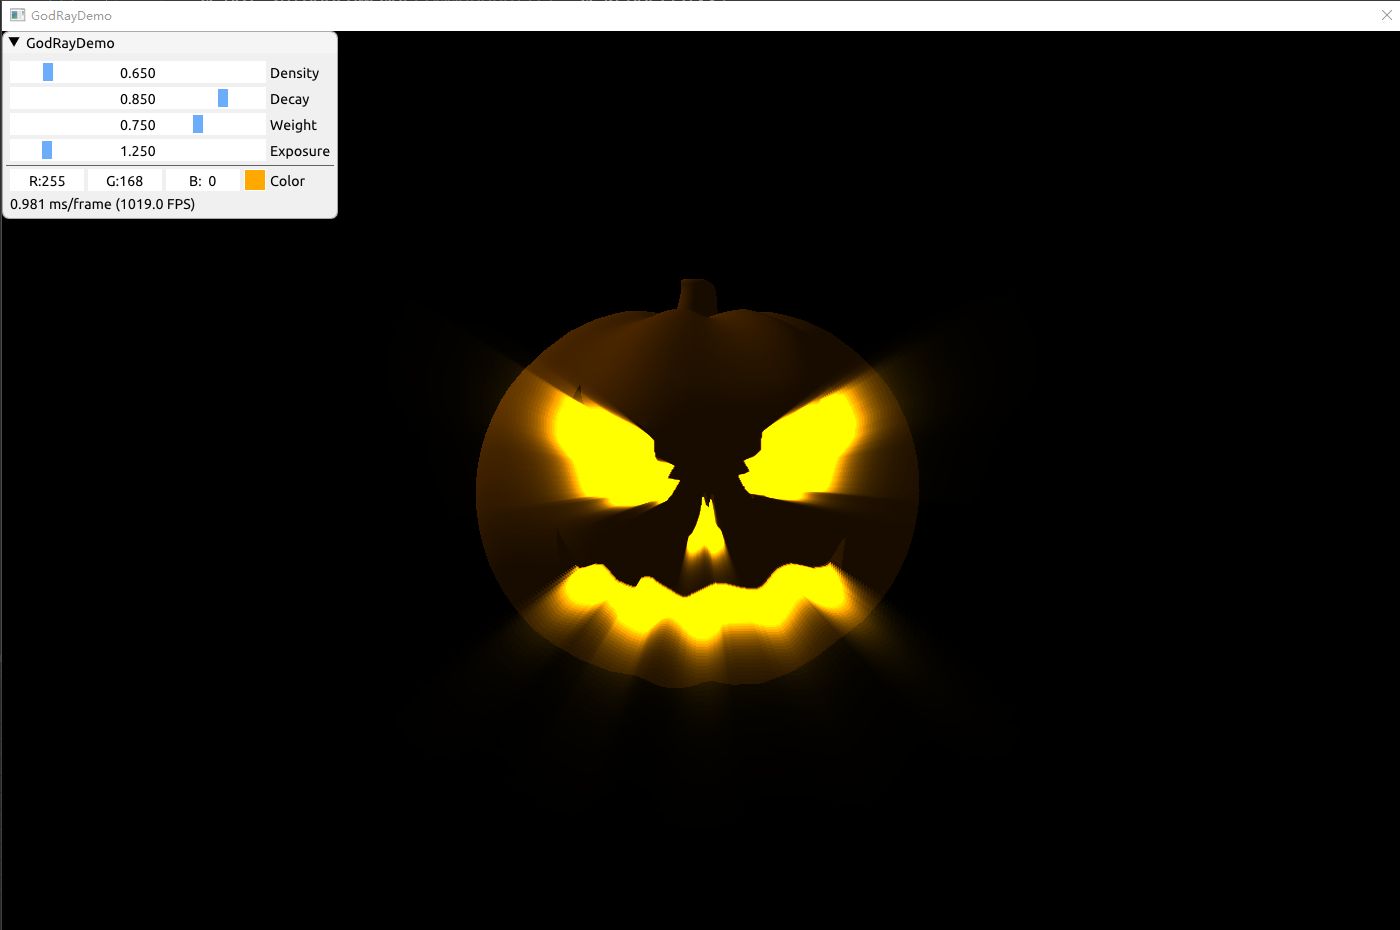
    57_GodRay

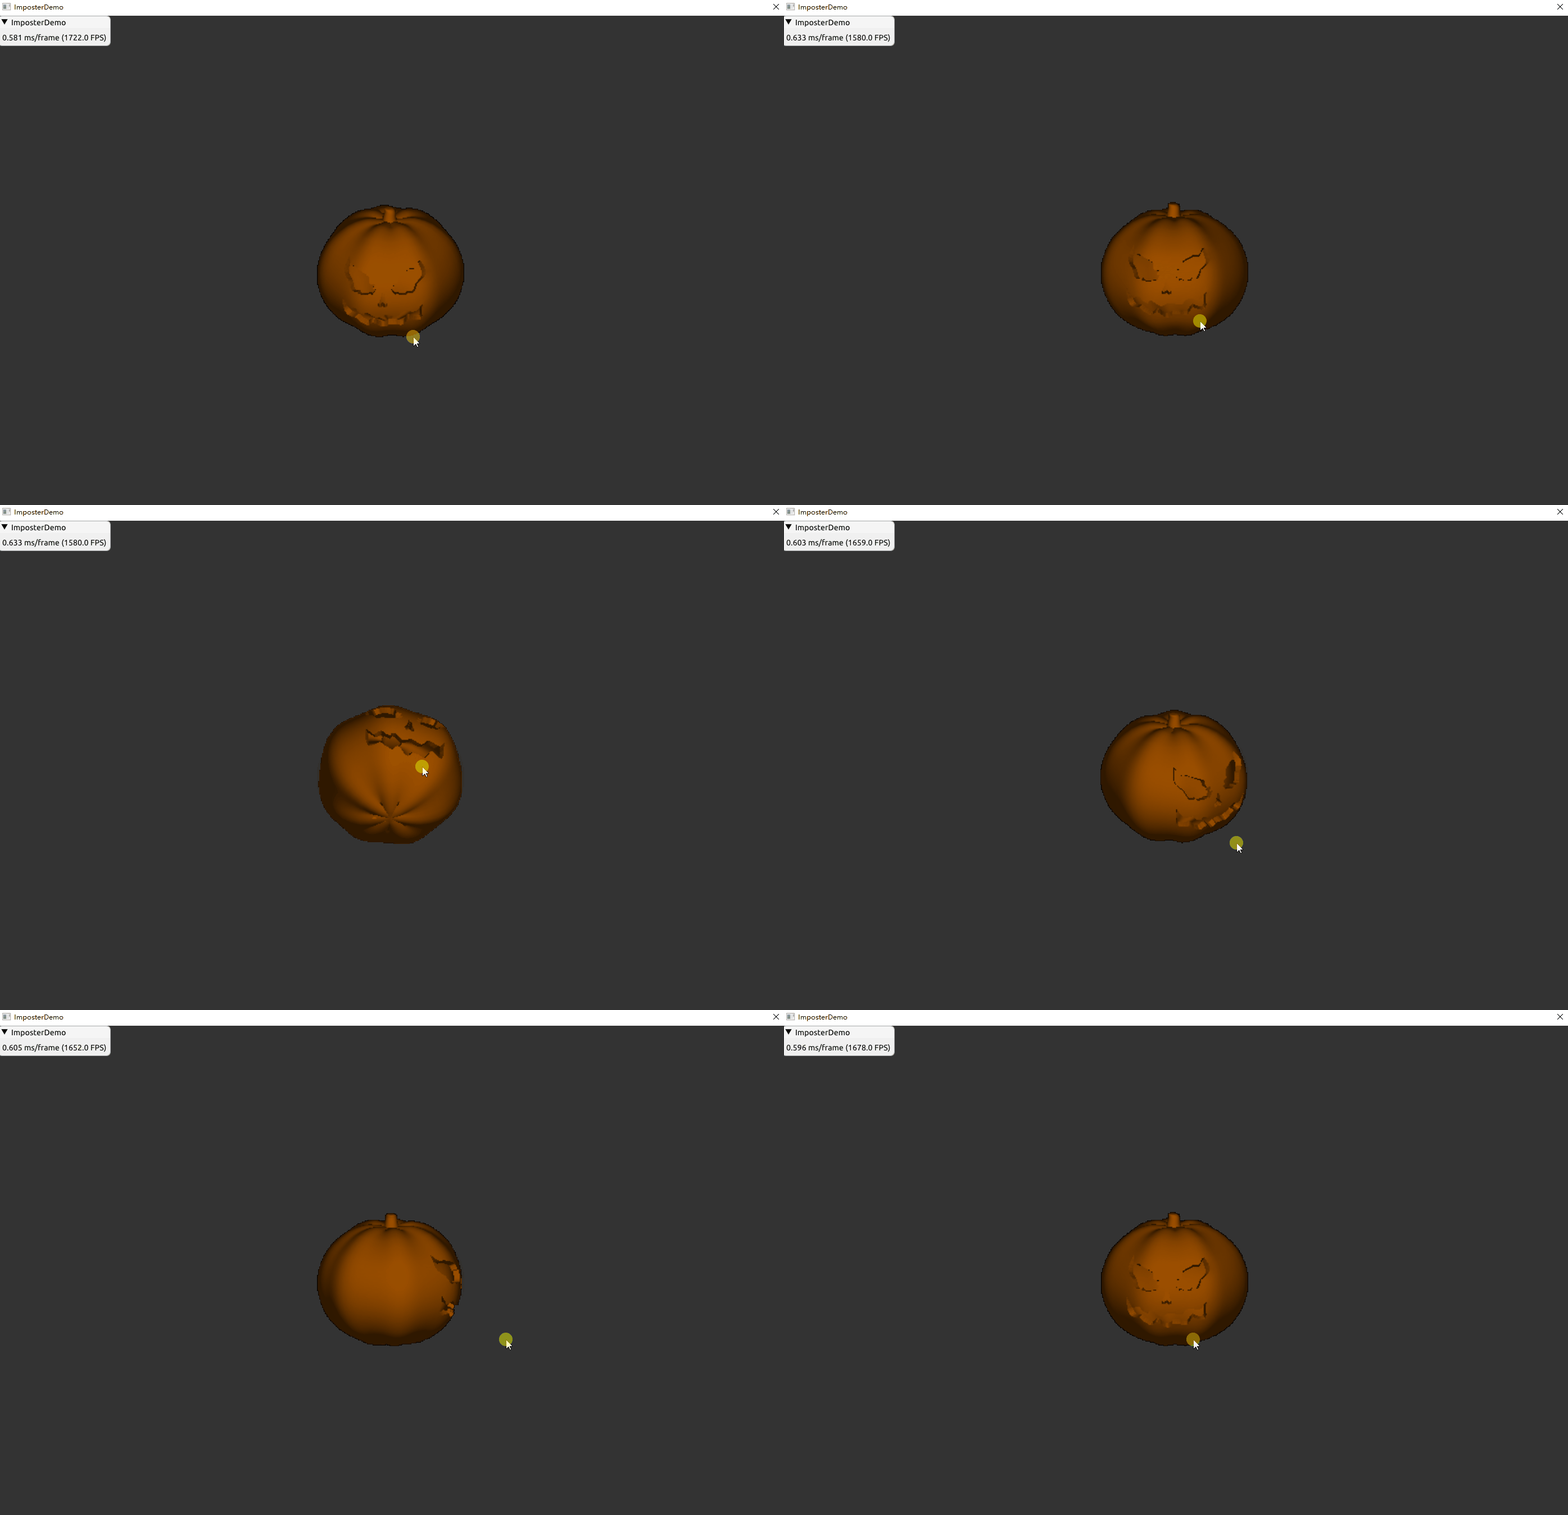
    58_Imposter

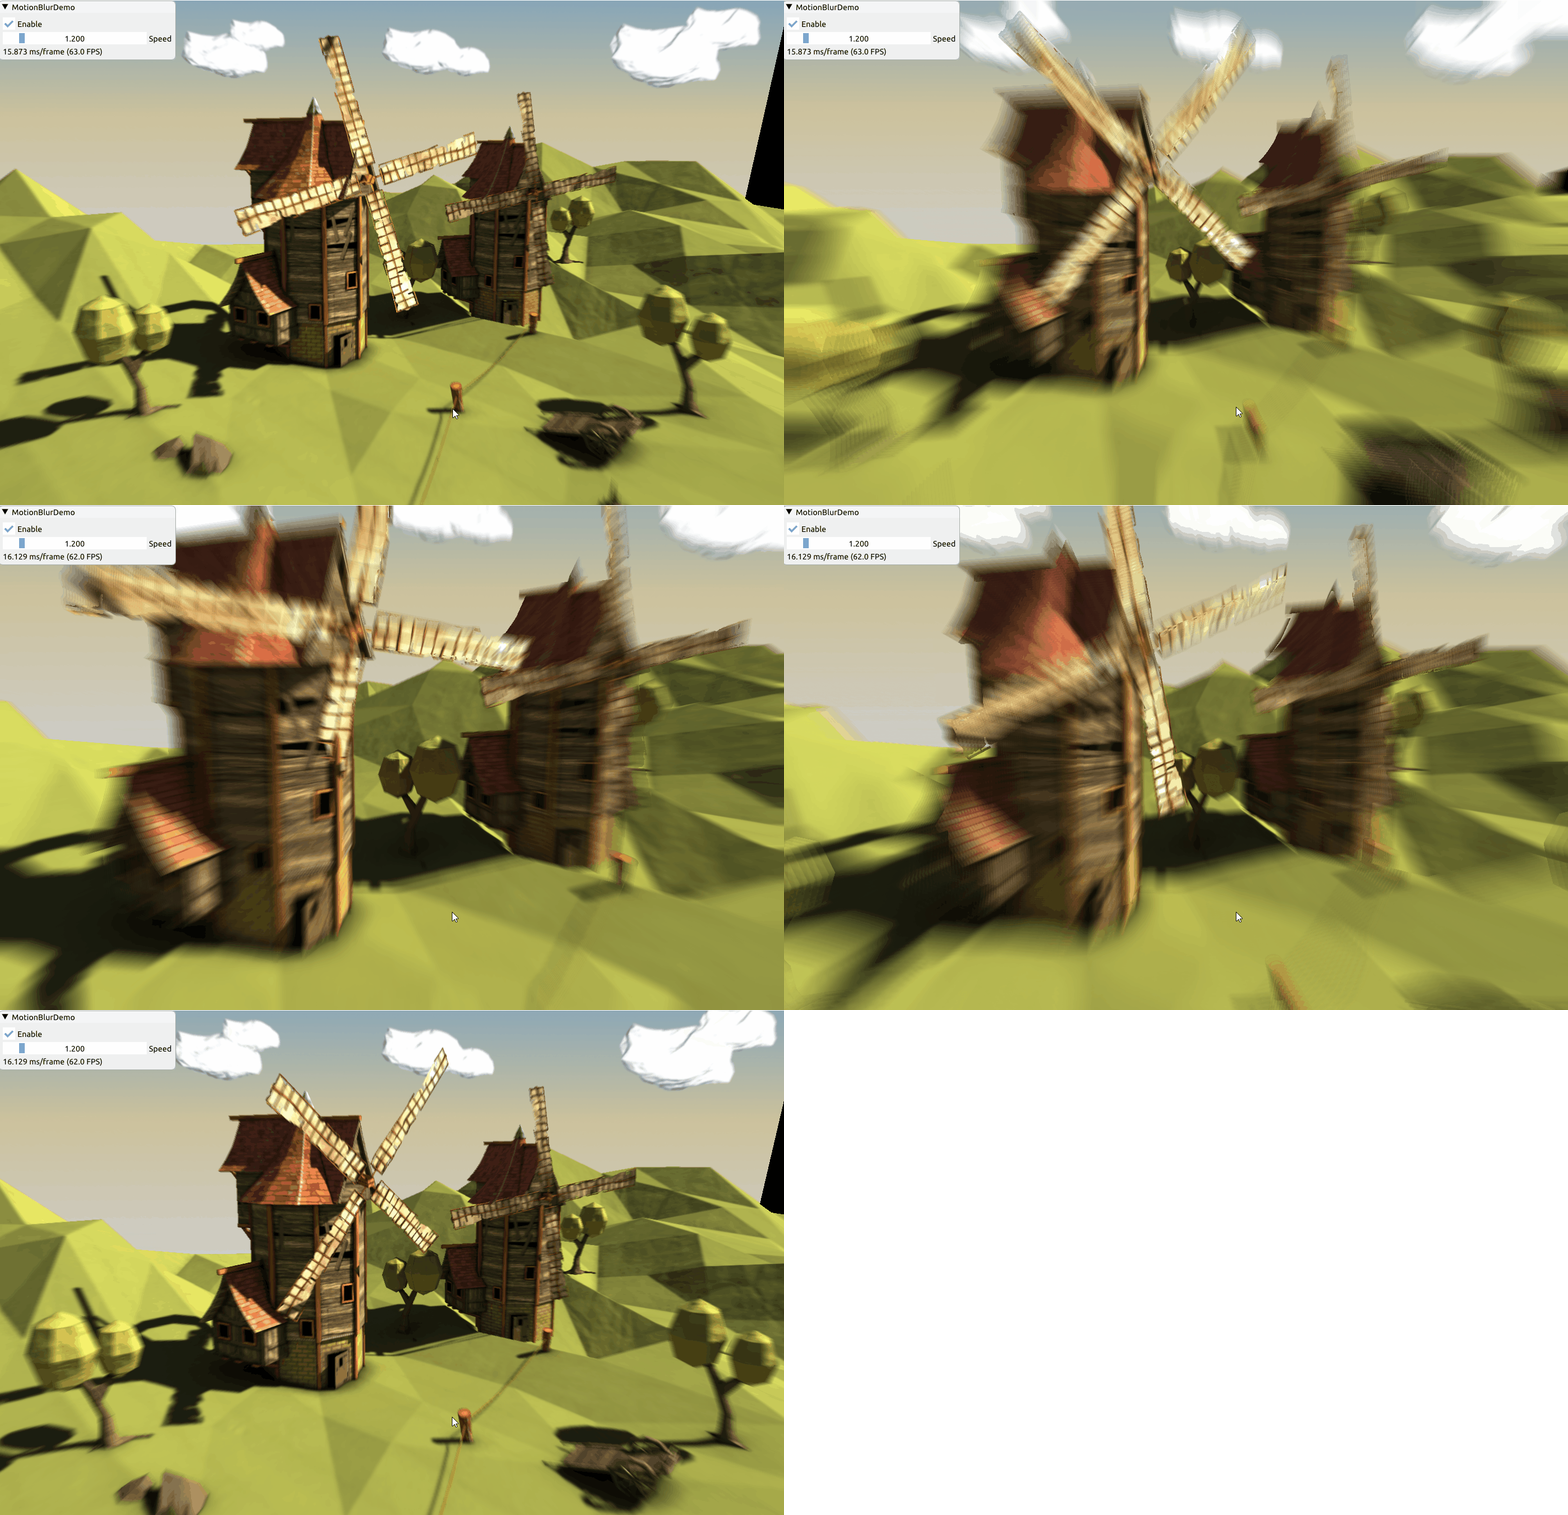
    59_MotionBlur

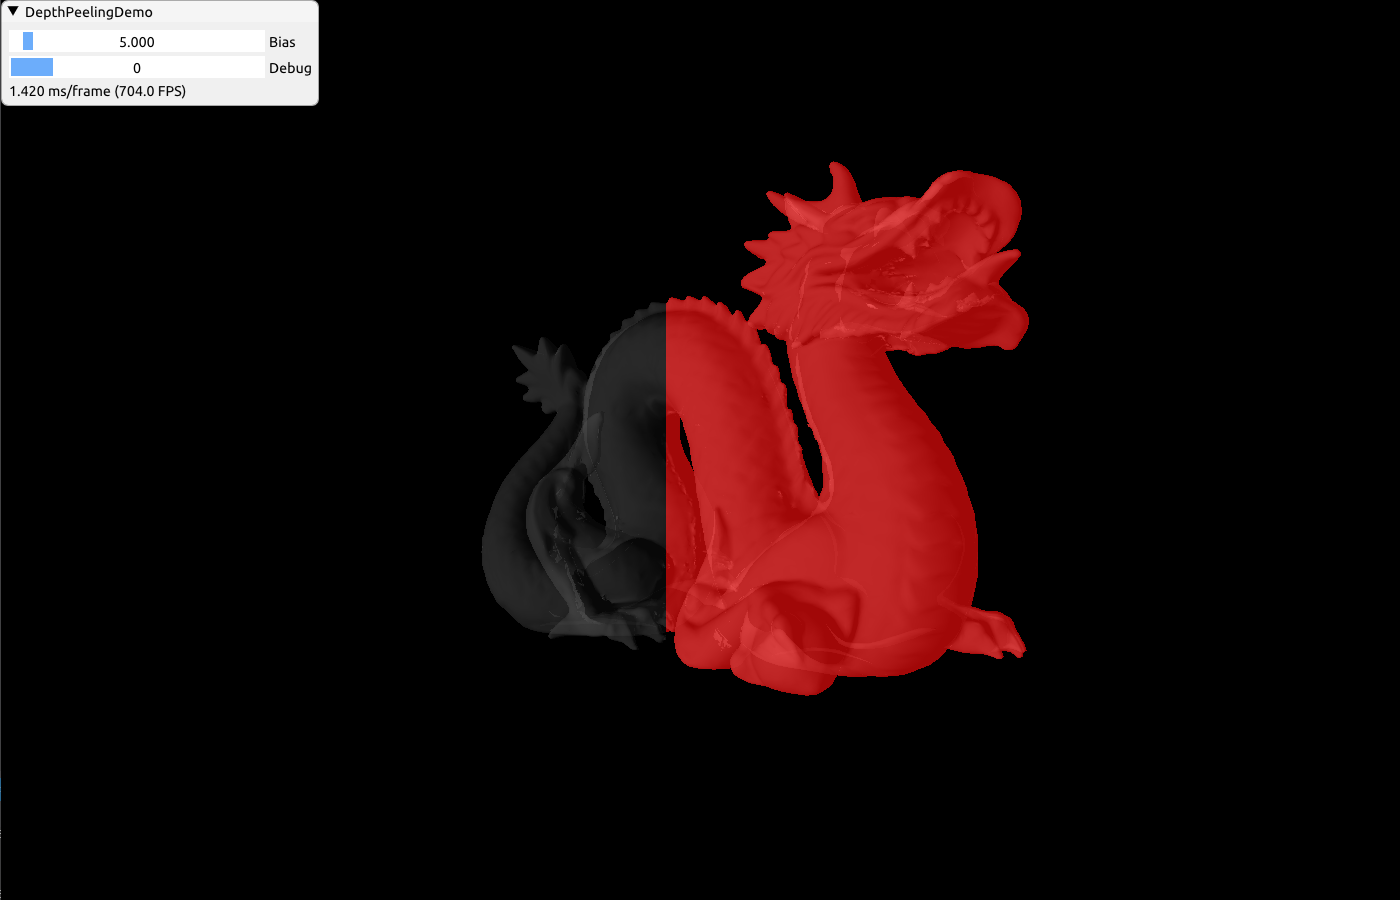
    60_DepthPeeling

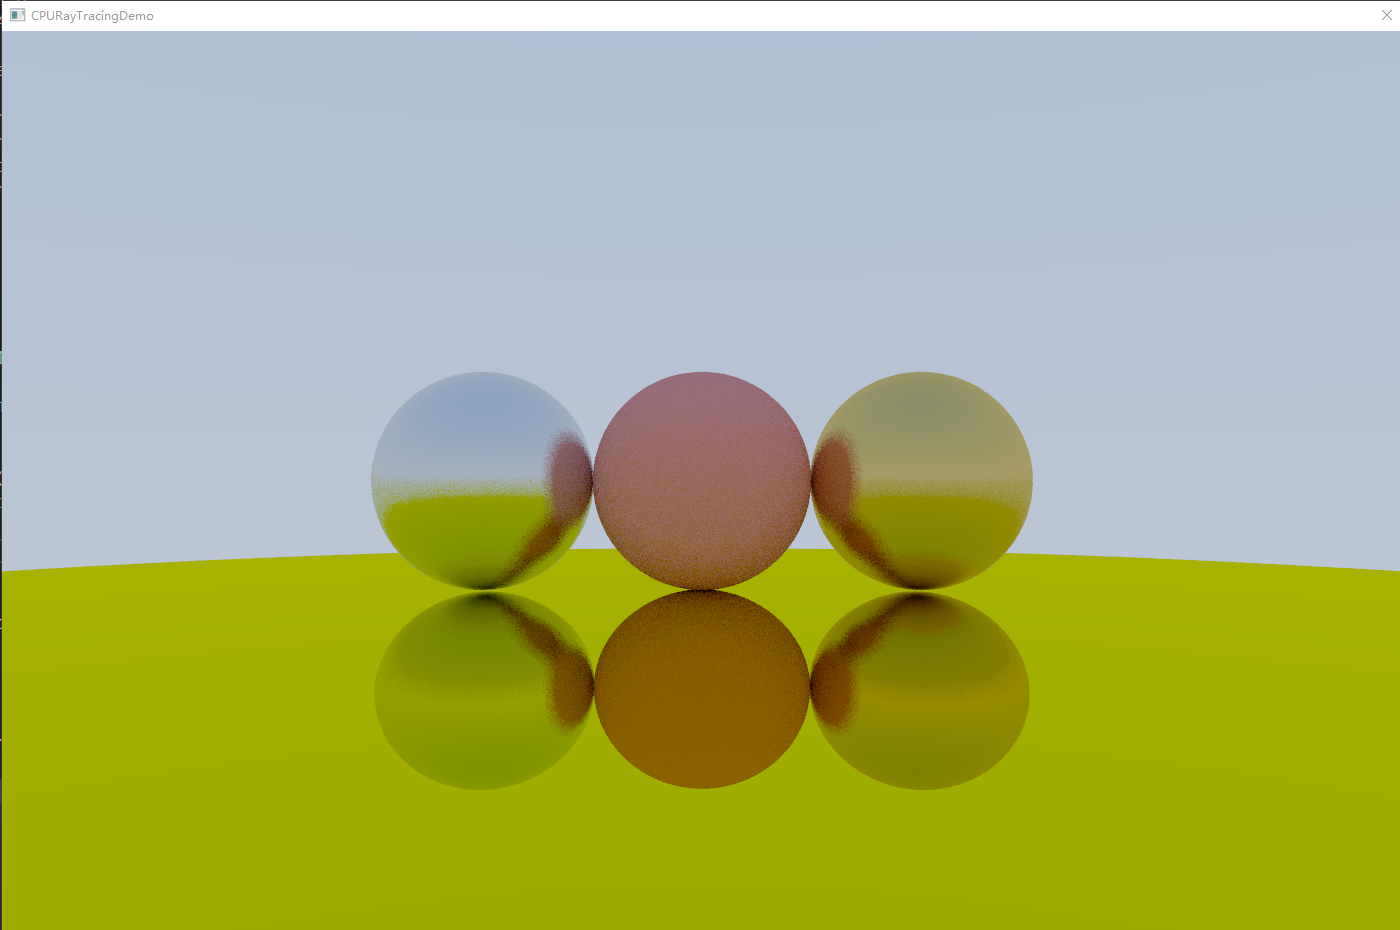
    61_CPURayTracing

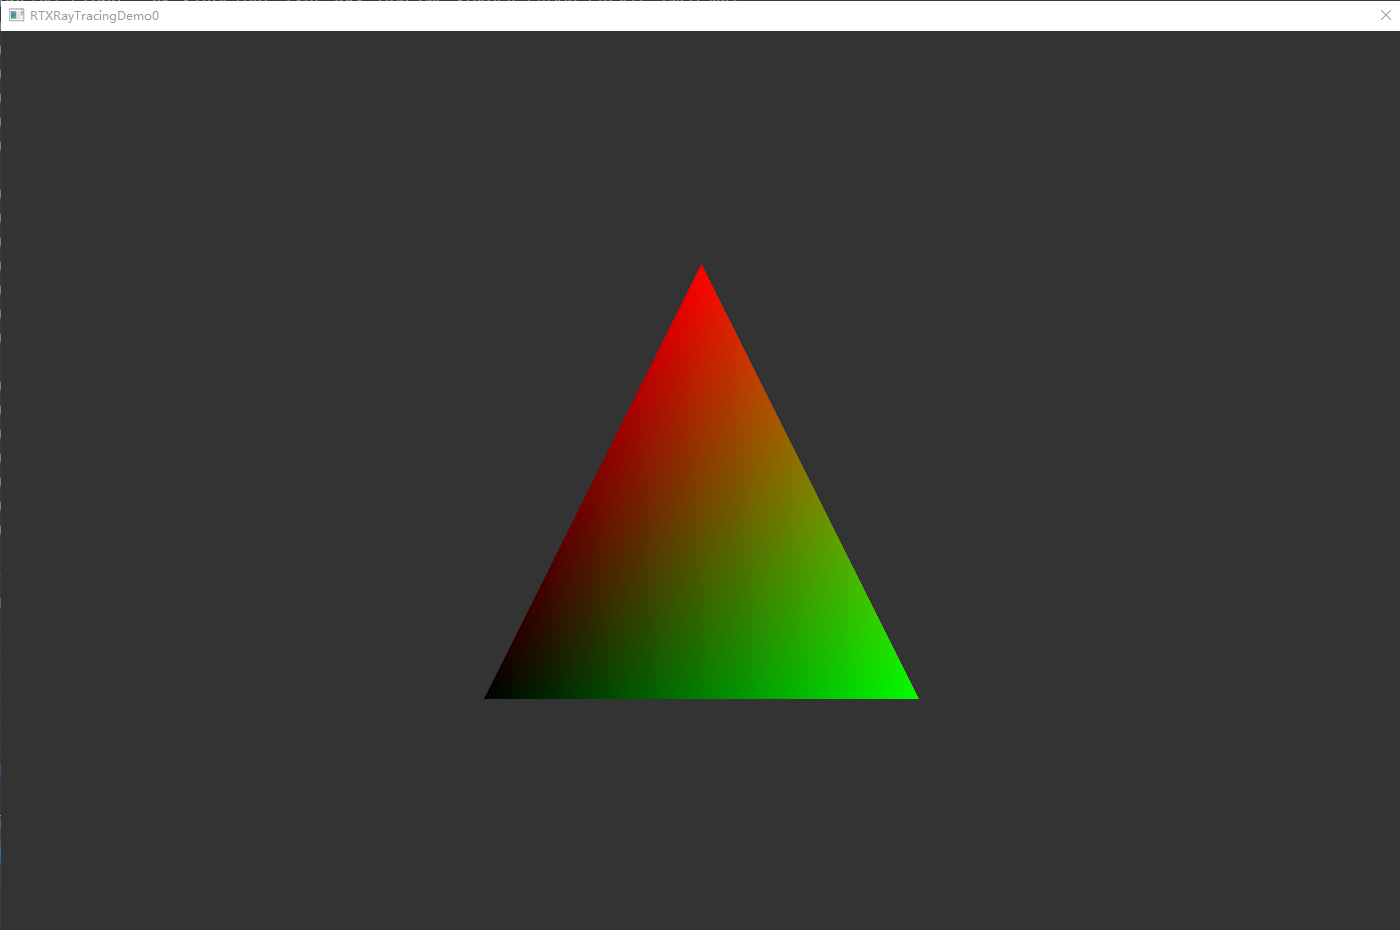
    62_RTXRayTracingBasic

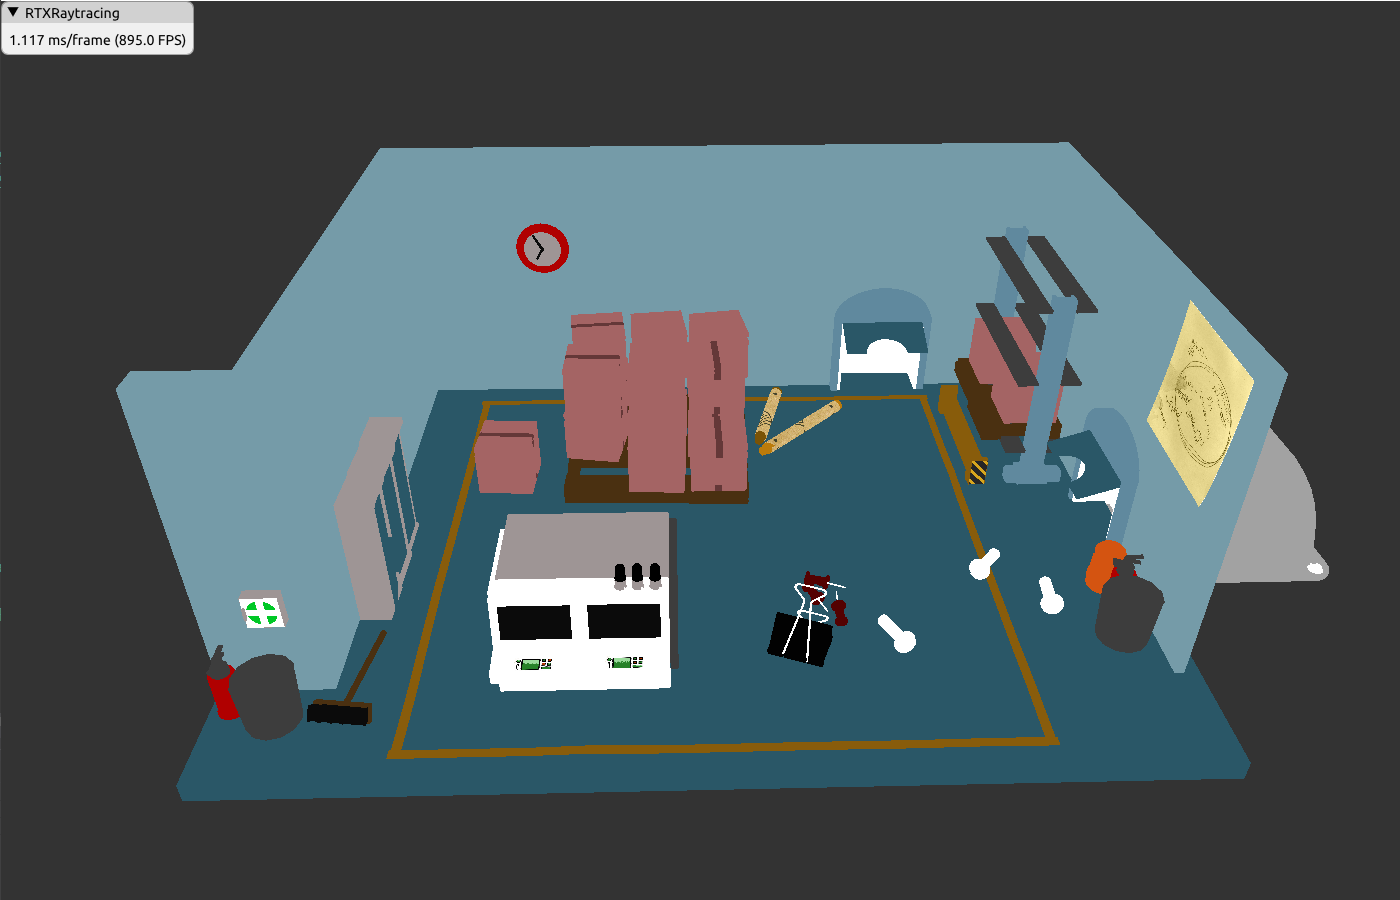
    63_RTXRayTracingMesh

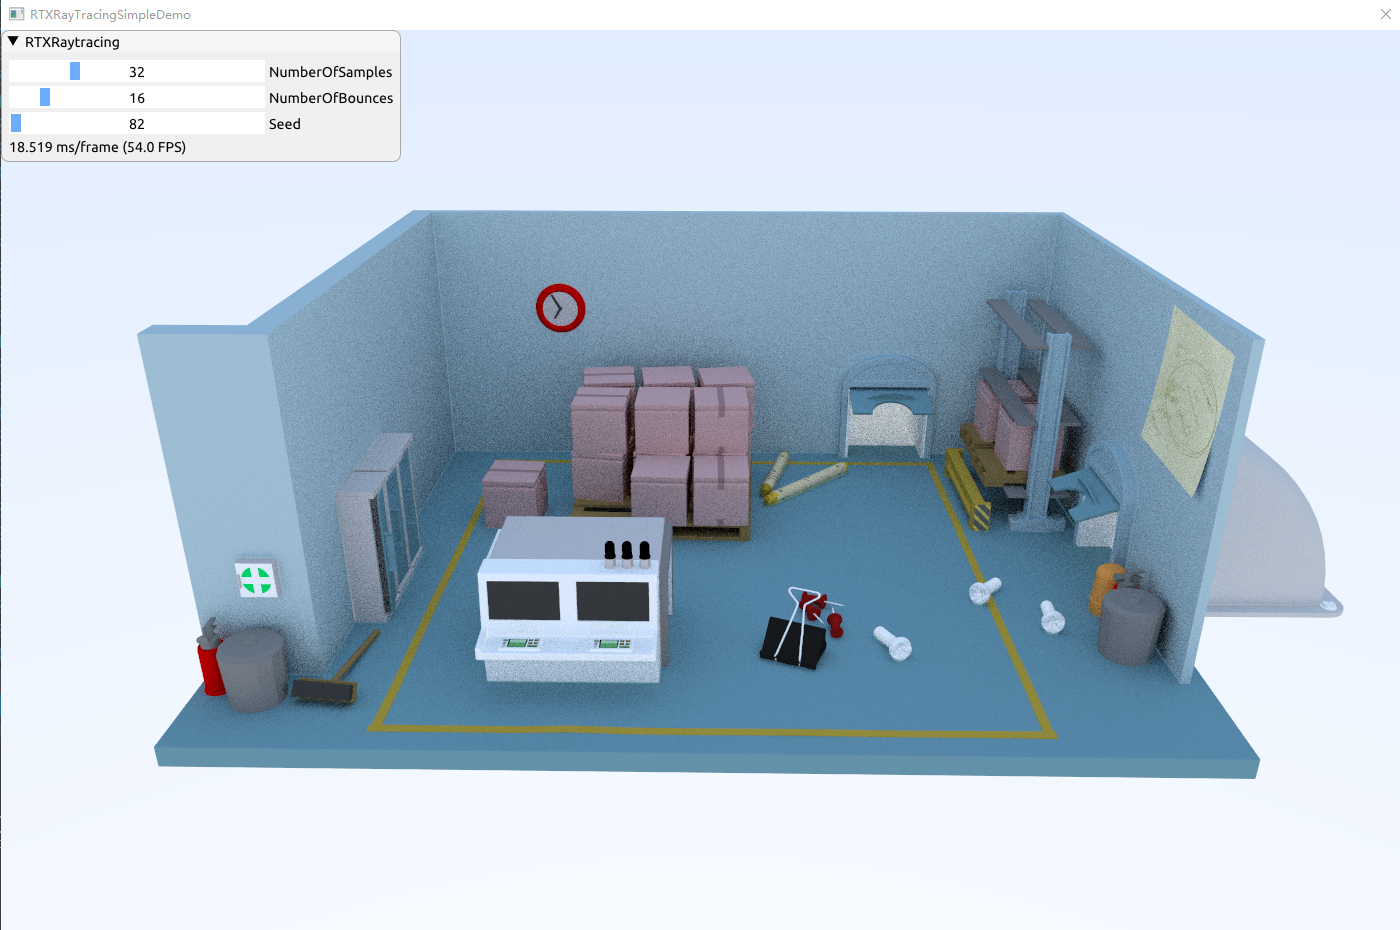
    64_RTXRayTracingSimple

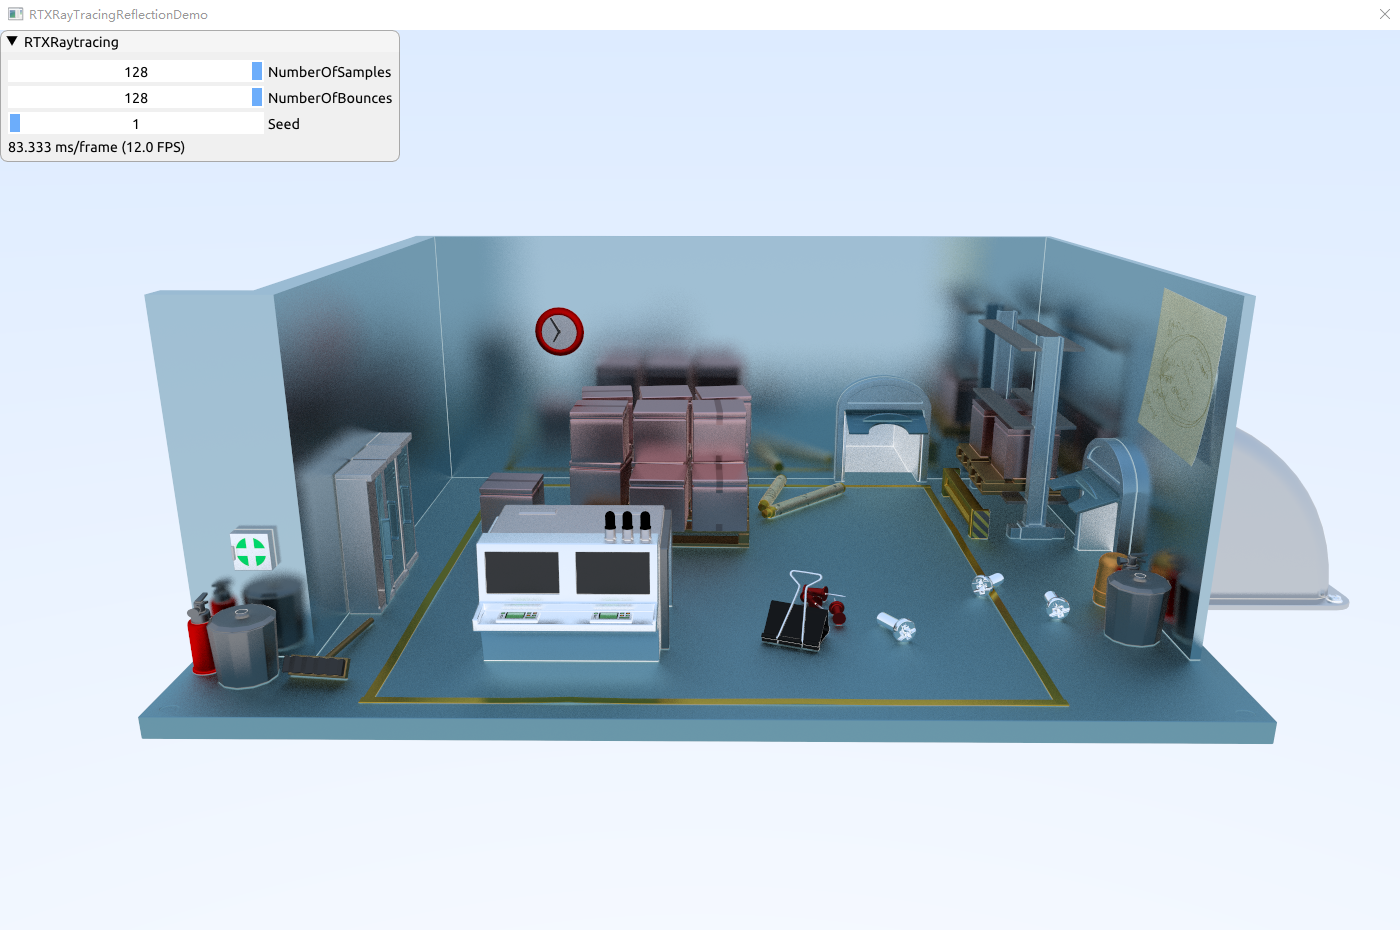
    65_RTXRayTracingReflection

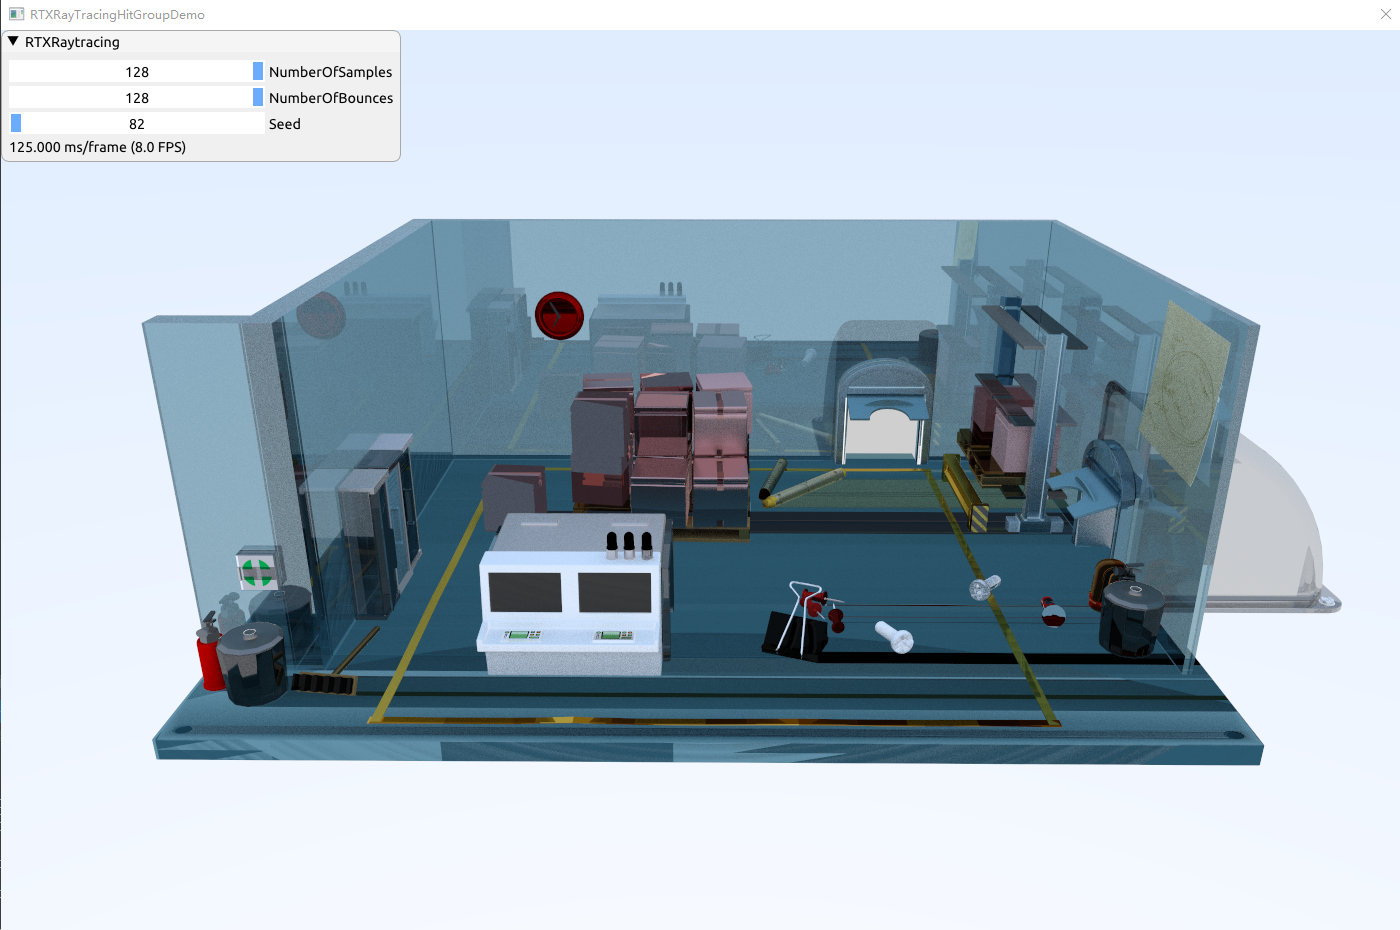
    66_RTXRayTracingHitGroup

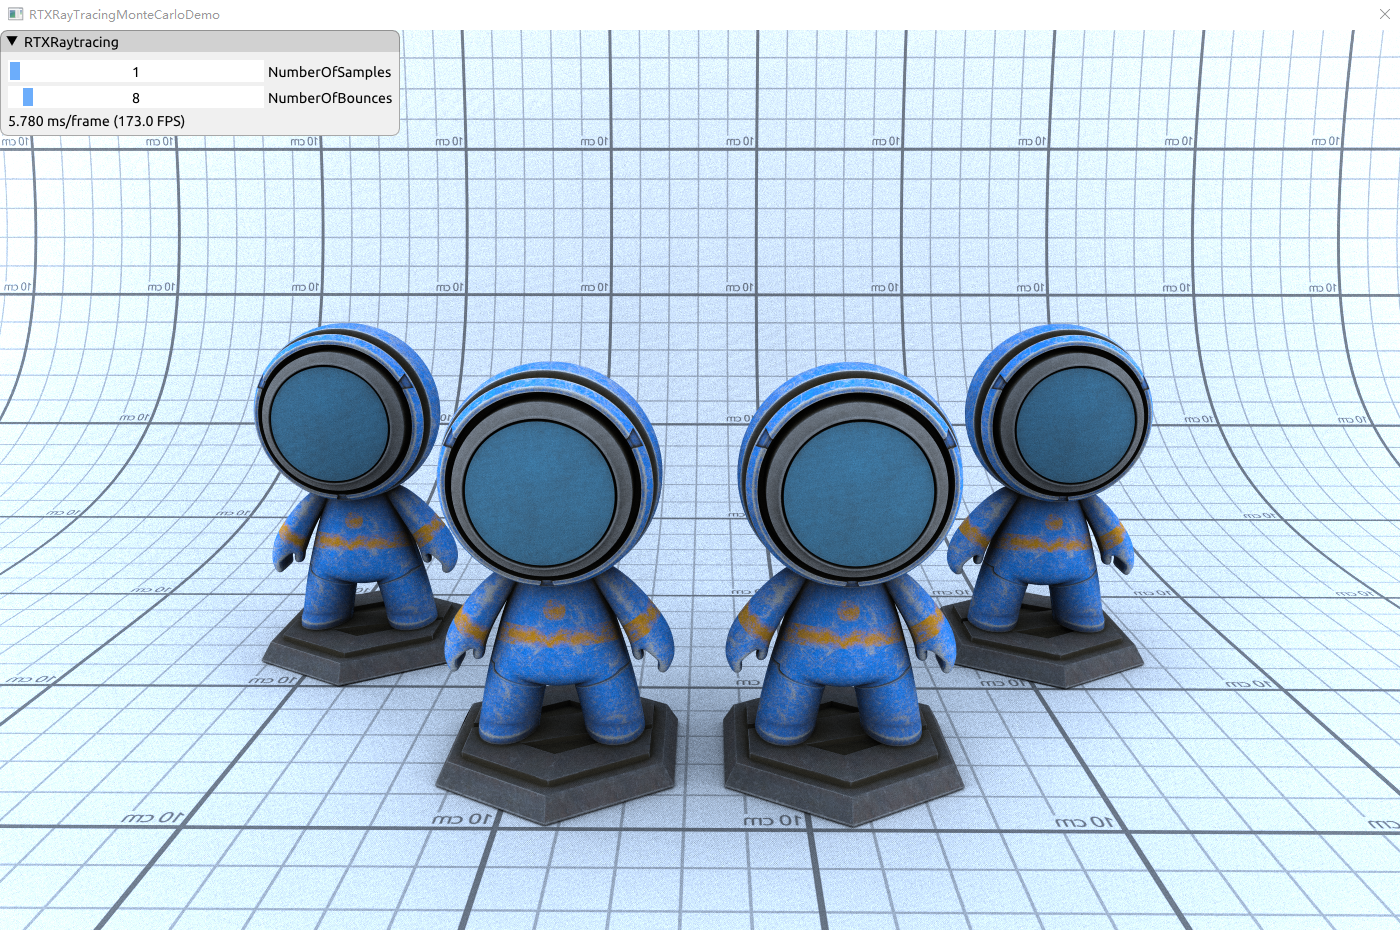
    67_RTXRayTracingMonteCarlo

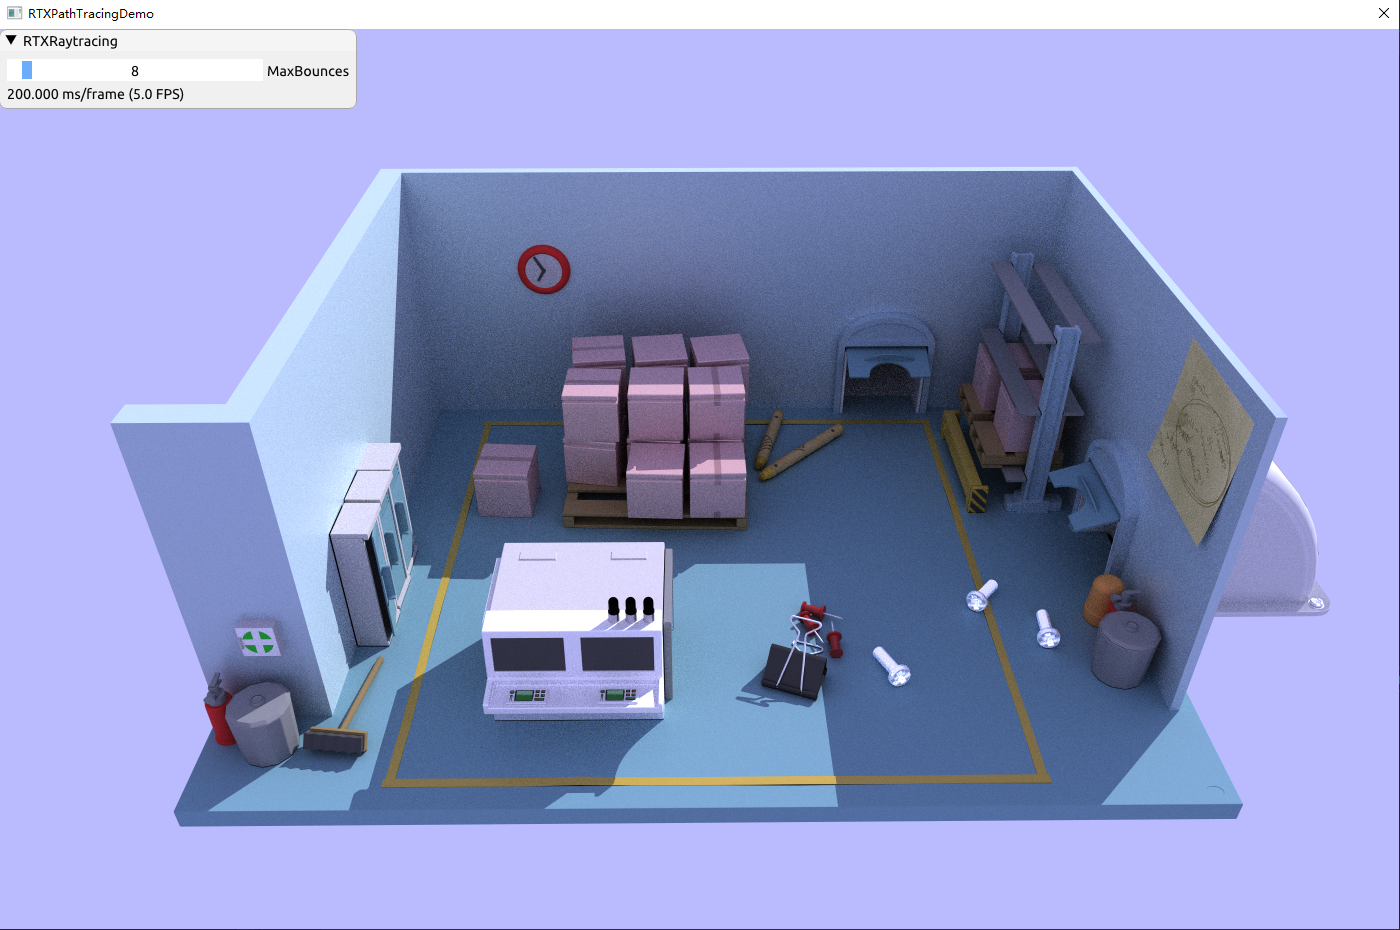
    68_RTXPathTracing

    69_TileBasedForwardRendering

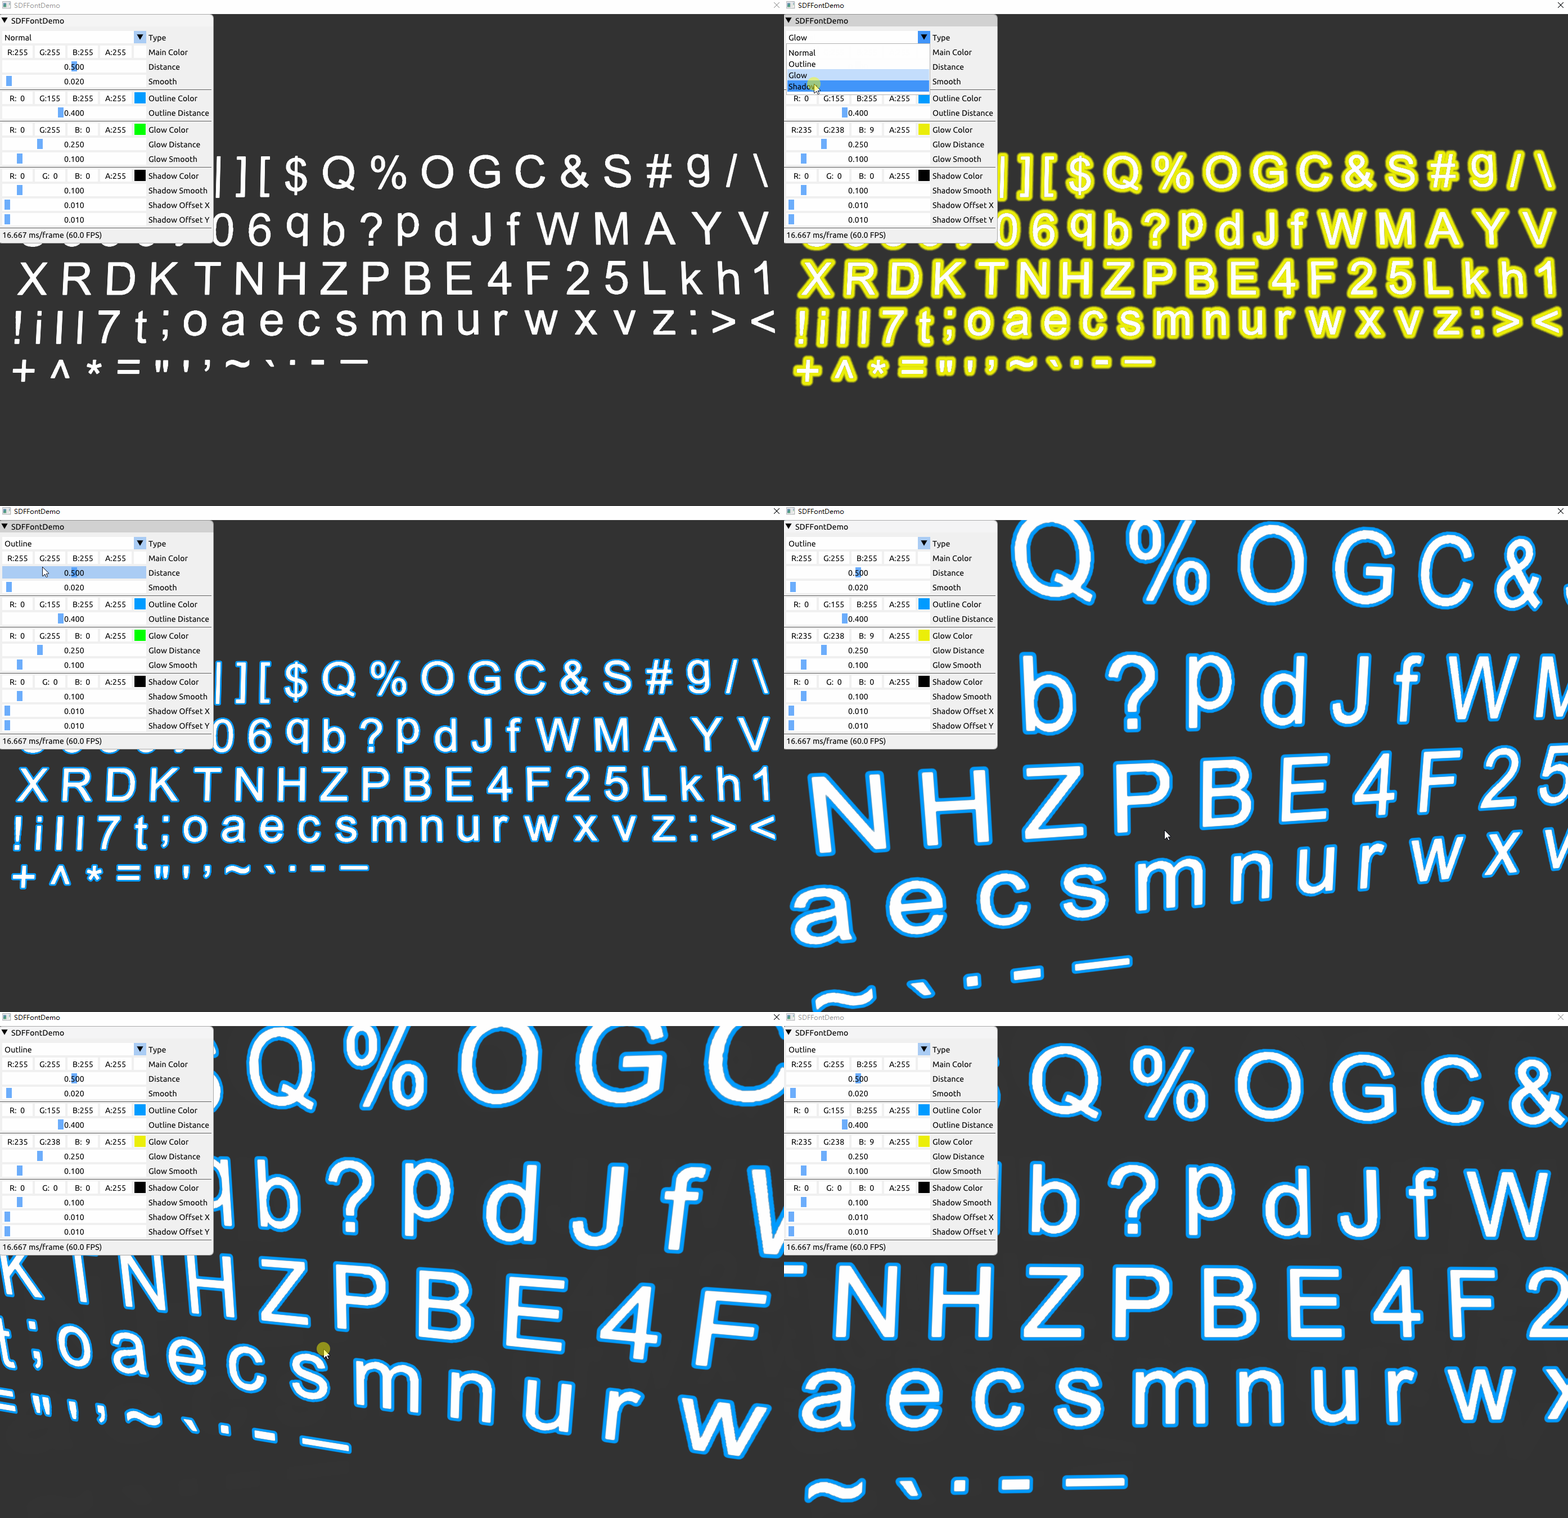
    70_SDFFont

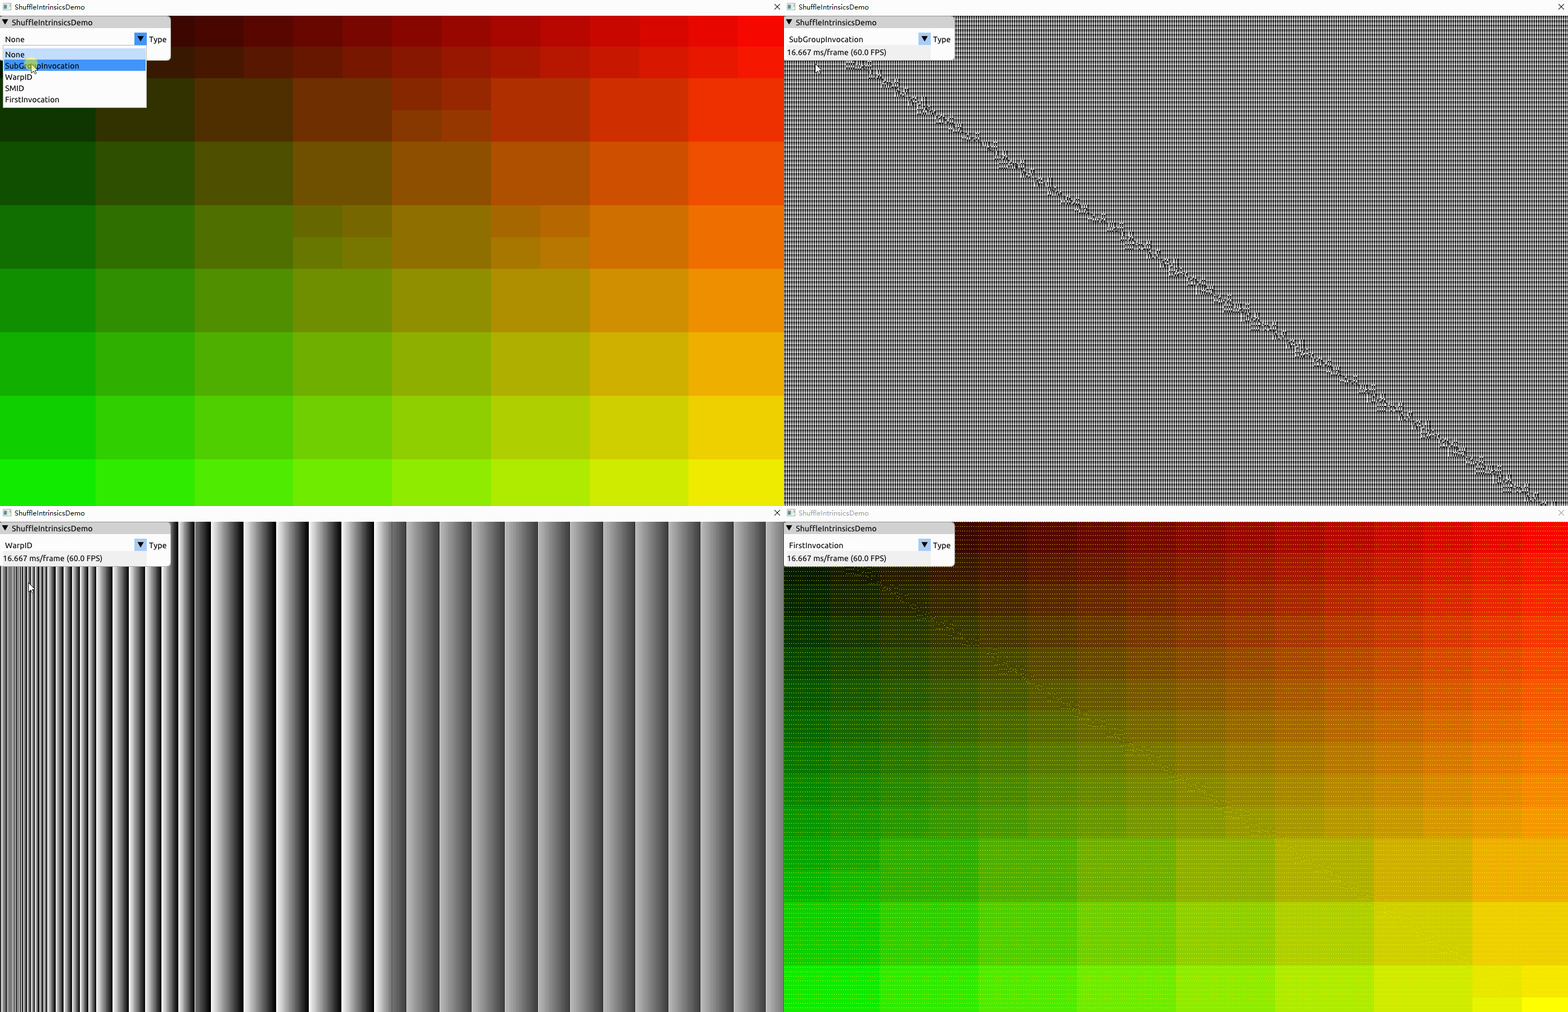
    71_ShuffleIntrinsics

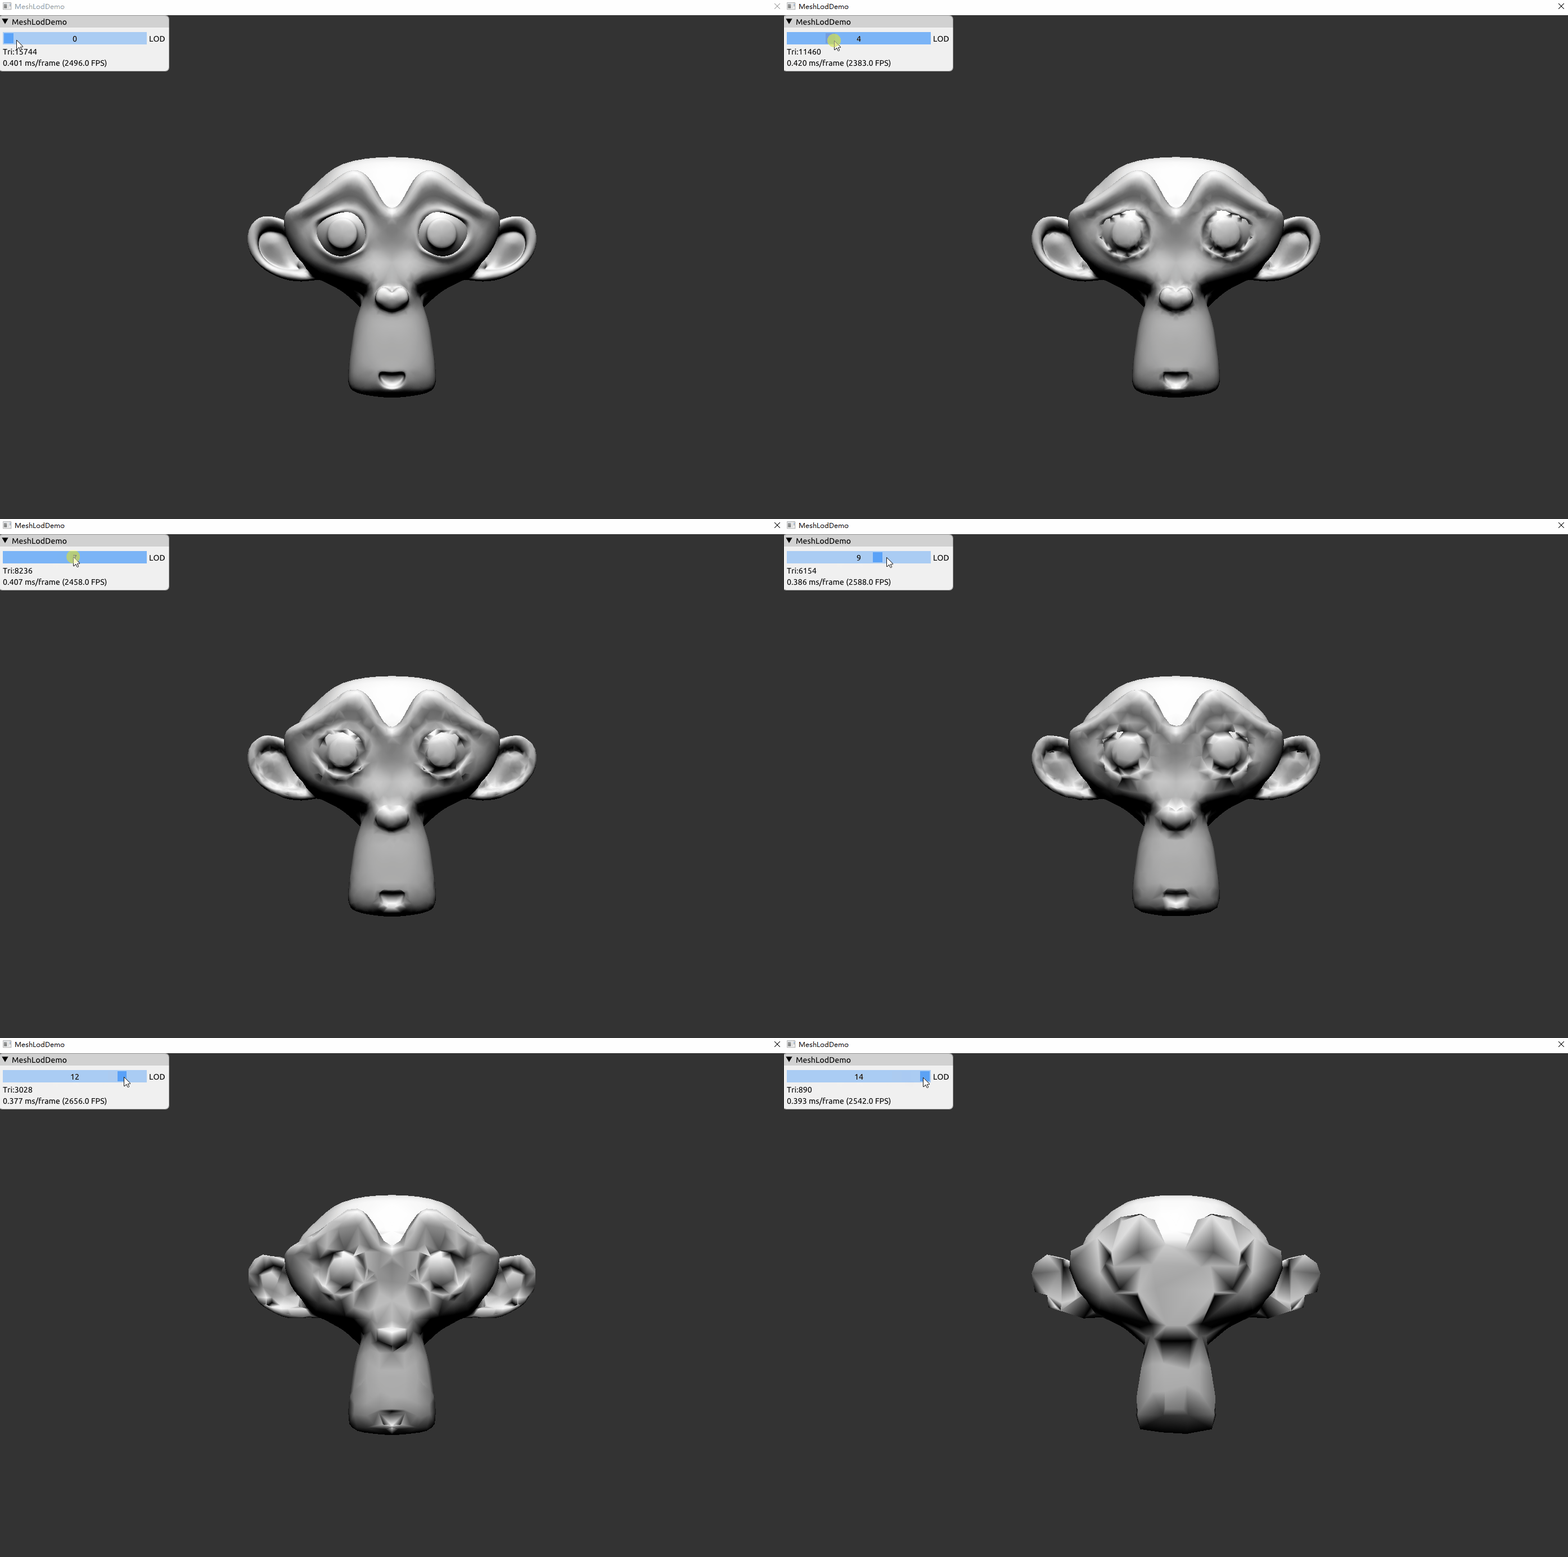
    72_MeshLOD

    Visit original content creator repository https://github.com/BobLChen/VulkanDemos
  • socialNet-API

    Social Network API

    License: MIT

    Description

    It is a social media startup It is an API for social network that uses a NoSQL database and can handle large amounts of unstructured data

    Table of Contents

    Installation

    1- Clone the reprositiry into your computer

    2- Install express and mongoose from npm (npm i)

    3- Enter node index (npm start) in the terminal

    Usage

    GIVEN a social network API

    WHEN I enter the command to invoke the application

    THEN my server is started and the Mongoose models are synced to the MongoDB database

    WHEN I open API GET routes in Insomnia Core for users and thoughts

    THEN the data for each of these routes is displayed in a formatted JSON

    WHEN I test API POST, PUT, and DELETE routes in Insomnia Core

    THEN I am able to successfully create, update, and delete users and thoughts in my database

    WHEN I test API POST and DELETE routes in Insomnia Core

    THEN I am able to successfully create and delete reactions to thoughts and add and remove friends to a user’s friend list

    Image 1

    Deployed video: https://drive.google.com/file/d/1fI9Lz7DcPnNviiLBHHU3EtOU3fkqy2ws/view

    Repository: https://github.com/raedaltaki/socialNet-API

    Contributing

    https://courses.bootcampspot.com/

    Tests

    Deployed video: https://drive.google.com/file/d/1fI9Lz7DcPnNviiLBHHU3EtOU3fkqy2ws/view

    Repository: https://github.com/raedaltaki/socialNet-API

    Questions

    For addition questions, Please reach me at:

    GITHUB: https://github.com/raedaltaki

    Email: raed.simon@gmail.com

    License

    https://choosealicense.com/licenses/mit/

      MIT License
    
      Copyright (c) 2021 raedaltaki
      
      Permission is hereby granted, free of charge, to any person obtaining a copy
      of this software and associated documentation files (the "Software"), to deal
      in the Software without restriction, including without limitation the rights
      to use, copy, modify, merge, publish, distribute, sublicense, and/or sell
      copies of the Software, and to permit persons to whom the Software is
      furnished to do so, subject to the following conditions:
      
      The above copyright notice and this permission notice shall be included in all
      copies or substantial portions of the Software.
      
      THE SOFTWARE IS PROVIDED "AS IS", WITHOUT WARRANTY OF ANY KIND, EXPRESS OR
      IMPLIED, INCLUDING BUT NOT LIMITED TO THE WARRANTIES OF MERCHANTABILITY,
      FITNESS FOR A PARTICULAR PURPOSE AND NONINFRINGEMENT. IN NO EVENT SHALL THE
      AUTHORS OR COPYRIGHT HOLDERS BE LIABLE FOR ANY CLAIM, DAMAGES OR OTHER
      LIABILITY, WHETHER IN AN ACTION OF CONTRACT, TORT OR OTHERWISE, ARISING FROM,
      OUT OF OR IN CONNECTION WITH THE SOFTWARE OR THE USE OR OTHER DEALINGS IN THE
      SOFTWARE.
    
    Visit original content creator repository https://github.com/raedaltaki/socialNet-API
  • cg

    cg

    This GitHub repository has the Forth source code that serves up a live version of Win32orth to your browser via the cloud.
    It is live at http://24.5.42.64:4444 It is a full W32 system that is hosted on a W-10 Surface notebook computer.

    Support is provided by text at 415-239-5393 John Alan Peters
    My Email is not checked very often so if you email me please text that “You have mail!” japeters747@gmail.com
    It is better to use one of the Forth Facebook groups like Win32Forth which is at this URL.
    https://www.facebook.com/groups/714452415259600 which is public.
    You are invided to join Forth2020 but it is a private Fasebook group pevent problems.

    The whole Win32Forth dictionary is available in a console window in your browser when you log on to the above URL.
    Try something simple like SE SEE SE is a short version of SEE that shows the stack comments and more. ( — text )

    TYPE has been vectored to VTYPE to send the output to the web page. It is in a loop in Win32Forth named VECTINT

    The source for both VTYPE & VECTINT can be seen via the SEE command like below,
    SEE VTYPE

    Most Forth words work like SEE ORDER VOCS WORDS
    You can CD to another directory, FLOAD a file (and all the usual Forth commands)

    DEBUG probably will not work because Forth is in a loop. Some of the words are named VECTINT DOSOCK (socket)

    VV short for VIEW displays code in the CONSOLE.

    tHE wEBBY CODE is by my friend and programmer Bob Ackerman.
    All the code is available on GitHub. If you have trouble with paths and directories let us know.

    When we make a code change we use TeamViewer to go on to the ‘Surface’ machine and change the code.
    We have a a backup here on GitHub, and of course it works as a version updater and tracker.

    Colon definitions work finie of course. You have to save them in a file or they will be lost on a reboot.
    If there is a problem, the system say “Error 13” We are using CATCH for the errors.

    CG is the Forth source for estimating electrical jobs. A full system (database?) of parts with prices as well and times from the Manual of Labor units that came from NECA (National Electrical Contractors Association). I am hoping to see it put to use. I will help for fun. It normally uses the WinEd editor to output to a file suitable for showing to the client. This application is a whole other story and how to use it will come later

    CG is short for Contract Generator.
    You can try ELECTRIC WORDS but it will take a while.(Many words) Use the space bar to start-stop the output. ESC to quit WORDS.
    ROOT WORDS is quick as there are only three VOCABULARIES

    Here are some words to try or test.
    DUMP
    HH ‘word’ ( — ) Show all the definitions that contain ‘word’ HH is really just another name for WORD with a delimier. (or something)
    LOCATE
    SEE
    SEE-CODE
    SIMPLE-SEE
    VOCS
    VV
    VIEW
    WORDS
    XT-SEE

    The surface machine has an icon that starts what we call ‘Webby’ so if the system crashes, one of us can use TV to go on to the
    machine and close the DOS shell window and the cg forth window that are part of running Webby and restart the system.

    There is some Forth socket code in the initial directory files.

    data is sent from the webpage to the forth webserver and from there it is interpreted and sent back to the browser’s web page.
    It is here for your to enjoy the progress so far.

    Try this test of the CG
    50 EMT 1/2
    or
    2 CB
    You should see the time and the costs to install a CB or circuit breaker.

    P.S. Historically, Forth was typed in from a paper listing. Later Forth83 was DOS based. Forth migrated to Windows on XP and then via Win32Forth on to Windows W7, W8 & W10 thanks to Tom Zimmer. Now I am asking you the reader to teach a friend how to use Forth on the Cloud. You can uuse Forth without the hassle of downloading it (Anti Virus problems) or the fear of downloading an unknown .EXE file.

    John Alan Peters
    415-539-5393 Please text (I don’t answer the phone)

    Visit original content creator repository
    https://github.com/JohnAlanPeters/cg

  • pic18f27k42-dma-ram-to-uart

    MCHP

    PIC18F27K42 DMA – RAM to UART TX Buffer – Hardware Triggered

    Introduction

    The newer PIC18 family of devices showcase the Direct Memory Access (DMA) module. This module can be used to move data within the microcontroller without the CPU. This frees up the CPU to attend to other tasks.

    The DMA module on the new PIC microcontrollers allows the user to read data from the Flash memory/EEPROM and the user RAM area and write it to the user RAM area. The DMA module has configurable source and destination addresses and programmable hardware triggers to start and abort the transaction.

    On devices that feature the DMA module, the priority of the data buses is decided by a system arbiter. The priority level of each DMA is configurable, which allows flexibility for different types of applications.

    Description

    In this example, we will configure the DMA module to read data from an array stored in the RAM and write it in to the UART TX buffer. We will configure the hardware trigger for the DMA module to be the UART Transmit Interrupt, so the DMA will load the next data byte automatically. This hardware triggers allow the DMA module to wait until a byte of data is transmitted out of the TX buffer.

    MCC Settings

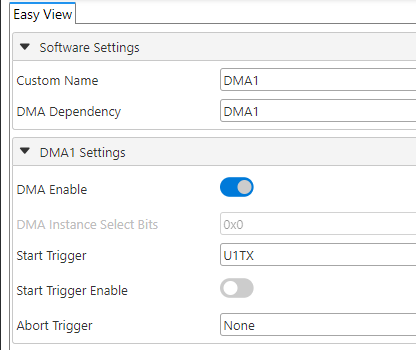
    Here are the settings in Microchip Code Configurator (MCC) for the DMA module. Open MCC to modify these settings if needed.

    DMA Control Registers

    These are settings for the DMA configuration registers. Look at the dma.c file to understand more about these selections.


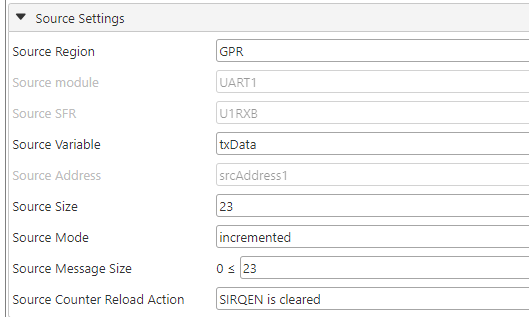
    DMA Source Address and Size registers

    These are the settings for the source size and address location. The source size is 23 bytes (0x0017).

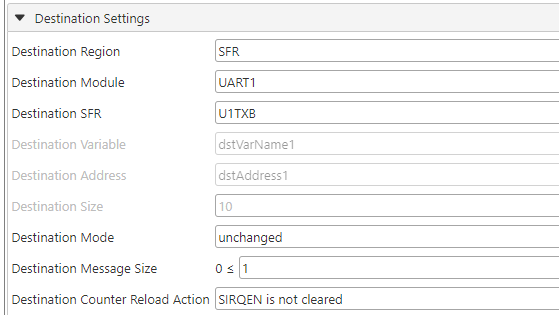
    DMA Destination Address and Size registers

    These are the settings for the destination size and address location. The destination size is 1 byte (0x0001), i.e. UART TX buffer.

    Other MCC Settings

    MCC is used to set up the UART module as a transmitter and the I/O pins. Please open the project and MCC to look at these settings.

    Operation

    The DMA trigger has been selected but not enabled. Note that enabling the trigger will initiate the DMA transfer immediately as the TX buffer is empty at start. Subsequent triggers are generated every time a byte has been sent out the TX buffer.

    The following line of code in main.c will enable the trigger.

    DMA1_TransferWithTriggerStart();

    Results

    The data from the UART module can be observed on pin RC6. It is to be observed that all this data is handled by the DMA module while the CPU is idling. This time can be used to perform other important tasks.


    Visit original content creator repository https://github.com/microchip-pic-avr-examples/pic18f27k42-dma-ram-to-uart
  • L2Apf

    L2Apf

    Lineage 2 C4 artificial player / framework (alpha).

    You can implement desired behavior right inside entry script or use higher-level programs interface or connect actions/models/events to your neural network.

    Requirements

    • Racket language (version 6 or newer).
      • Packages: srfi-lite-lib, r6rs-lib, yaml.
    • L2J Chronicle 4 server & datapack.
    • Lineage 2 Chronicle 4 installer & protocol 656 update.

    Programs

    Program is a potentially reusable algorithm that can be instantiated with parameters and shares state between iterations.

    Iteration can be caused by a server event, custom event or timer event.

    Program can be finite or not. Can be foreground or background. Only one foreground program can handle an iteration event but previous programs can be stacked on load.

    Examples

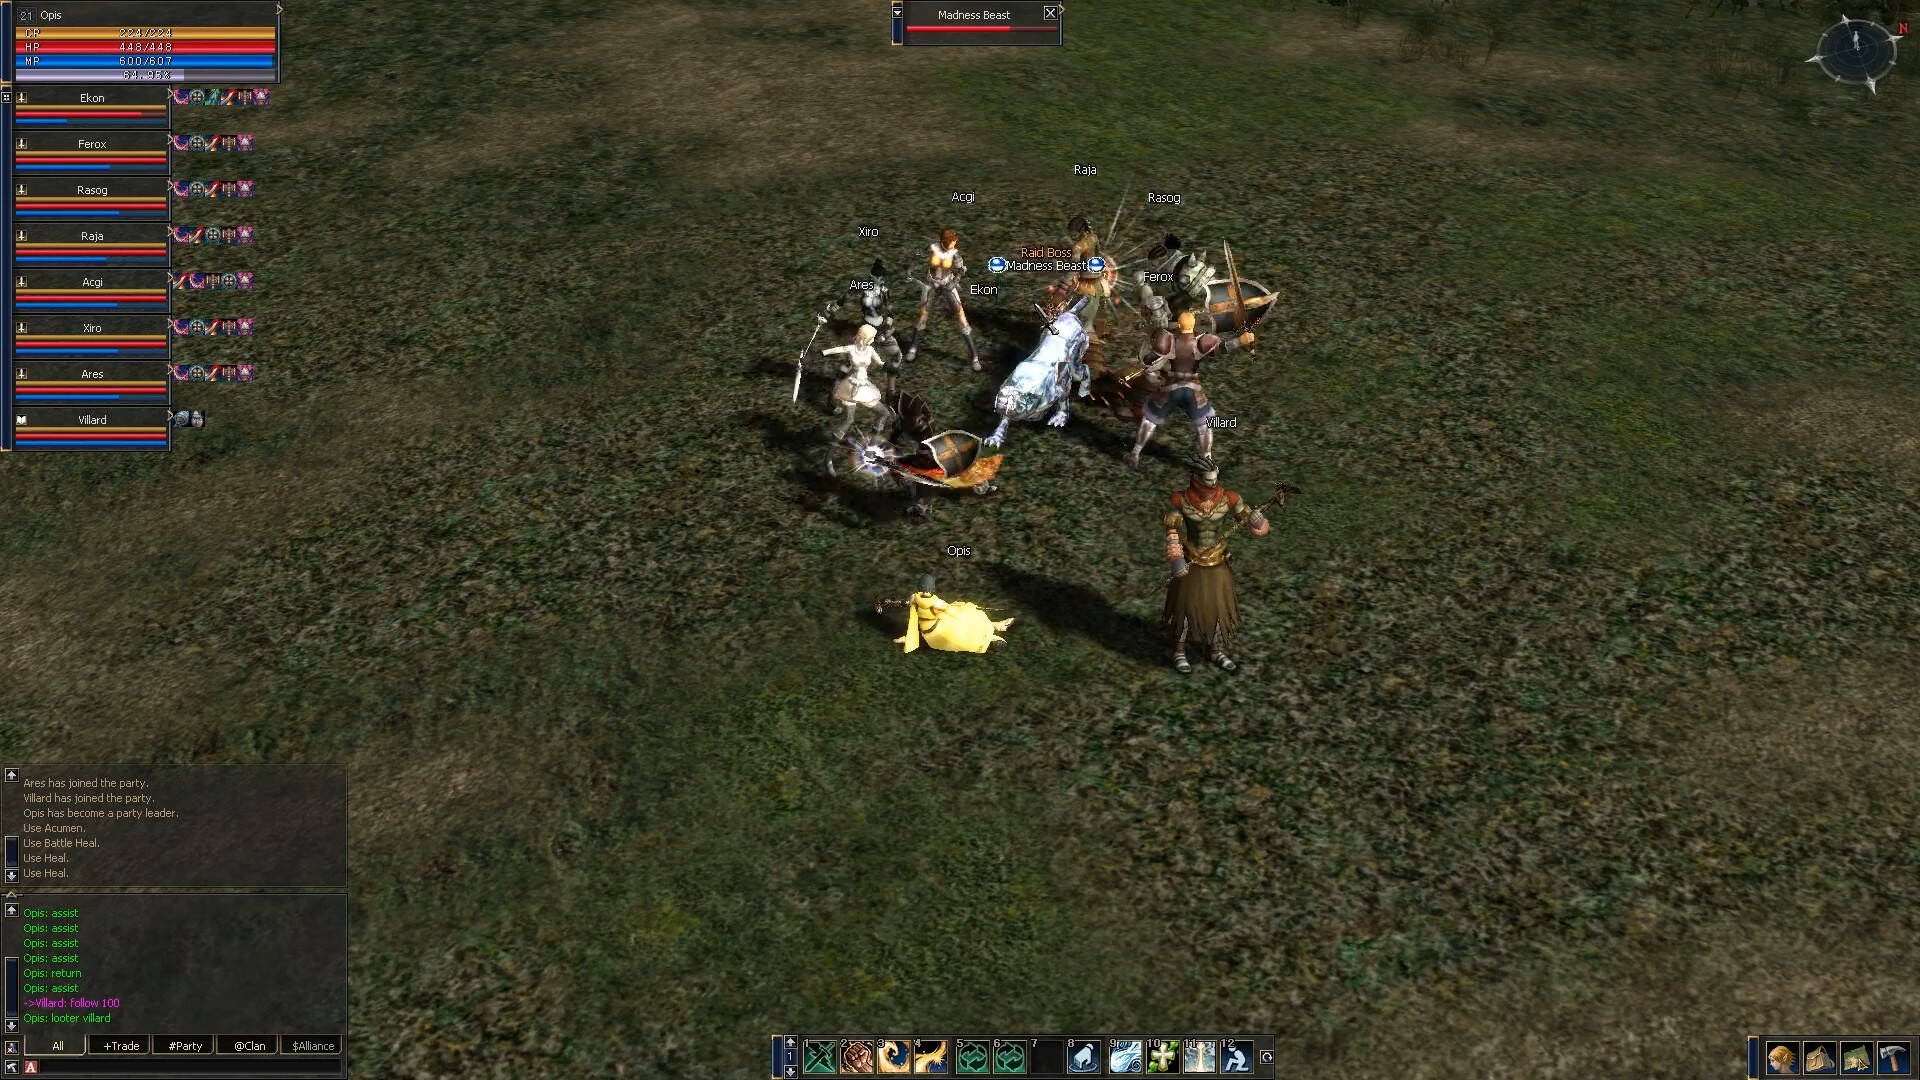
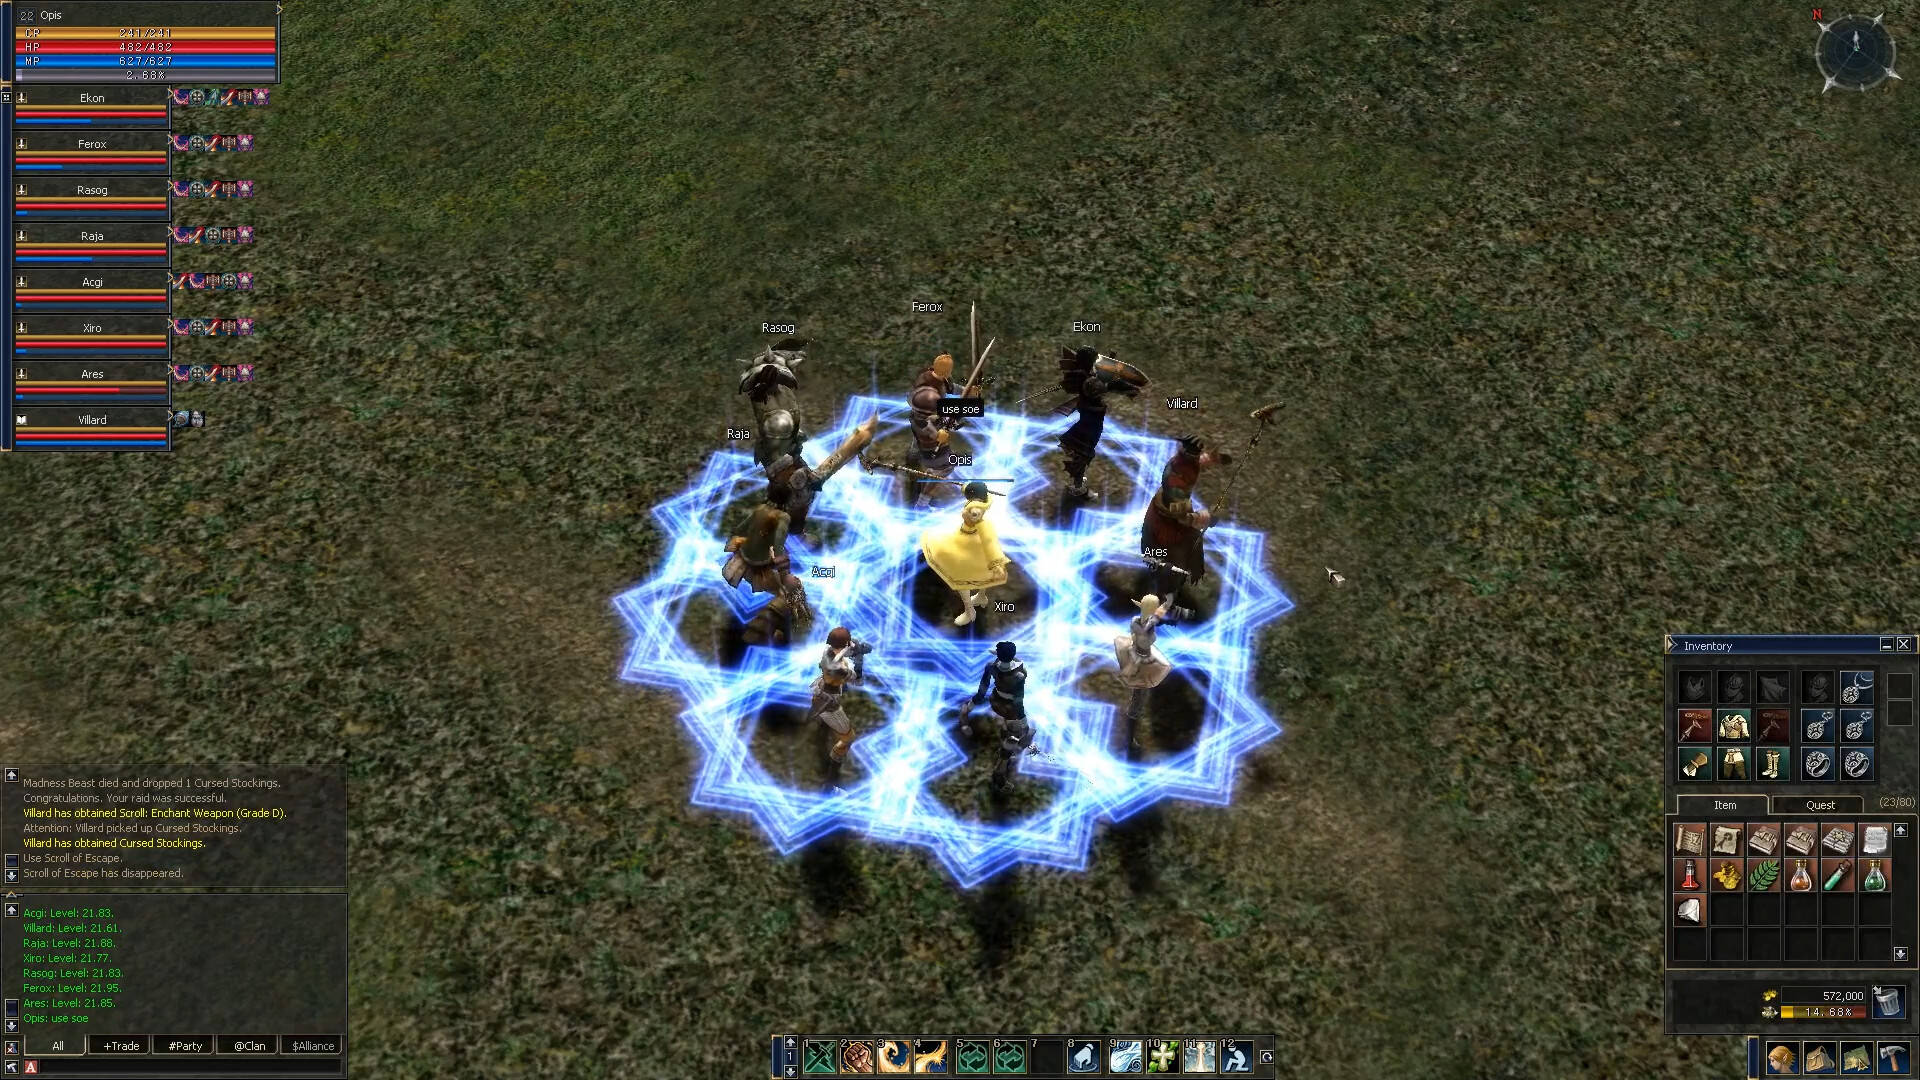
    Raid on Madness Beast.

    Madness Beast

    Scroll of Escape

    Run minimalistic entry script for solo player:
    racket -O 'debug@l2apf' player.scm.

    Run a party of players (you are leader):
    racket -O 'info@l2apf' _sdk/realm.scm config.yaml party.hunt.

    player.scm
    #lang racket
    (require
    	db/sqlite3
    	"library/extension.scm"
    	"system/structure.scm"
    	"system/connection.scm"
    	"system/event.scm"
    	"system/debug.scm"
    	"model/object.scm"
    	"api/say.scm"
    	(only-in "program/brain.scm"
    		make-brain
    		(brain-run! run!)
    		(brain-load! load!)
    		(brain-stop! stop!)
    	)
    	"program/idle.scm"
    	"program/print.scm"
    	"program/partying.scm"
    	"bootstrap.scm"
    )
    
    (global-port-print-handler apf-print-handler)
    (define db (sqlite3-connect #:database "apf.db" #:mode 'read-only))
    (let-values (((cn wr me events) (bootstrap "localhost" 2106 "account" "password" "name" db)))
    	(define br (make-brain cn (make-program-idle)))
    	(load! br
    		(make-program-print)
    		(make-program-partying)
    	)
    
    	(do ((event (sync events) (sync events))) ((eq? (car event) 'disconnect))
    		; Triggers space.
    		(case-event event
    			; Standard events.
    			('creature-create (id) ; Unhide builder character on login.
    				(when (and (= (object-id me) id) (> (ref me 'access-level) 0))
    					(say cn "hide off" 'chat-channel/game-master)
    				)
    			)
    
    			; Custom events.
    
    		)
    
    		; Programs space.
    		(run! br event)
    	)
    )
    config.yaml
    host: "localhost"
    password: "123456"
    party:
      hunt: [doc, grumpy, happy]
      raid: [bashful, sleepy, sneezy, dopey]

    * Some pieces of code may be outdated or not fully implemented but I sustain operability of core and basic flow.

    Extension

    You can implement missed packets/actions/events or update the project to higher server version with ease. You can even port this architecture to another game.

    How to write a program

    Start with:

    (define (make-my-program)
    	(make-program 'my-program
    		(lambda (connection event state)
    			; ...
    		)
    	)
    )

    Full syntax:

    (define (make-my-program config-param1 . config-paramN)
    	(make-program 'my-program
    		(lambda (connection event state) ; Program iterator.
    			; ...
    		)
    		#:constructor (lambda (connection) ; On load callback.
    			; ...
    		)
    		#:destructor (lambda (connection state) ; On unload callback.
    			; ...
    		)
    	)
    )

    For non-commertial use. In case of public use please indicate URL of original repo (https://github.com/EligiusSantori/L2Apf).

    Visit original content creator repository https://github.com/EligiusSantori/L2Apf
  • End-to-end-Online-ASL-learning-platform

    ASL-Recognition

    1. asllocal folder – linked project
    2. aslml folder – the seperate ml code
    3. aslretrainml folder – the seperate ml code for retraining
    4. awsrelated – files related to hosting the code in AWS

    FROM SCRATCH – BUILD MODEL AND RUN APPLICATION TO PERFORM INFERENCE ON IMAGES

    SET UP
    Using a virtual environment is recommended so as not to conflict with other existing and possibly not compatible versions of Python(between 3.8 and 3.11). Python versions are limited because of Scikit-Learn library requirements. This Scikit-Learn version (1.4.0) install is handled by the requirements.txt. If you decide not to use a virtual environment, be sure to uninstall other non-compatible versions of Python. Also check for existing non-compatible versions of dependencies listed in the requirements.txt file. This can be a bit of a chore, so it’s best to instead use a virtual environment and let Python figure out all the acceptable versioning for you.

    1 – Download/Install usable 64bit Python version (anything between 3.8 and 3.11)

    2 – From Windows command prompt install Virtualenv
    –example : pip install virtualenv

    3 – Create a virtualenv in your project directory
    –example : python -m virtualenv –python python310 ASL [If using Python 3.10]
    – to see which versions of python are installed on your system: py -0
    -!warning : if using windows/powershell, you may need to change your execution policy to allow scripts to run in order to activate your virtualenv
    –example : Set-ExecutionPolicy -Scope CurrentUser -ExecutionPolicy Unrestricted -Force

    4 – Activate your new virtualenv from inside your project directory
    –example : .\ASL\Scripts\activate

    5 – Should see an updated command prompt showing an activated virtualenv
    –example : (ASL) PS C:\Projects\Capstone\ASL

    6 – Check version of python used by virtualenv
    –example : python –version
    –output : Python 3.10.0 [or whatever your version is]

    7 – CD into the virtualenv directory
    –example : CD ASL

    8 – Clone github repo to local machine
    –example : git clone https://github.com/cpetrella-sketch/ASL-Recognition.git
    –output : Cloning into ‘ASL-Recognition’…
    remote: Enumerating objects: 518, done.
    remote: Counting objects: 100% (88/88), done.
    remote: Compressing objects: 100% (54/54), done.
    remote: Total 518 (delta 35), reused 72 (delta 27), pack-reused 430
    Receiving objects: 100% (518/518), 40.60 MiB | 3.62 MiB/s, done.
    Resolving deltas: 100% (270/270), done.

    9 – Install required python dependencies
    –Change directory: CD .\ASL-Recognition\aslml
    –Install dependencies
    –example : pip install -r requirements.txt
    –output : …Installing collected packages:

    10 – Download both Training and Testing Datasets from the below links
    –Full_Training_Dataset.zip (2.51 GB)
    https://drive.google.com/file/d/1Ups86xkwbjnrWF7qNheXk4iNfLLgjvtK/view?usp=sharing
    –Extract and save to ~./ASL-Recognition/aslml/data/
    – path to dir should be: ~./ASL-Recognition/aslml/images/Full_Training_Dataset/
    – directory should have one sub directory for each letter in Alphabet(excluding J,Z)

    –Full_Testing_Dataset.zip (38.8 MB)
    https://drive.google.com/file/d/1UrN66JNtXcS-S_1kvrsH11pE3vbP3Vd-/view?usp=sharing
    –Extract and save to ~./ASL-Recognition/aslml/data/
    – path to dir should be: ~./ASL-Recognition/aslml/images/Full_Testing_Dataset/
    – directory should have one sub directory for each letter in Alphabet(excluding J,Z)

    11 – Create landmark dataset from Full_Training_Dataset images
    – example : from inside ./ASL-Recognition/aslml/
    – inside the create_dataset.py, change the “sampleSizePercentage” to your desired sample rate. Default is set to 100% of all images.
    – python .\create_dataset.py
    – output :
    Currently working on directory A…
    Currently working on directory B…

    Currently working on directory V…
    Currently working on directory Y…

    Dataset sample size selected: 10%
    Total number of images processed (10% of Full Dataset): 8033
    Successful detections (79.73359890451886%): 6405
    Failed detections: 1628
    Landmark Detection Complete…Exporting x/y coords and labels to ‘data.pickle’
    Execution Time: 2184 Seconds

    12 – Find best Random Forest Classifier Params and Train a model on dataset
    – example : from ~./ASL-Recognition/aslml
    – python .\train_classifier.py
    – output :
    Splitting data into testing and training with 20.0% reserved for testing.

    Starting Grid Search…
    Fitting 5 folds for each of 16 candidates, totalling 80 fits
    [CV] END bootstrap=True, max_depth=None, min_samples_leaf=1, min_samples_split=2, n_estimators=100; total time= 5.1s
    [CV] END bootstrap=True, max_depth=None, min_samples_leaf=1, min_samples_split=2, n_estimators=100; total time= 5.4s

    [CV] END bootstrap=False, max_depth=10, min_samples_leaf=2, min_samples_split=2, n_estimators=200; total time= 9.6s
    [CV] END bootstrap=False, max_depth=10, min_samples_leaf=2, min_samples_split=2, n_estimators=200; total time= 9.2s
    Here are the best params found:

    {‘bootstrap’: False, ‘max_depth’: None, ‘min_samples_leaf’: 1, ‘min_samples_split’: 2, ‘n_estimators’: 200}
    CLASSIFICATION REPORT:

              precision    recall  f1-score   support
    
           S       0.74      0.95      0.83        58
           T       0.94      0.96      0.95        53
           U       0.67      0.73      0.70        56
           V       0.81      0.75      0.78        59
           W       1.00      0.96      0.98        56
           X       0.98      0.94      0.96        52
           Y       0.97      0.97      0.97        58
    
    accuracy                           0.91      1281
    

    macro avg 0.92 0.91 0.91 1281
    weighted avg 0.92 0.91 0.92 1281

    91.49102263856362% of samples were classified correctly

    Execution Time: 103.08926582336426 Seconds

    13 – Test the accuracy of newly created model on new testing data
    – example : from ~./ASL-Recognition/aslml
    – python .\InferenceTester.py
    – output :
    Image file: hand2_a_dif_seg_2_cropped.jpeg
    Inside failed inference classifier
    Failed to detect landmarks in user image: hand2_a_dif_seg_2_cropped.jpeg

    Image file: A0001_test.jpg
    Successfully detected landmarks in user image: A0001_test.jpg

    The model predicted an A
    dirName is: A
    CORRECT!!

    Image file: A0024_test.jpg
    Successfully detected landmarks in user image: A0024_test.jpg

    The model predicted an A
    dirName is: A
    CORRECT!!

    Image file: hand3_y_dif_seg_5_cropped.jpeg
    Successfully detected landmarks in user image: hand3_y_dif_seg_5_cropped.jpeg

    The model predicted an Y
    dirName is: Y
    CORRECT!!

    Using RandomForestClassifer trained model:
    Percentage Successful Landmark Detection: 69%
    Percentage Successful Letter Predictions Detection: 76%

    Total number of Testing Images Available: 2510
    26% random sampling.
    Total number of Images Processed: 622
    Total number of Correct predictions: 332
    Total number of Incorrect predictions: 103
    Total number of Successful Landmark detections: 435
    Total number of Unsuccessful Landmark detections: 187

    USE APPLICATION

    14 – Copy newly created model to cgi-bin
    – example : copy ‘aslModel.job’ from ‘.\ASL-Recognition\aslml\models’ to ‘.\ASL-Recognition\asllocal\build\models’
    15 – From inside the ‘~.\ASL-Recognition\asllocal\build’ directory, start the web server
    — example : python -m http.server –cgi 8990
    – output : Serving HTTP on :: port 8990 (http://[::]:8990/) …

    USE APPLICATION

    1 – Open a web browser and access the web page
    — example : http://localhost:8990
    2 – Upload a .jpg ASL gesture image for inference
    — click the “Upload File” button
    — select an image from your local storage
    — wait for status pop up
    — example : localhost:8990 says Upload successful
    — click “ok”
    — screen updates with image uploaded and inference result
    — example :
    Visit original content creator repository
    https://github.com/Liuyuyuan74/End-to-end-Online-ASL-learning-platform

  • s2e-aobc-example

    S2E-AOBC-EXAMPLE

    Overview

    • S2E-AOBC-EXAMPLE is an example of a project-specific repository of S2E-AOBC.
    • Users can refer this repository to make their own simulation environment.
      • NOTE: Please rewrite words like example to suit your project and remove unnecessary descriptions in this document after you copy the repository.
    • For other detailed descriptions, please also see README of s2e-aobc

    How to construct the repository

    • git submodule
      • This repository includes the s2e-aobc with the git submodule. And the s2e-aobc also includes s2e-core as a submodule. Please use the following command to clone the repository recursively.
        $ git clone --recursive git@github.com:ut-issl/s2e-aobc-example.git
        
    • External Libraries

    Clone Flight S/W repository and build

    • Make the FlightSW directory at the same directory with s2e-aobc-example
    • Clone the project-specific C2A-AOBC (e.g. C2A-AOBC-EXAMPLE) repository into FlightSW
    • Directory Construction

      - s2e-aobc-example
        - s2e-aobc
          - s2e-core
          - ExtLibraries
      - FlightSW
        - c2a-aobc-example
      
    • You can build the s2e-aobc-example using CMake together with the c2a-aobc-example, and execute the SILS (Software In the Loop Simulation) test.

    How to change the simulation settings and the project-specific parameters

    • In the data/initialize_files directory, there are ini files to define the simulation settings and the project-specific parameters.
    • Please find the information of these parameters in the s2e-document.

    Visit original content creator repository
    https://github.com/ut-issl/s2e-aobc-example

  • soundbite

    Soundbite

    Native iOS (Swift) project made for extracting and editing audio from videos saved in camera roll in order to dub them / lipsync and share to friends in chat through an iMessage extension.
    Essentially the iMessage extension for Dubsmash.

    #How it Works

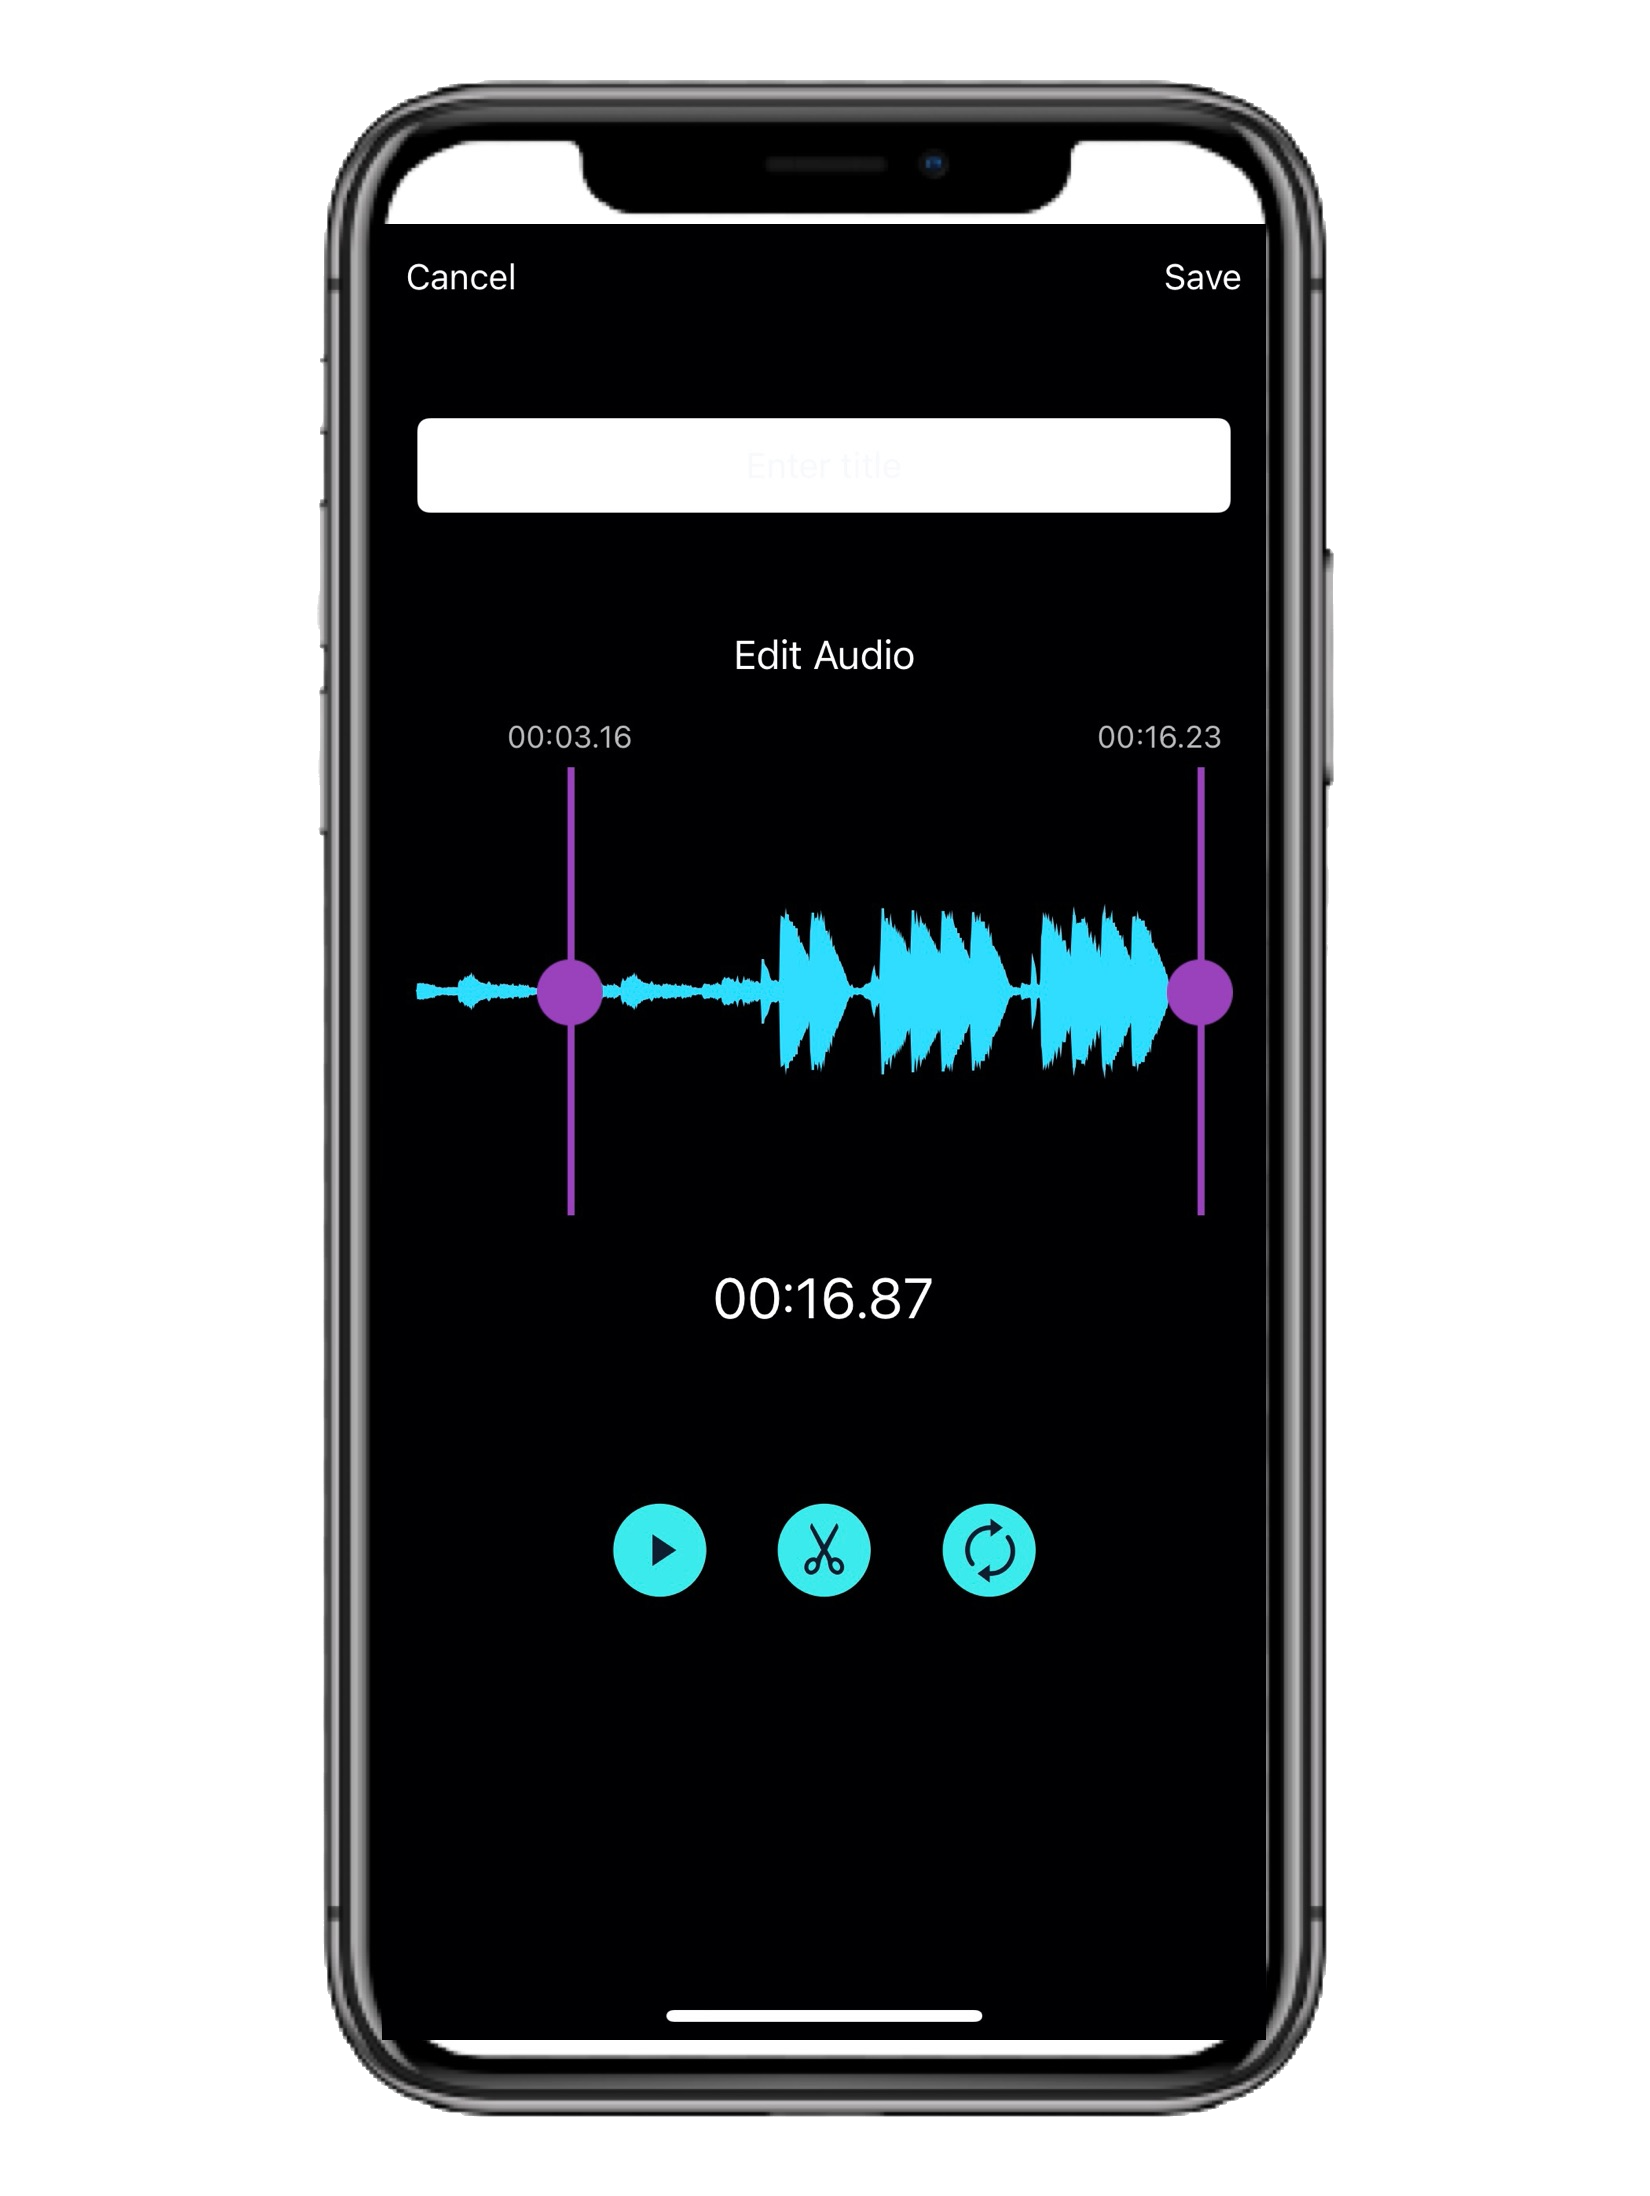
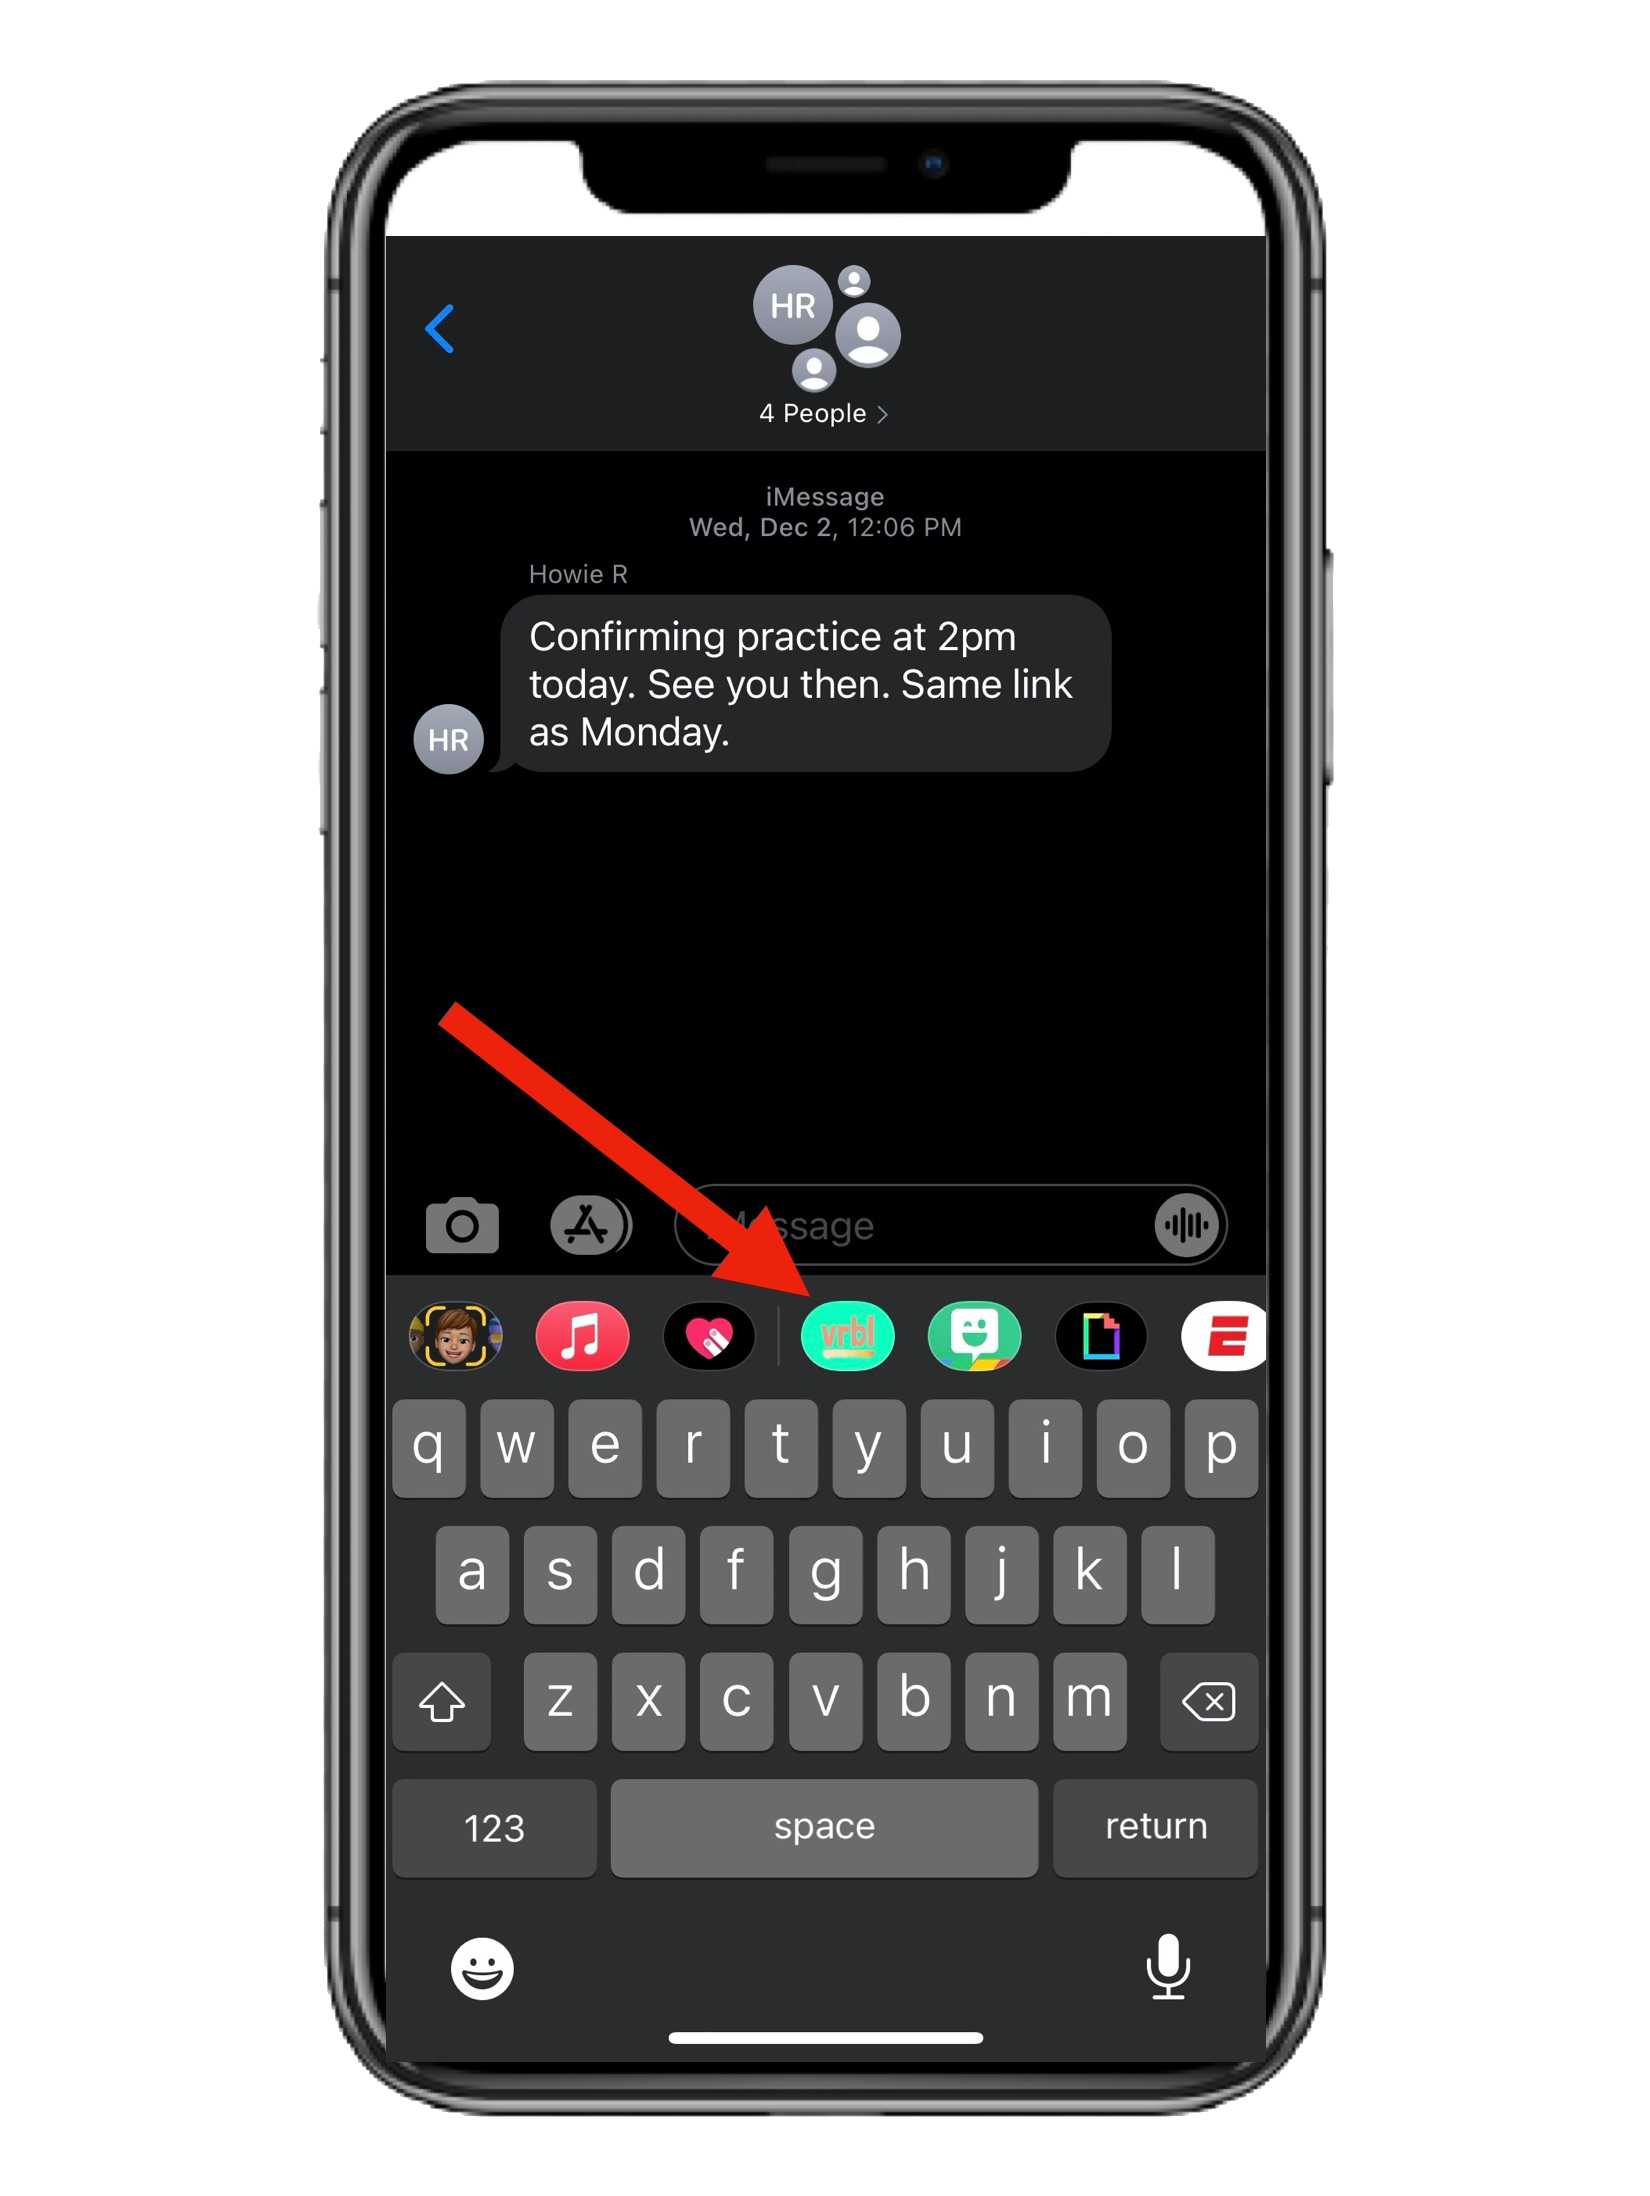
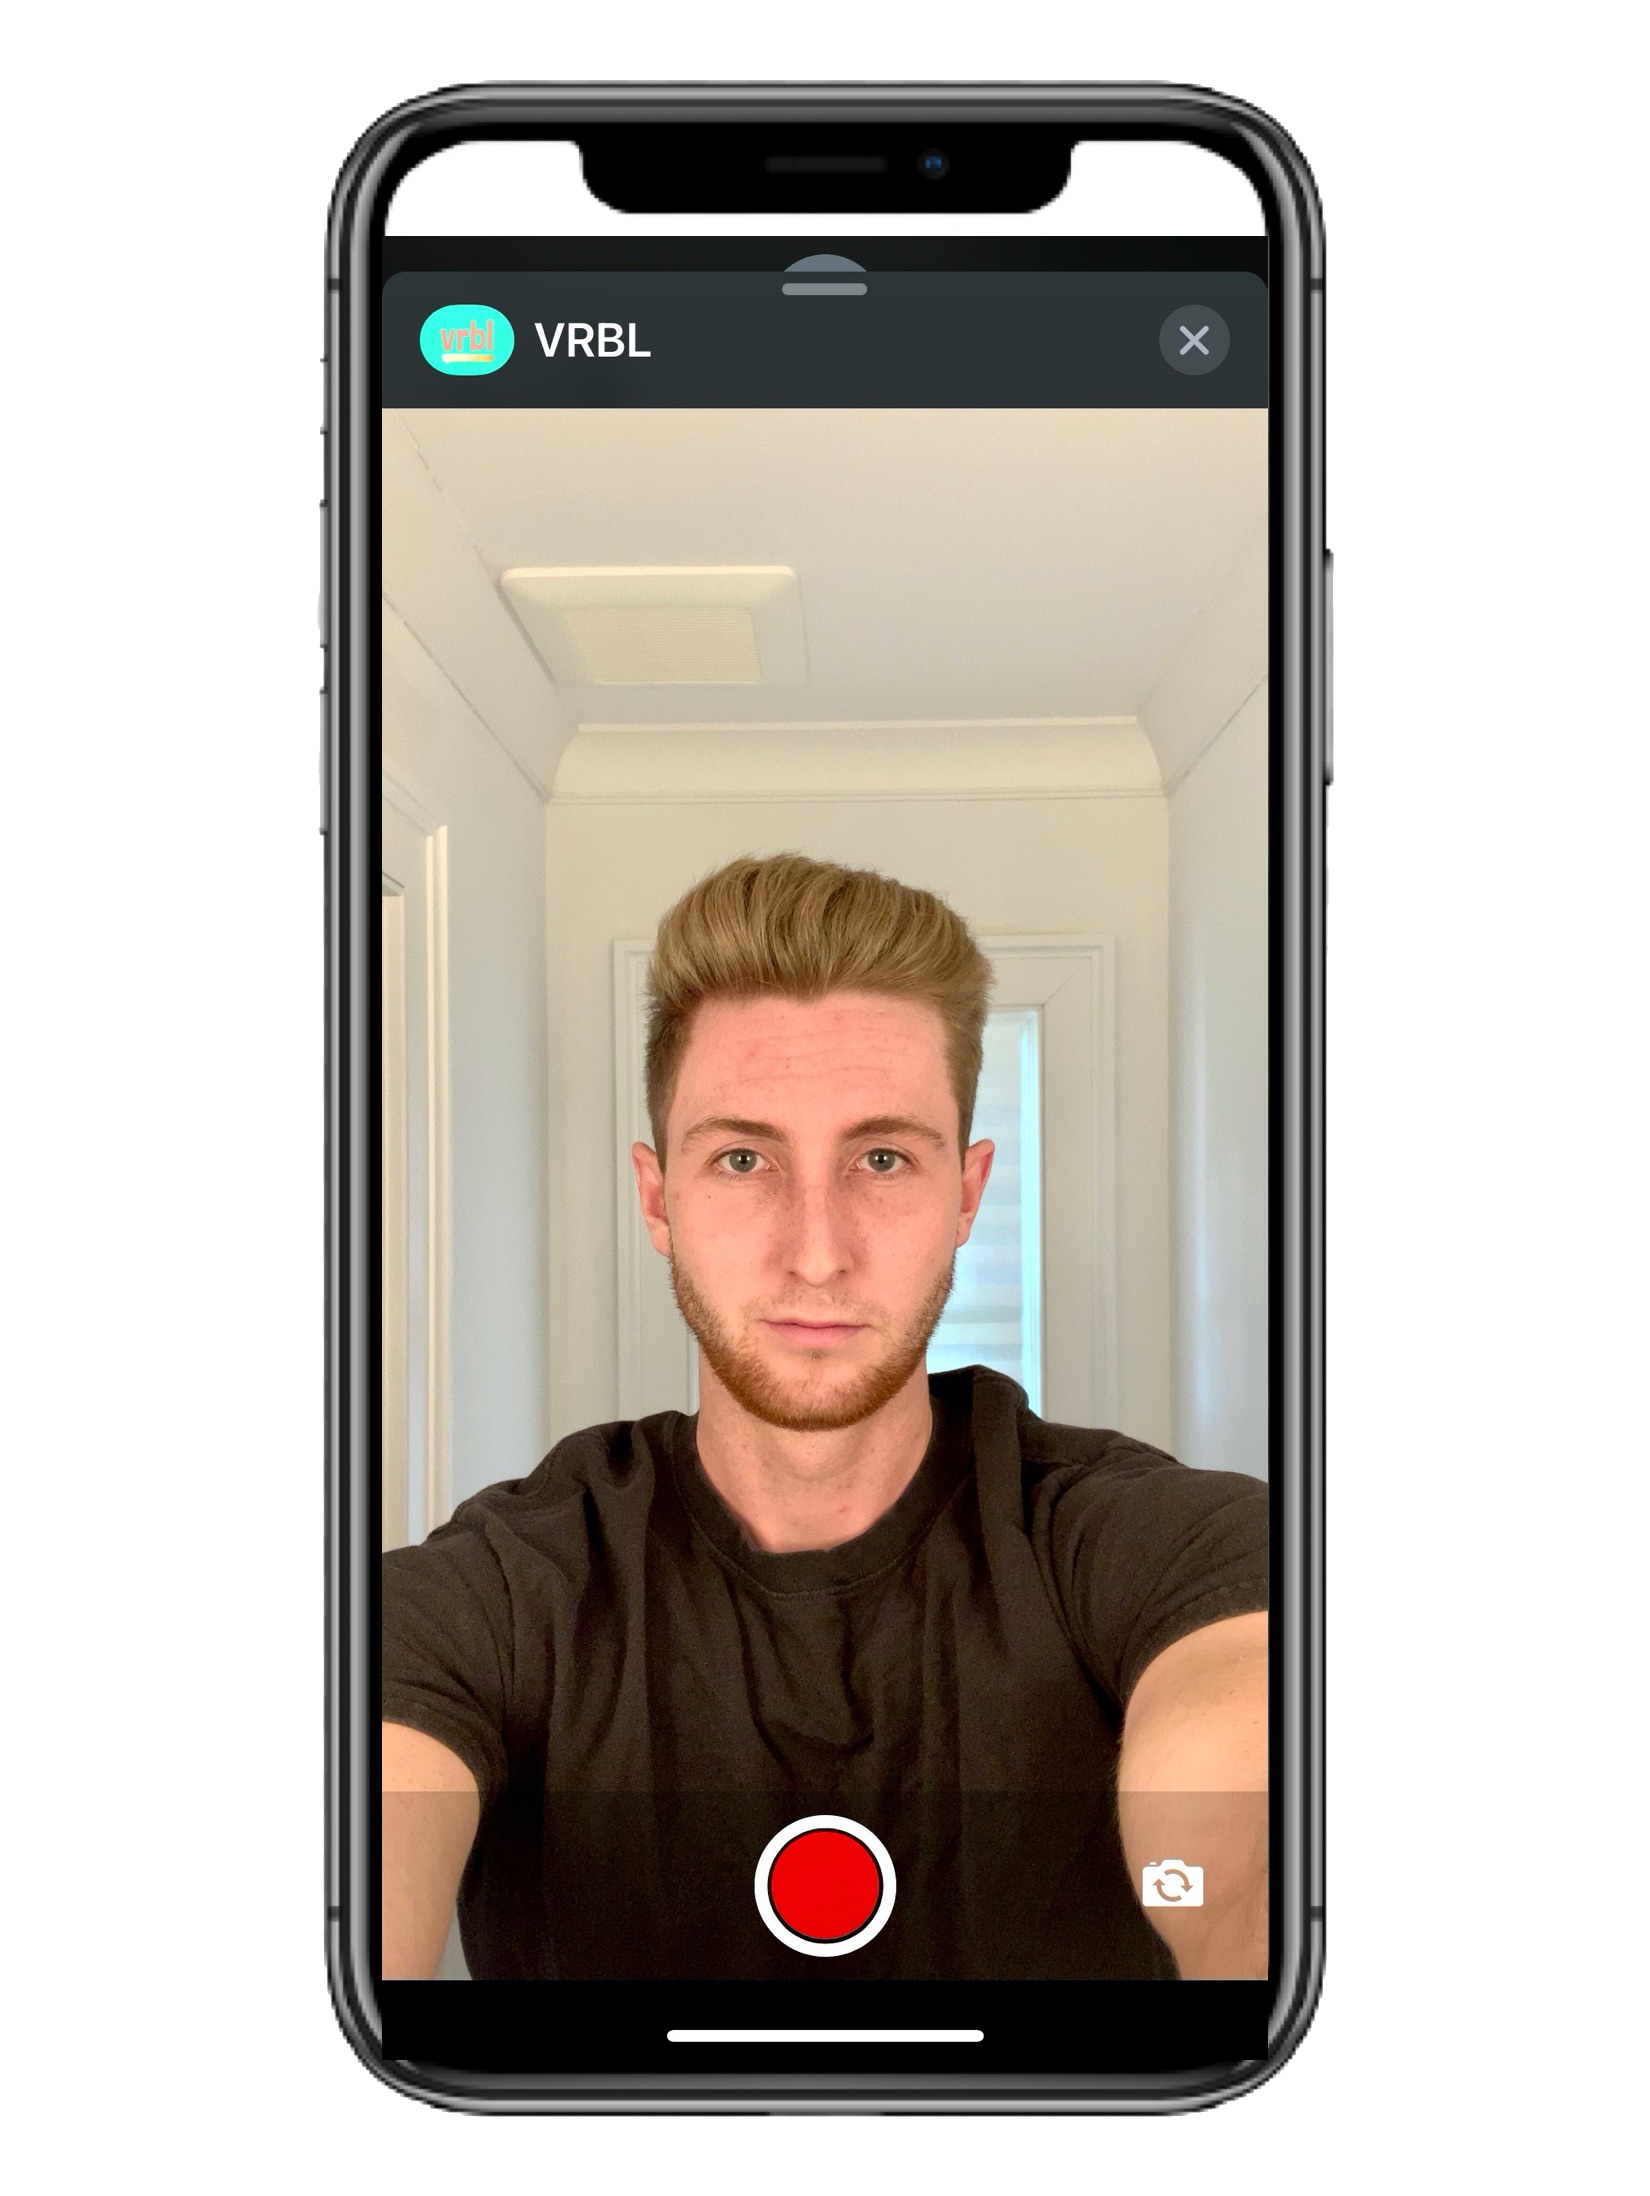
    Click on the “Create Audio” button. This will open your camera roll videos folder. Select the video from which you would like to strip the audio. Edit the audio – select the pencil icon, drag the bars to the endpoints of desired sound clip, and press the scissors icon to crop. 1 Launch the Soundbite iMessage extension within a conversation in the “Messages” app bar above the kepad; it can be found in the bar of applications beneath the text message box. This will launch a library database of all your saved sounds. 2 Select a saved sound you would like to use by hitting the checkmark icon next to the audio file. Hit the record button when ready… this will start a video recording, while the selected sound clip starts to play. Once the recording is finished, you can retake, exit, or send. 3

    Visit original content creator repository https://github.com/cameronking4/soundbite
  • FantasyScout

    Welcome to the FantasyScout

    This is a project dedicated to supporters of the top league in English football, especially Fantasy Premier League players. The code allows you to search for players who should perform the best in upcoming meetings. Based on quite detailed FPL datasets, an analysis is carried out, after which the program selects a ready-to-use, 15-players lineup taking into account the budget set by the creators (100M).

    Installation

    1. Clone the repository to your local directory

    git clone https://github.com/jjonczyk/FantasyScout.git

    1. Enter the project directory

    cd FantasyScout

    1. Create a virtual environment

    python -m venv ./venv

    1. Activate your venv

    Windows: .\venv\Scripts\activate
    Linux: source venv/bin/activate

    1. Install necessary libraries

    pip install -r requirements.txt

    1. Copy the data from previous seasons here: [REPO_ROOT]/data/historical/
      If you cannot get it from the official FPL website, you can probably find them online, e.g. there: vaastav’s FPL

    Running the script

    python fantasy_scout.py

    As a result, an XLSX file should be created in the [REPO]/results/ directory, marked with today’s datestamp in its name.

    Pipeline

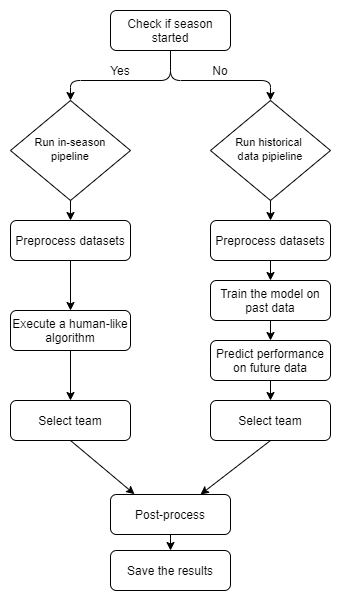
    The following flowchart illustrates, in simplified form, the pipeline that is executed when the script is launched:

    fpl-pipeline-v1

    Additional info

    This is a BETA version of my app. I can already see that a few aspects need to be improved, and I will try to develop them over the season.
    Any feedback on improvements to my project is appreciated.

    Visit original content creator repository https://github.com/jjonczyk/FantasyScout
  • vscode-galactiks

    Galactiks VSCode Extensions Pack

    Welcome to the VS Code Galactiks Extension Pack! 🚀 This extension pack is designed to enhance your blogging and website publishing experience in Visual Studio Code by providing you with a curated set of the most useful extensions tailored for bloggers and website publishers.

    Included Extensions

    • Markdownlint – Markdown linting and style checking.
    • ESLint – JavaScript linting utility for maintaining code quality.
    • Front Matter – Front Matter support for markdown files, commonly used in static site generators like Jekyll and Hugo.
    • Prettier – Code formatter – Automatically format your Markdown files to ensure consistent styling.
    • Code Spell Checker – Catch those pesky typos and spelling mistakes in your articles.

    Installation

    1. Launch Visual Studio Code.
    2. Press Ctrl+P (or Cmd+P on macOS).
    3. Paste the following command and press Enter:
    ext install galactiks.galactiks-extension-pack
    1. Once the extension pack is installed, you’ll be prompted to reload VS Code to activate the extensions.

    Usage

    After installation, the extensions will automatically enhance your blogging and website publishing workflow within Visual Studio Code. You can utilize features like Markdown linting, formatting, Git integration, live previewing, and more to streamline your content creation process.

    Contributing

    This extension pack is open source! If you have suggestions for improvements or want to add new extensions, feel free to open an issue or pull request on GitHub.

    License

    This extension pack is licensed under the MIT License.

    Visit original content creator repository
    https://github.com/thegalactiks/vscode-galactiks